Do you want to keep your website on the clock? Here comes the DMXzone Timepicker
- this Dreamweaver extension allows you to add great looking and well
validated time fields on you web forms and improve their usability and
user experience. No matter from where your customers are you can pick up
from different time formats to suits you best. In this article you will find useful information on how to use the extension.
DMXzone Timepicker Manual
Keep your site on the clock with an amazing timepicker


Advanced: Using DMXzone Timepicker with Dynamic Data
In this tutorial we will show you how to use DMXzone Timepicker with dynamic data.
*You can also check out the video.
How to do it
- We've already created a Recordset that we are going to use for Initial, Min and Max time.
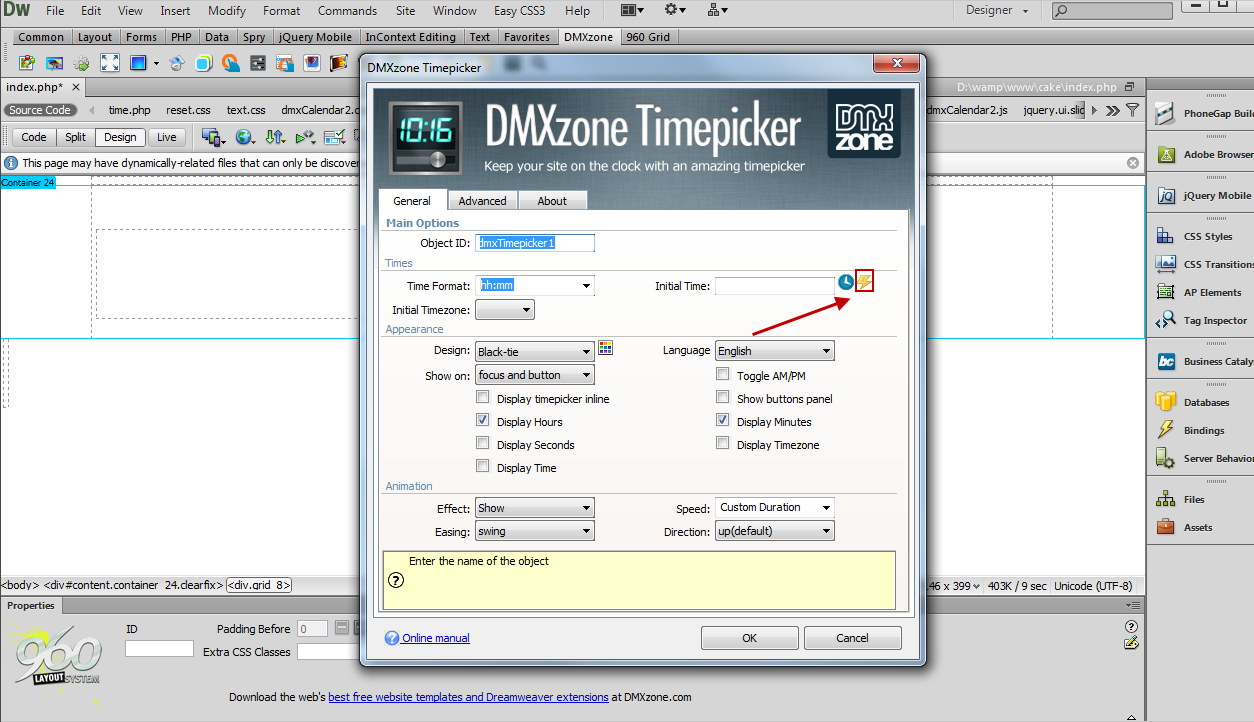
- In the DMXzone Timepicker window, click the dynamic data as value button for the Initial time.
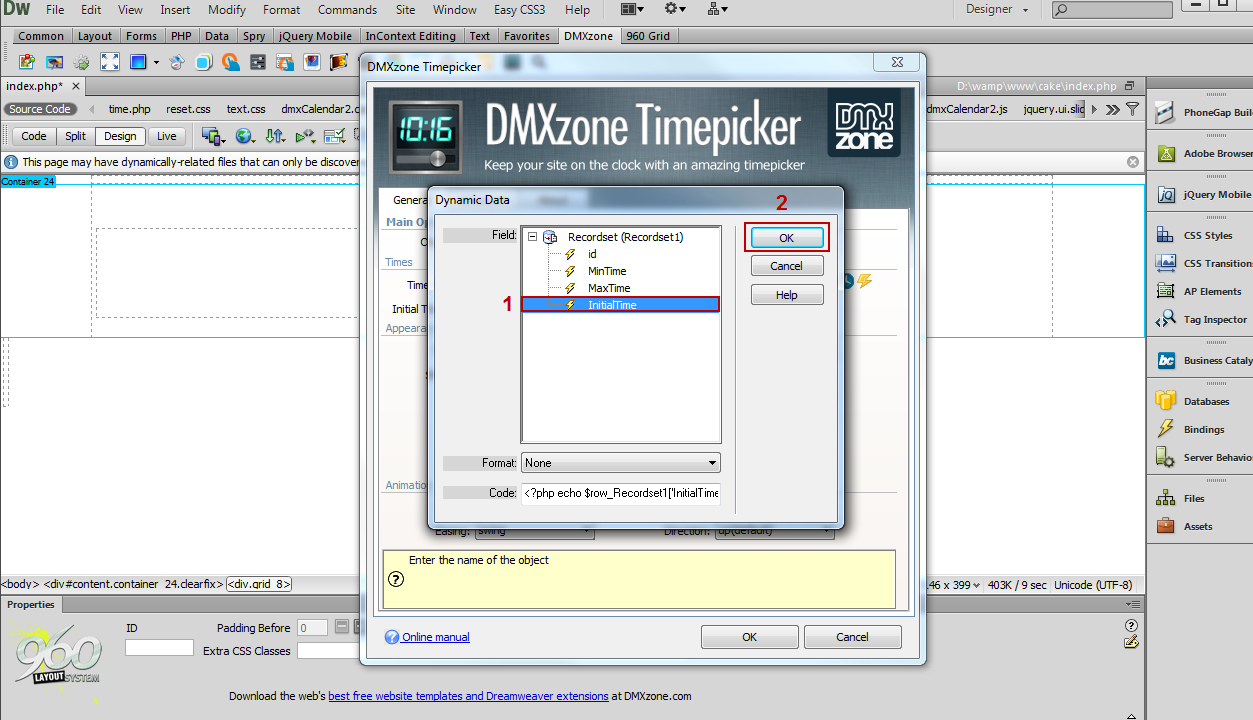
- Select the binding from your Recordset that corresponds for the Initial Time (1). When you're done, click OK(2).
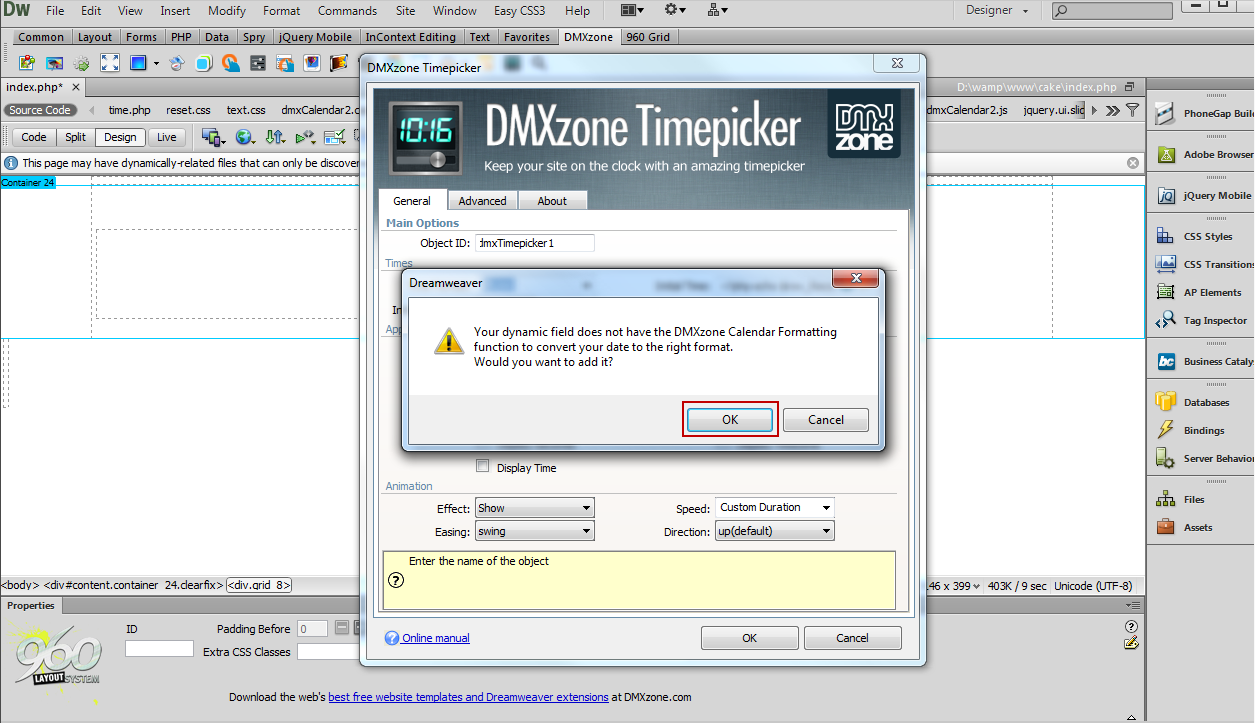
- Click OK in the window, asking you to convert
the date to the right format.
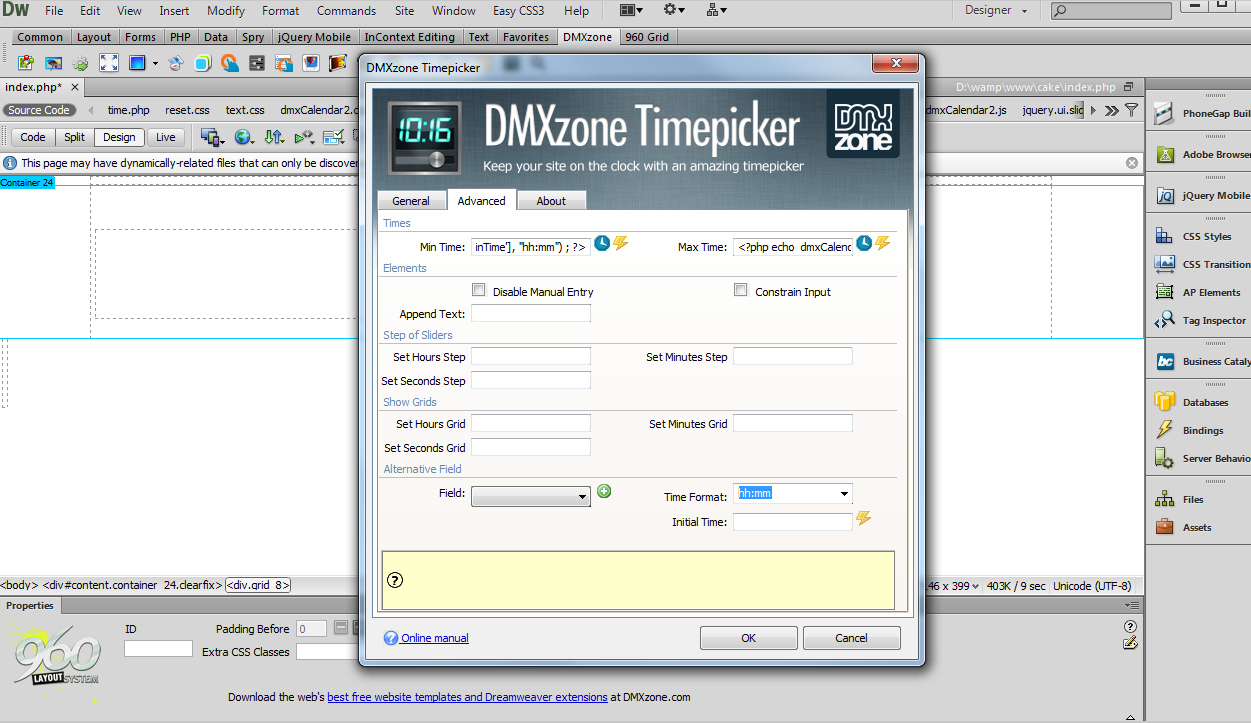
- In the advanced tab, we do the same for Min and Max Time.
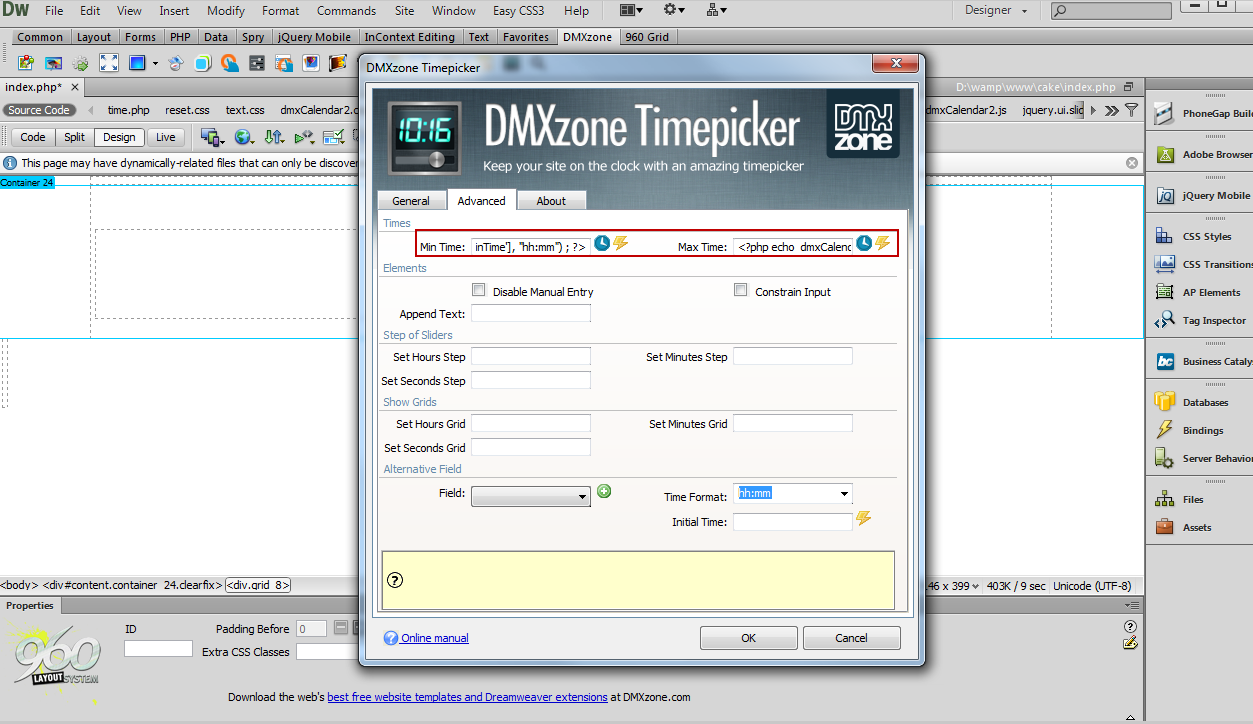
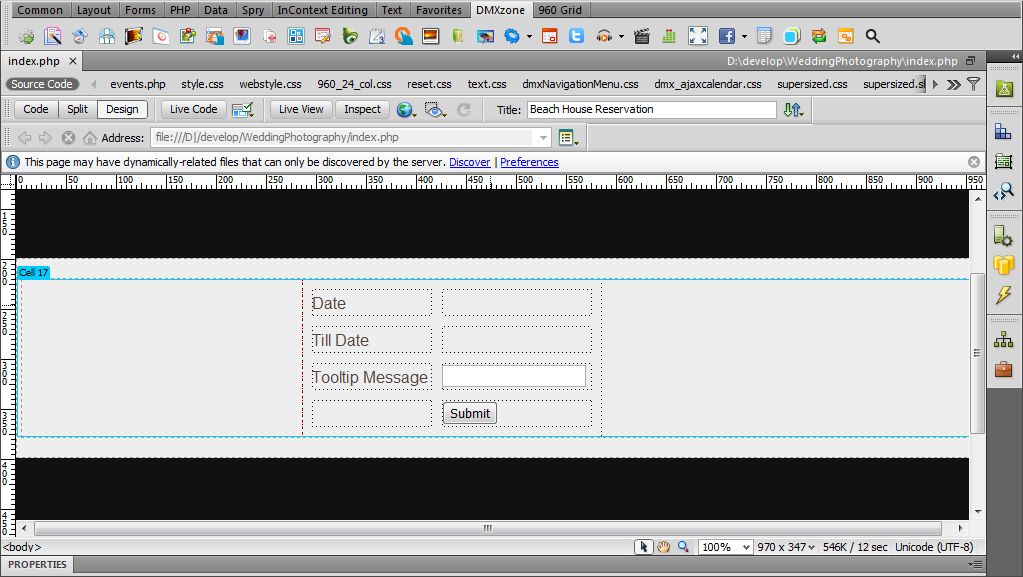
- Now you can save your work and preview the result in the browser.

Lubov Cholakova
 Lubov has been with DMXzone for 8 years now, contributing to the Content and Sales departments. She is bringing high quality content in the form of daily blog updates, reviews, tutorials, news, newsletters,update emails and extensions' manuals. If you have a product that needs publicity or any other questions about the entire DMXzone community, she is the one you can contact.
Comments
Be the first to write a comment
You must me logged in to write a comment.