You want to organize your content in the best possible way? Now, you can do that with DMXzone Tabs, the extension that gives you the opportunity to divide and style your content into as many sections as needed directly and visually in Dreamweaver! In this article you will learn all you need to know on how to work with the DMXzone tabs, explained in detailed tutorials and videos.
DMXzone Tabs Manual
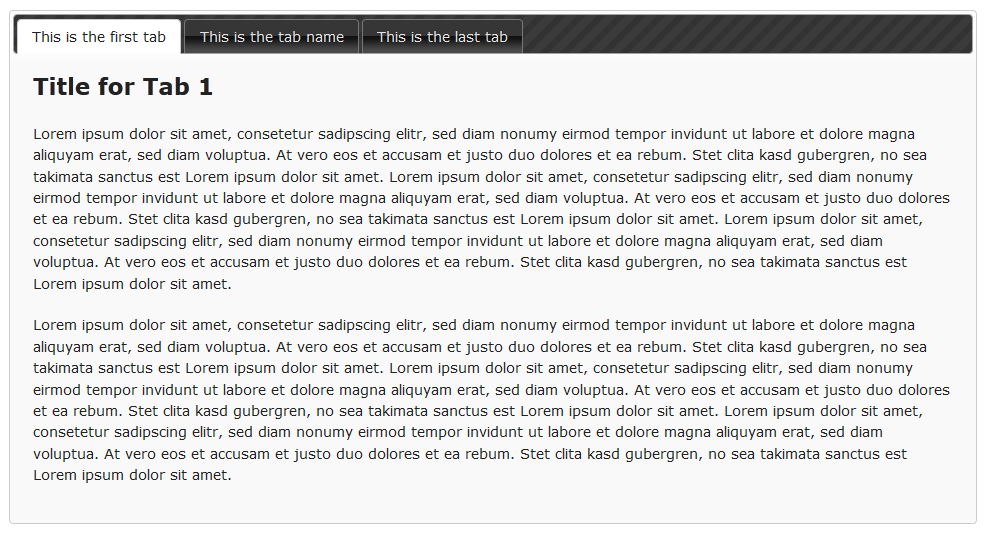
Organize your content in tabs with amazing effects and styles


The Basics: Adding DMXzone Tabs on a Website
In this tutorial we will show you how to insert DMXzone Tabs on your page and the options that we included in it.
*You can also check out the video.
How to do it
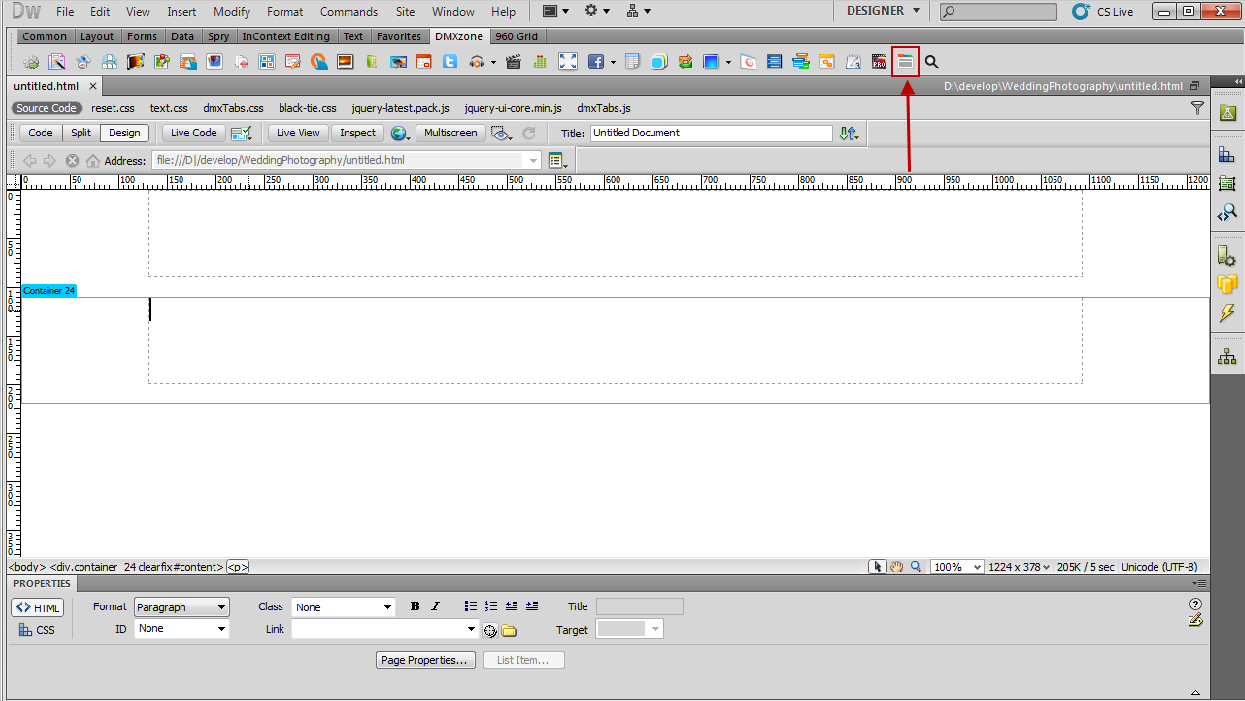
- We're going to insert the DMXzone Tabs on our page. Click the DMXzone Tabs icon.
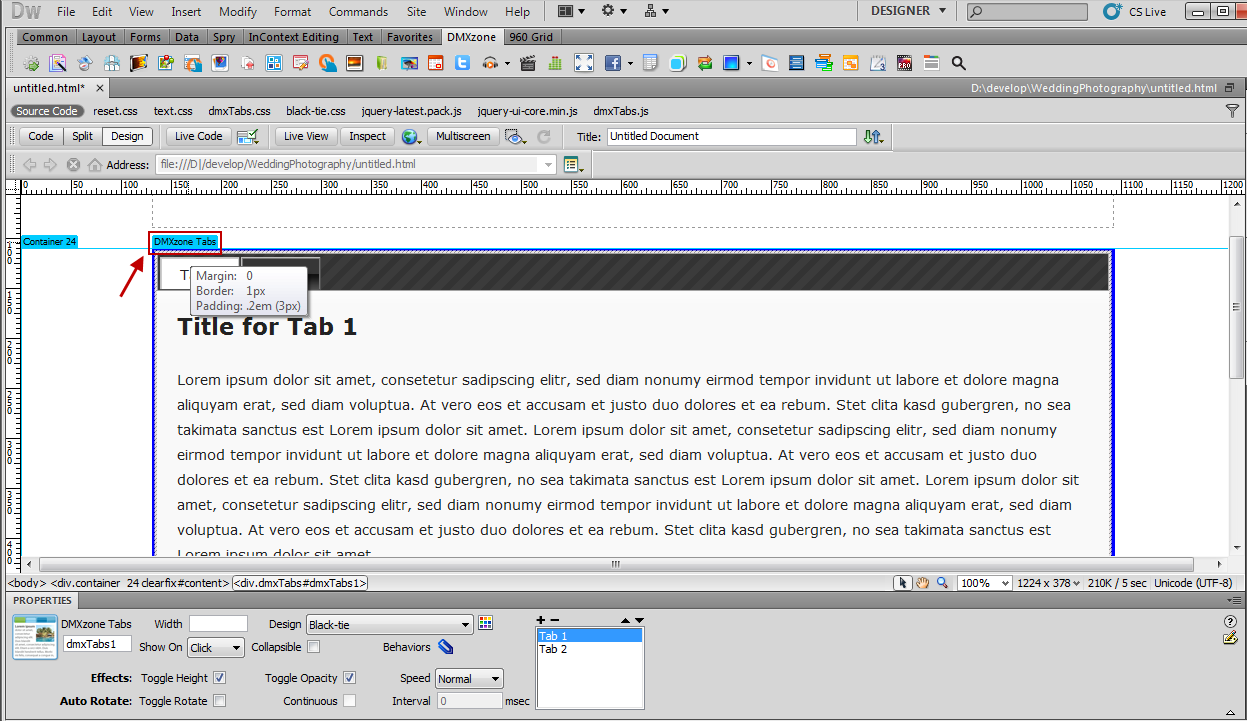
- Clicking the icon automatically inserts the DMXzone Tabs on our page. Now click on the blue DMXzone Tabs
Label in order to get the settings in the property inspector.
- To customize our Tabs appearance and navigation first we set
a width (1). If you leave this field empty the Tabs will fit
the width of the container they were inserted in. Then we have to choose
whether to switch tabs on click or on hover. We select the onClick option (2).
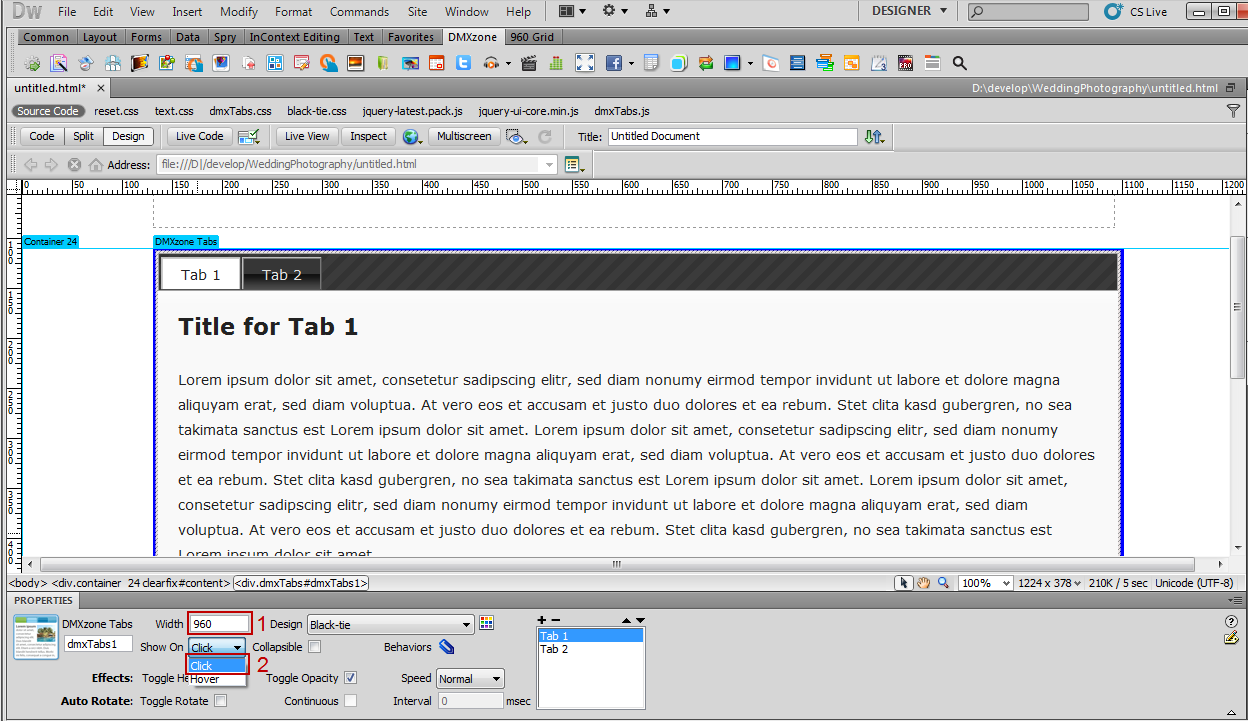
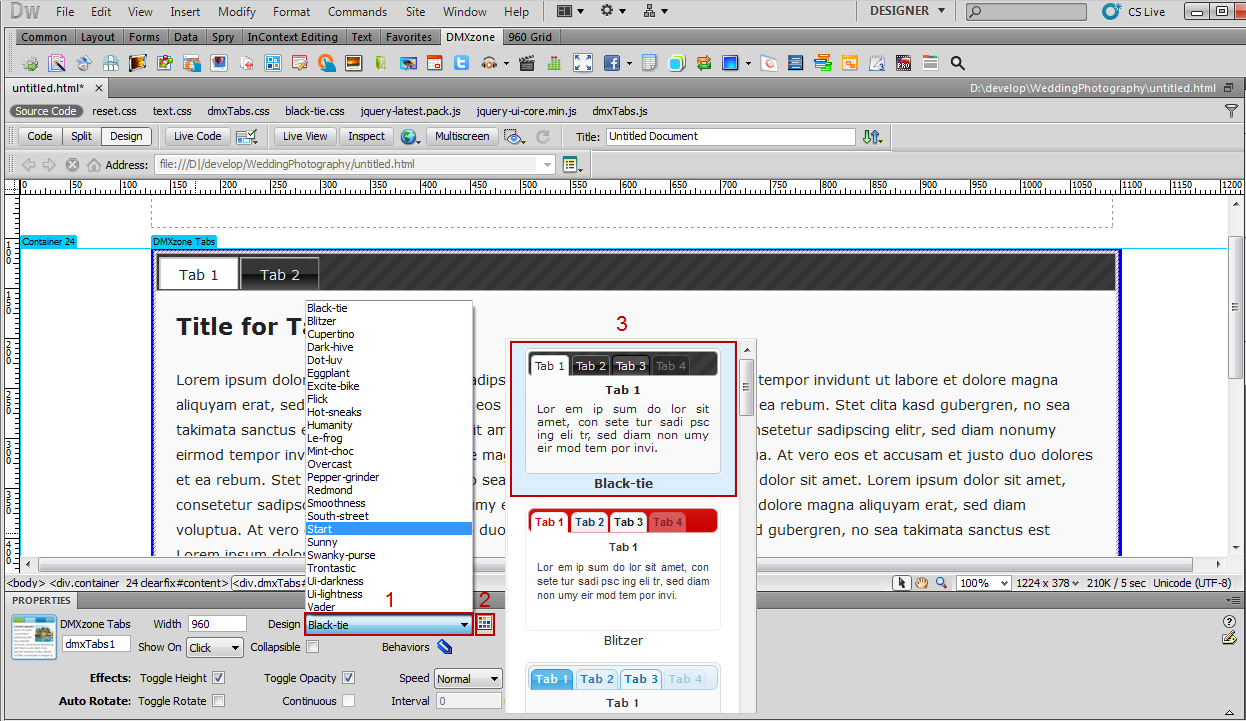
- The next step is to choose one of the 24 CSS designs(1) available. Click the Style pickup button (2) where you can preview (3) them. For our page we select the Black-tie (1) style.
- Check collapsible (1) if you want when clicked the selected tab to toggle its content closed/open. Selecting Toggle Height and Opacity (2) you will add a sliding effect and hide the content during the transitions. You can also adjust the speed (3) of these animation effects.

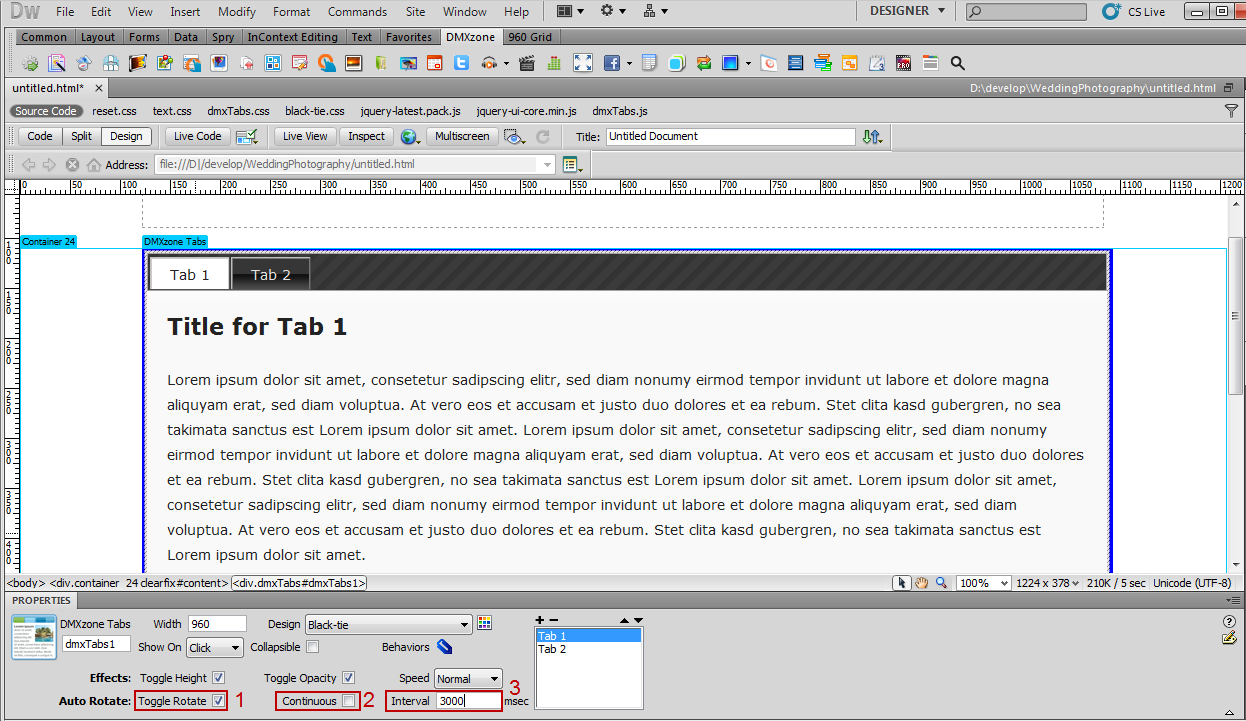
- Check Toggle Rotate (1) if you want your tabs to switch automatically and Continuous (2) if you need to continue the rotation after a tab has been selected by a user. Once you're done set a rotation interval (3) in milliseconds.
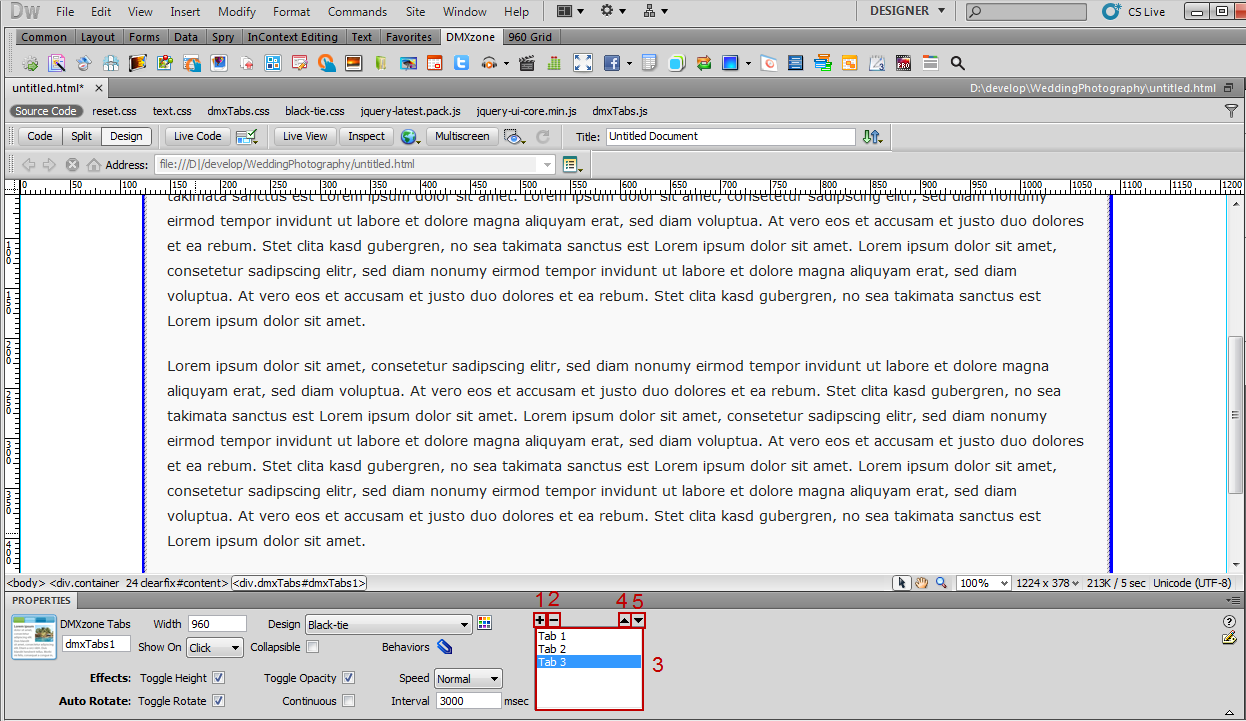
- In order to divide your content into sections you can add and remove Tabs by clicking the Add (1) and Remove (2) buttons. You can see them in the Tabs list (3). To rearrange the tabs you've created click the Move Up (4) or Move Down (5) buttons.
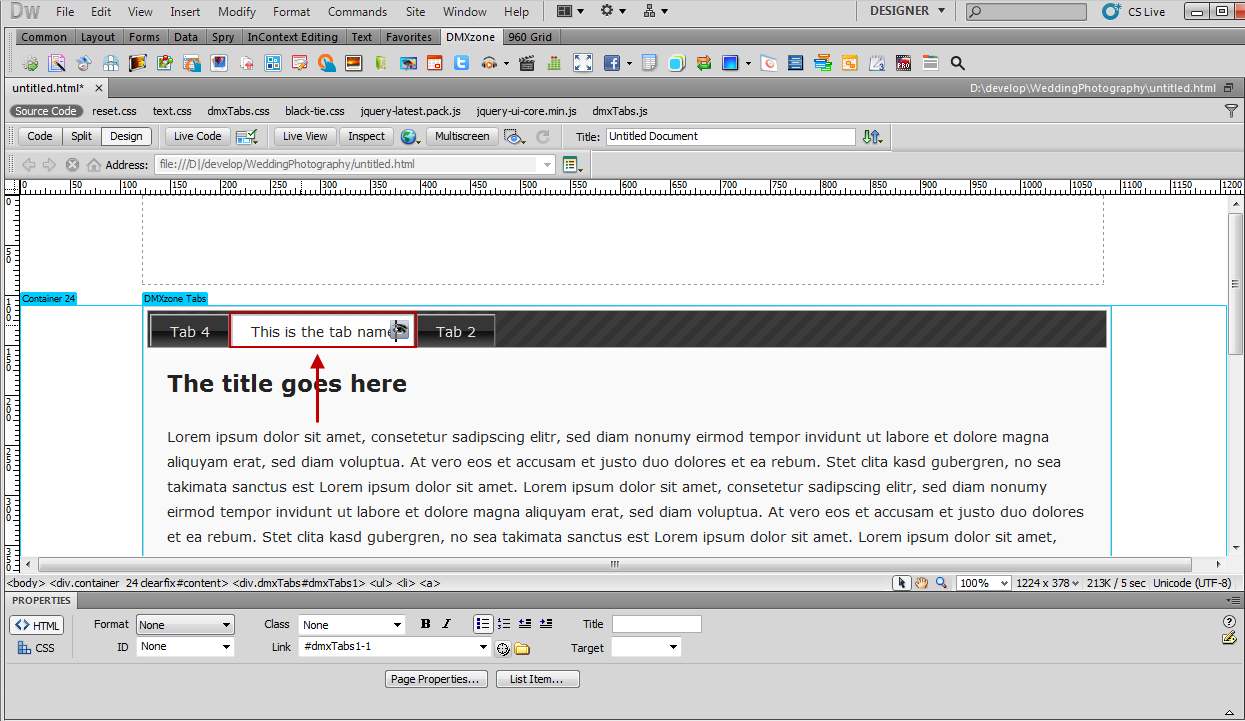
- We're going to add content to our Tabs. Click the Show Content icon to switch between them and place in text, images, videos or whole pages, according to your preferences.
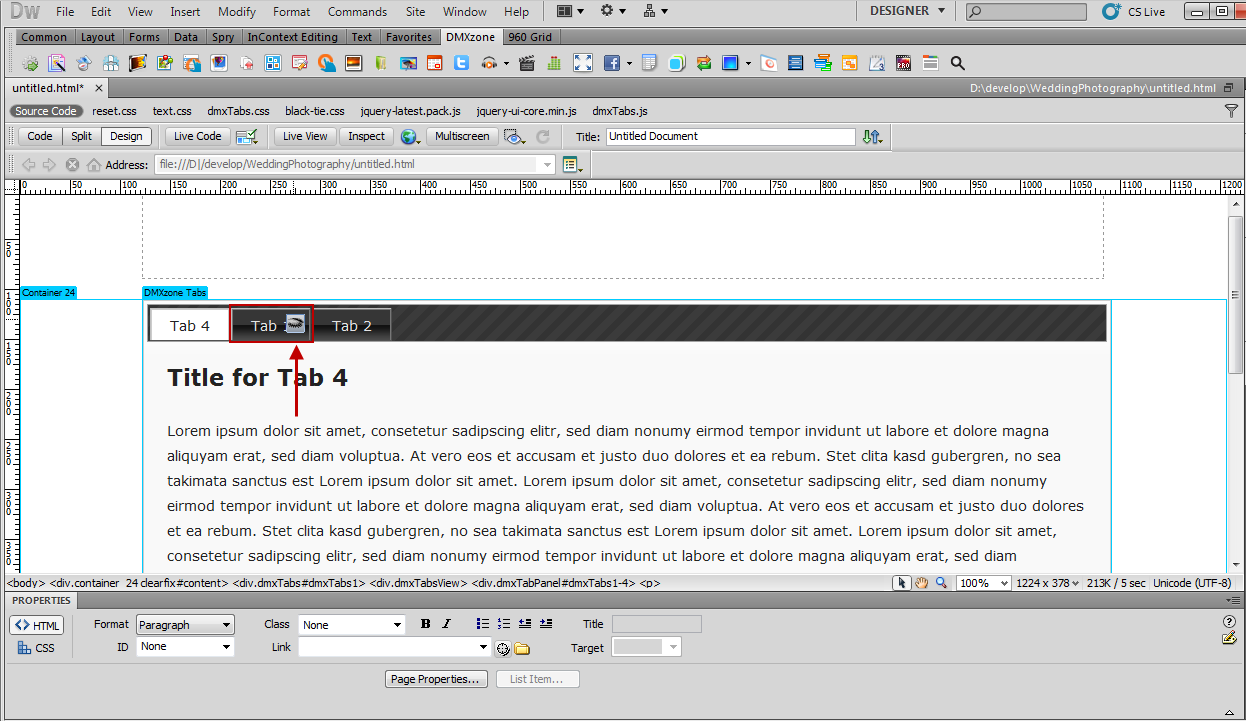
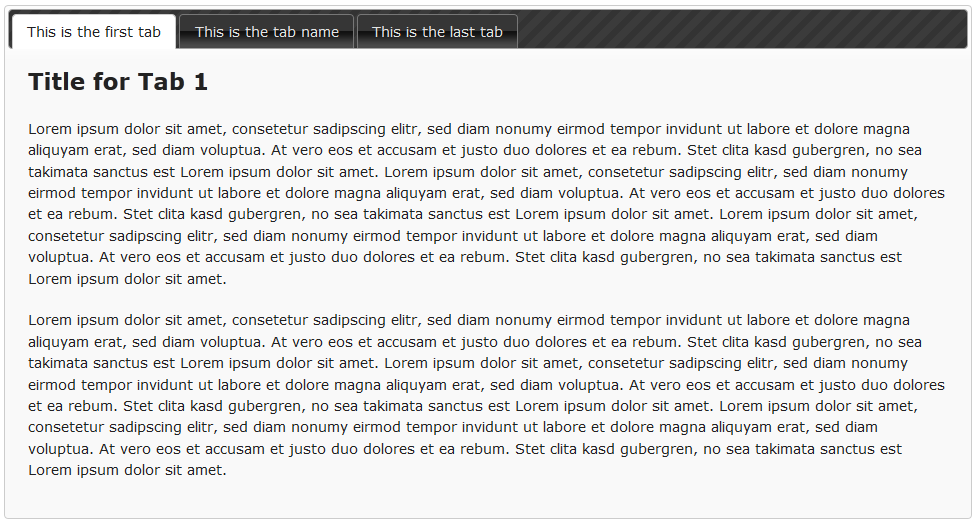
- You can edit your Tabs names directly by clicking on them. When you are done, save your work and preview the result in the browser
- That's how easy it is to insert a DMXzone
Tabs on your page.
Daniela Vaseva
 Daniela is writing tutorials, news, newsletters, and update emails for the DMXzone specialising in the sphere of electronic processing, analysis and publication of texts, and interested in the development of new Internet technologies and problems related to the cyberculture and net literature. She has a bachelor's degree in Bulgarian philology, and a master's degree in computational linguistics.
Comments
Be the first to write a comment
You must me logged in to write a comment.