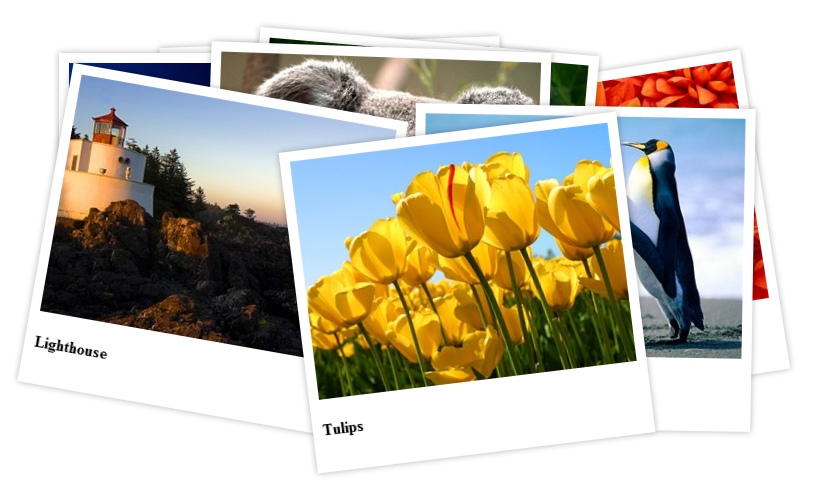
HTML5 3D Flipping Gallery is the
perfect solution if you are looking for to create a polaroid-like image
gallery. It features CSS 3D transforms for native 3D in browsers that
support the new CSS properties. You can drag your images all over the
screen, give them titles and add descriptions. This and a lot more you'll find in this article, explained in tutorials and videos.
HTML5 3D Flipping Gallery Manual
Present your images in polaroid-like galleries with stunning effects


The Basics: Basic Usage of HTML5 3D Flipping Gallery
In this tutorial we will show you the main features packed in HTML5 3D Flipping Gallery and how to use it.
*You can also check out the video.
How to do it
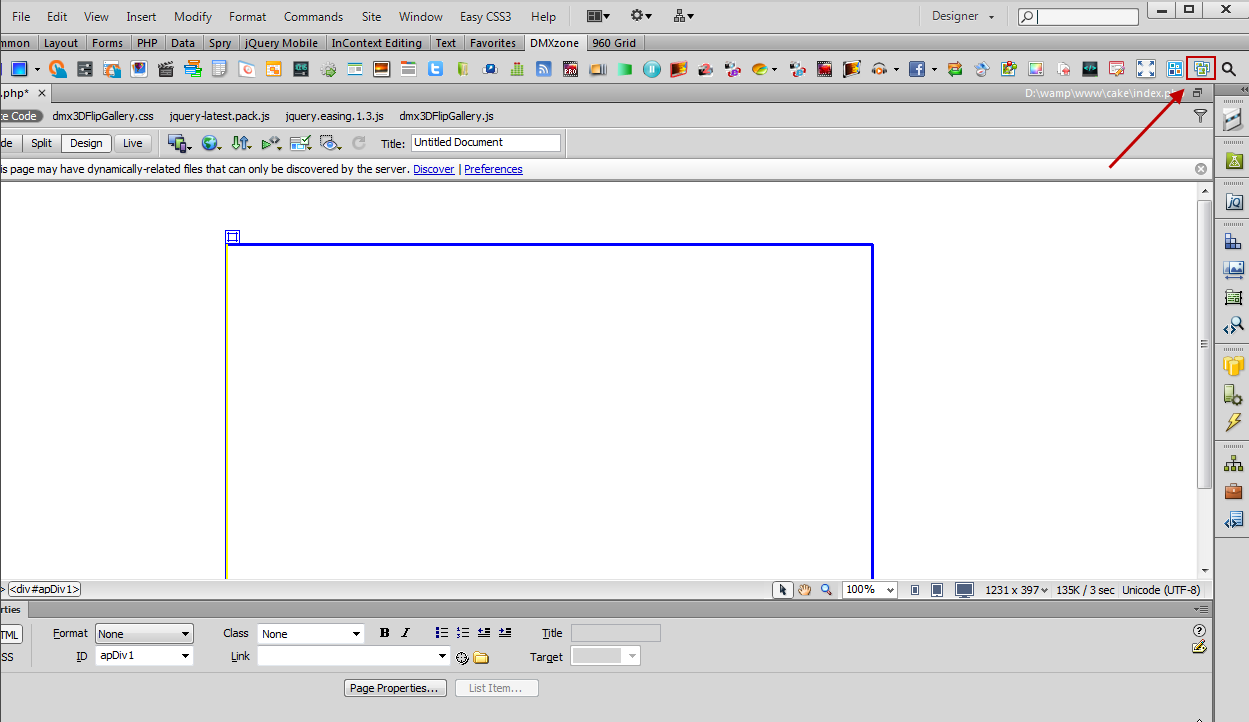
- We've already added a container to our page and now we're going to insert the HTML5 3D Flipping Gallery. Click the HTML5 Flipping Gallery icon and the dialog will appear.
- In the HTML5 3D Flipping Gallery dialog you can either
use the DMXzone Image Resizer or simply add your images.

- In this tutorial we will import a whole folder of images
and for this click the import a whole folder icon.

- Select the images folder and click OK.

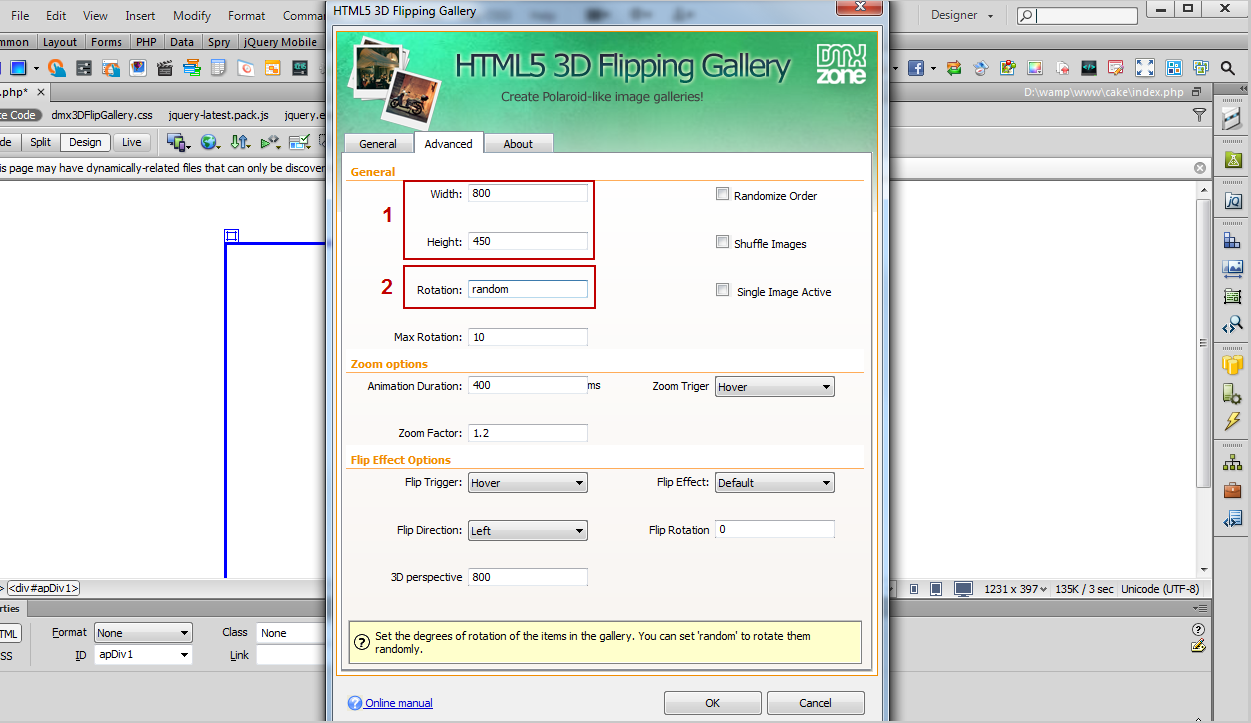
- For each image you can add a title (or auto generate it from the file name), description, rotation angle and an ID. When you're done, click the Advanced tab to customize the gallery.

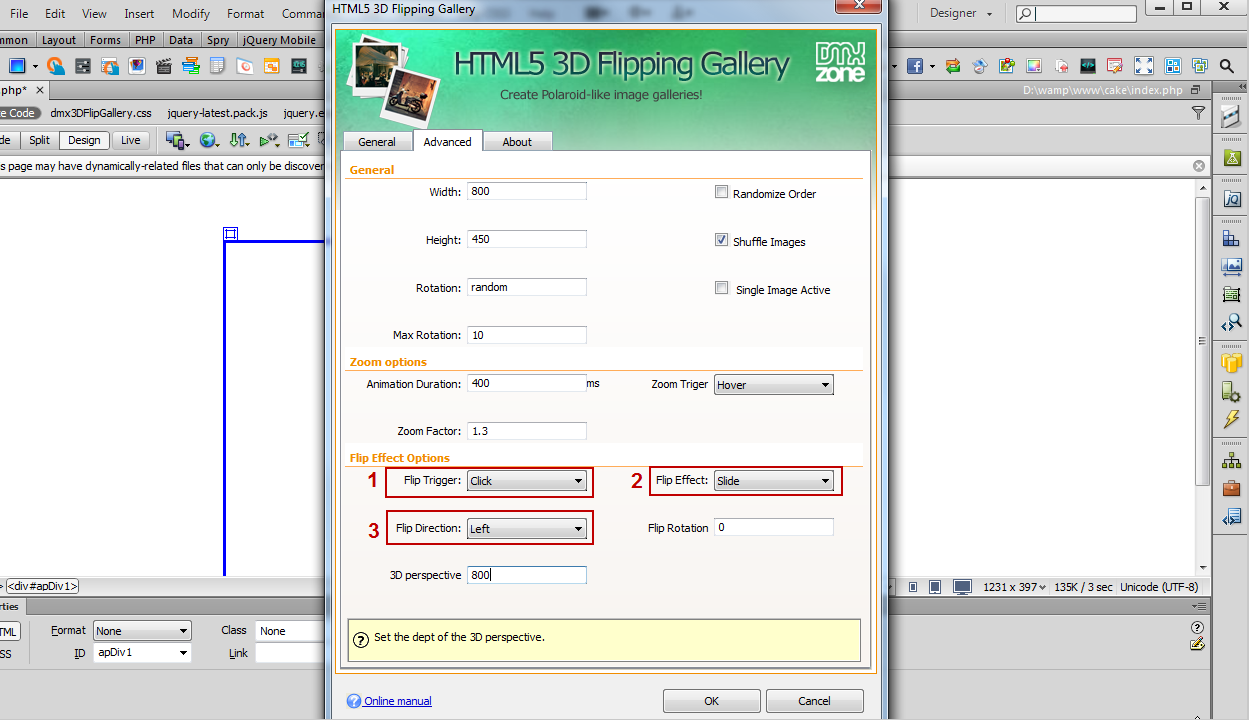
- Our HTML5 3D Flipping Gallery container will be 800
x 450px (1) and we set the degrees of rotation (2) for the
gallery images to 'random' in order to rotate them randomly.
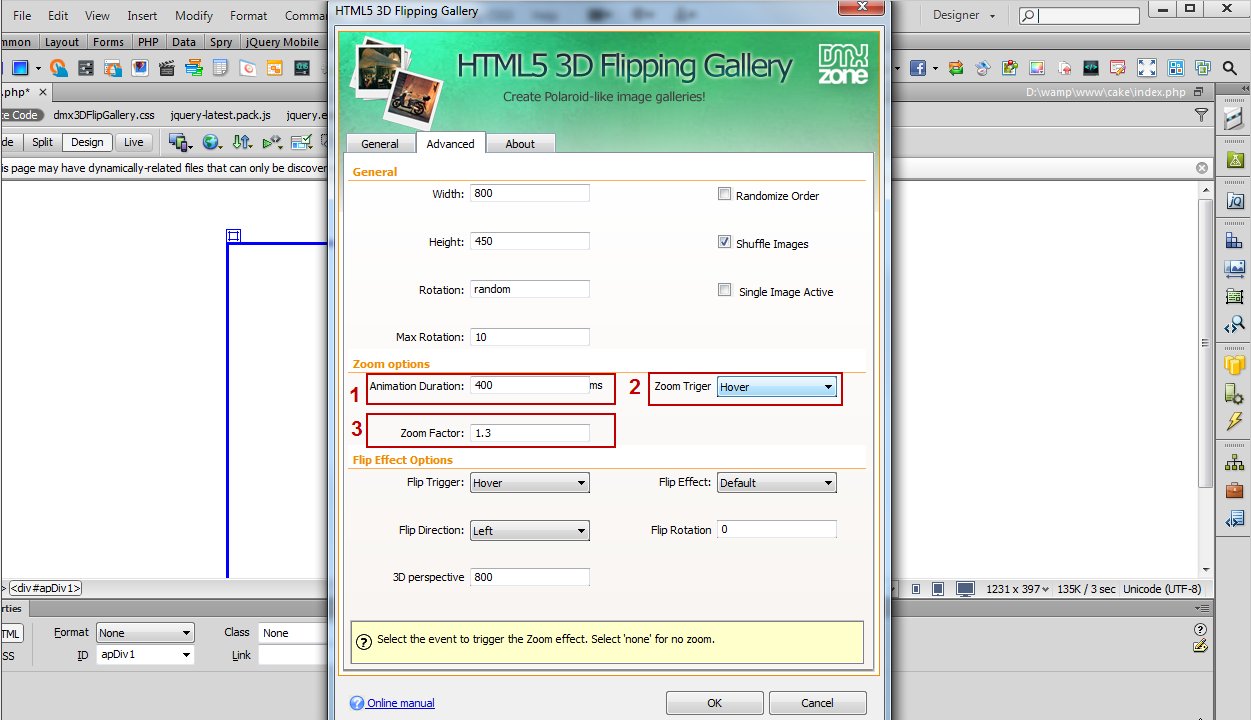
- Because we used "random" for the images rotation, we set the max rotation to 10 (1), which is the default value. Also we want our images to be shuffled (2).

- We set the animation duration of the zoom to 400ms (1), which will be triggered on hover (2) and with a zoom of 1.3 times the image size (3).
- For our showcase we want the flip effect to be executed on mouse click (1) with a slide effect (2), flipping direction: left (3). We leave the rotation angle and the 3D perspective values by default. When you're done, click the OK button.
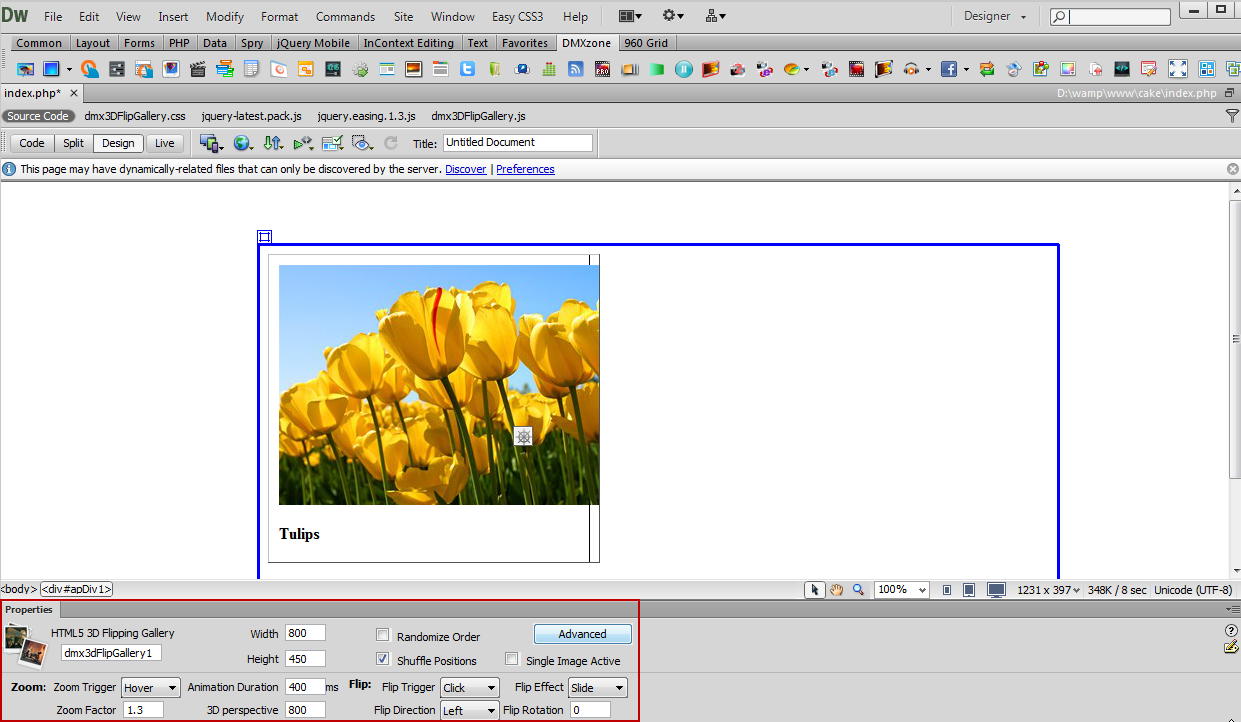
- Later on, if you need to change anything in the gallery, you can also use the property inspector.
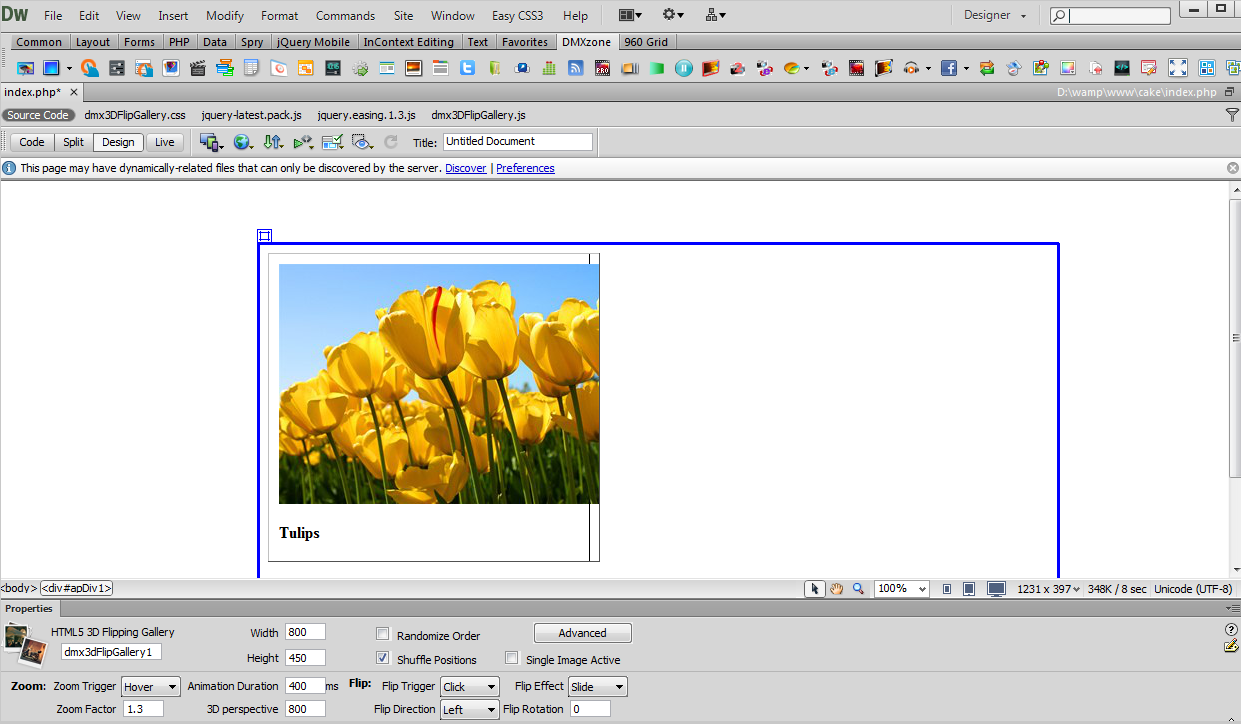
- Now you can save your work and preview the result in the browser.
Lubov Cholakova
 Lubov has been with DMXzone for 8 years now, contributing to the Content and Sales departments. She is bringing high quality content in the form of daily blog updates, reviews, tutorials, news, newsletters,update emails and extensions' manuals. If you have a product that needs publicity or any other questions about the entire DMXzone community, she is the one you can contact.
Comments
Be the first to write a comment
You must me logged in to write a comment.