Pure PHP Upload Tutorials - Upload with Progress Bar
Upload with Progress Bar
In this tutorial we will explain how to make a file upload with a progress
bar.


How to do it
To make the file upload with progress bar, you need to:
- Start with basic upload page
Start with an upload page where you have Pure PHP Upload on it. If
you haven't done it yet, go through the Simple
file upload tutorial.
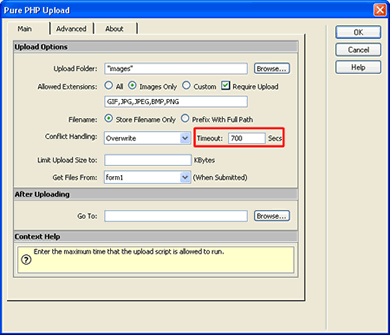
- Open the Pure PHP Upload dialog
Select the Pure PHP Upload dialog by choosing it from the Server Behaviors
palette, DMXzone / Pure PHP Upload.
Make sure you've entered a long timeout. For more info see the Uploading
large files tutorial.
- Select the desired progress bar
When you need to restrict the size of the uploaded images, you need
to fill in the minimum and/or maximum width and height on the Advanced tab.
If you leave one of those values empty it means it is unlimited. The sizes
are in pixels.
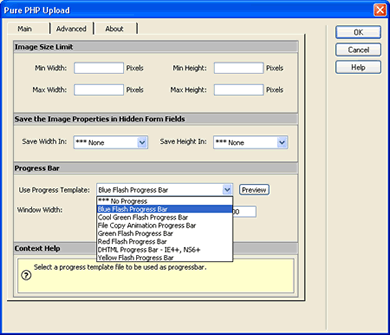
Currenly Pure PHP Upload is distributed with the following progress bars:
Blue Flash Progress Bar
Red Flash Progress Bar
Green Flash Progress Bar
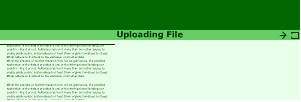
Yellow Flash Progress Bar
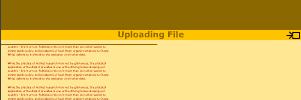
Cool Green Flash Progress Bar
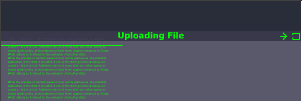
DHTML Progress Bar

File Copy Progress Bar

You can also write your own progress bars and plug them in Pure PHP Upload.
After you select a progress bar you will see that extra files are copied
to your site. You have to upload those to your remote site as well.
- Save and done
Save your page then, upload it to your server, and you are done!
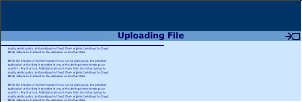
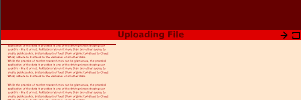
Go to your website and test it - you should be able to upload files and a
nice progress bar will appear.