
Free - Upload Multiple Files with The Flash Upload Control
We are going to create 3 pages; an intro page which shows an introduction for the user and it generates a unique id that we use to create a unique folder.
![]()
![]()
![]()
Introduction
We are going to create 3 pages; an intro
page which shows an introduction for the user and it generates a unique id that
we use to create a unique folder.
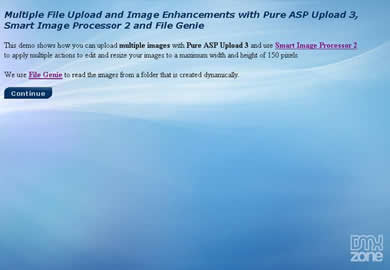
The second page will use Pure ASP
Upload 3 to upload and Smart
Image Processor 2 to resize images.
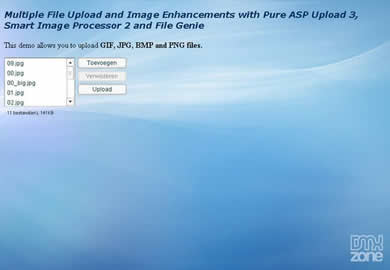
The page contains the multiple upload control to upload multiple images at
once.
The third page will use File Genie to display the uploaded images.

Before you begin
- Setting up your site
First we need a site within Dreamweaver with the Server Model set to ASP VBScript. You can create a new one or use an existing one.
- Creating the files
In the Files panel we are going to create the 3 files needed for our project. Create the files and call the intro.asp, upload.asp and result.asp.
- Creating an upload folder
Create an upload folder on your server and name it upload, make sure it has write and delete permissions. You need to set these for ASP and ASP.NET. Please read this tutorial that explains how to set your security settings. Also read this FAQ and this FAQ for more information. If you plan to upload large files, read this FAQ.
- Requirements
Make sure you've installed Pure ASP Upload 3, Smart Image Processor 2 and File Genie.
Creating The Intro Page
1. Open the intro.asp file by double
clicking it in the Files panel.
2. You can now type your introduction text in the
design view. We used a background image, and the introduction text of this demo but
of course you can use your own text and mark-up.
3. Next we need a link to the following page,
create a link by selecting a text or image which you want to use as continue
button and in the Property inspector type upload.asp?sid=<%=Session.SessionID%> into the Link field.
<%=Session.SessionID%> will create our unique id that we are going to
use as folder.
4. Save the file.
![]()
![]()
![]()