Free - Uploading Multiple Files With Additional Data Fields
Upload multiple files and add additional common form fields
In this tutorial we’re going to upload multiple files and add additional common form fields. We’ll use Pure ASP Upload 3 and the Advanced Multi Uploader extensions. You can also use Pure PHP Upload 2 or Pure ASP.NET Upload 2.
![]()
Before you begin
Make sure to setup your site in Dreamweaver
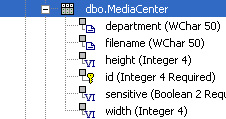
first before creating a page, if you don't know how to do this please read this. Create a database that
contains a table with the following columns:
Publishing The Upload Component On Your Page
- Create a
new ASP page
Create a new or open an existing ASP page and save the page in the site you have defined.
- Applying
the extension
Choose the icon from the
DMXzone object bar to apply the extension, the following popup appears:
icon from the
DMXzone object bar to apply the extension, the following popup appears:
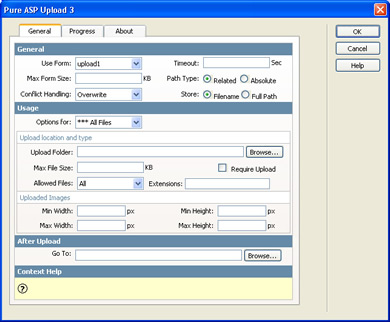
As you can see the Multi Uploader automatically starts Pure ASP Upload 3.
- Defining the basic Upload Options
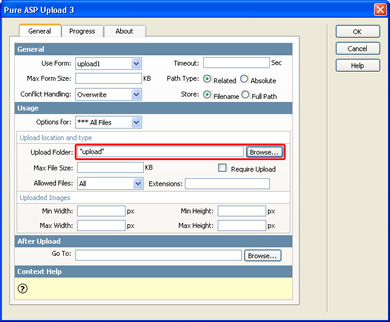
Specify the Upload Folder on your server by pressing the Browse… button, make sure you have the proper access rights. For setting the appropriate security read setting the folder security on your server tutorial.
Press Ok to apply the Advanced Multiple Uploader extension, the following popup appears:
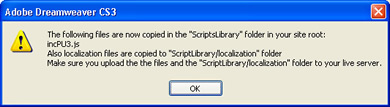
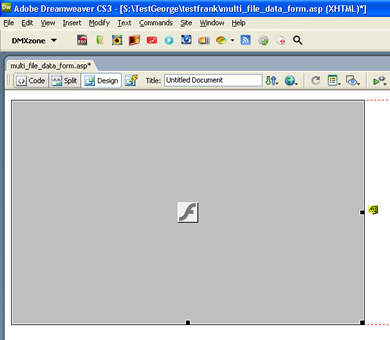
Press OK, the extension will insert a form with a Flash object onto your page:
- Adding Additional Form Fields
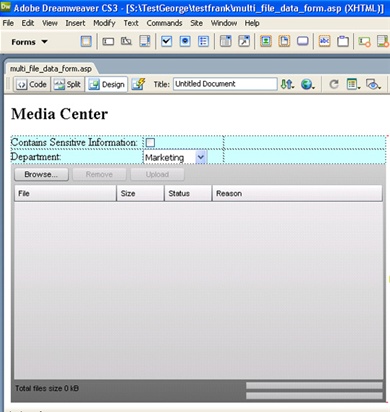
We place the cursor before the Advanced Multi Uploader Flash object and add a table (CTRL+ALT+T). Then we add a checkbox, a list field with multiple values and we add the descriptions of our form fields. We'll also add a above the form. This leads to the following page:
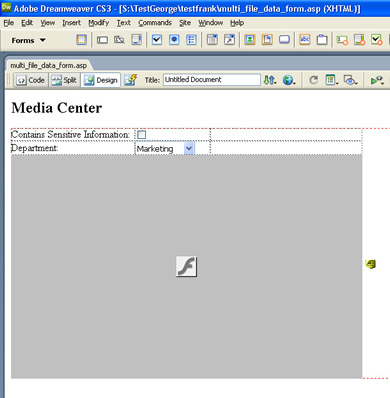
The form values such as the department will be added to all files that are uploaded. So if you select the marketing department and upload 10 files, all files will get the value Marketing.
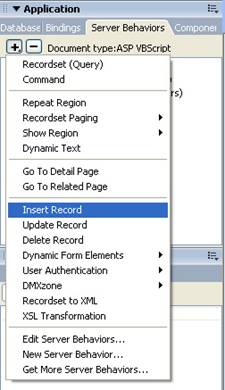
- Creating an Insert Record
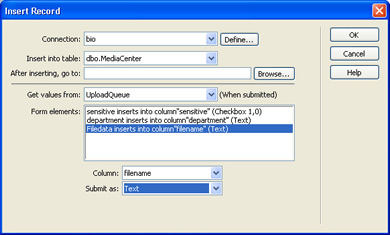
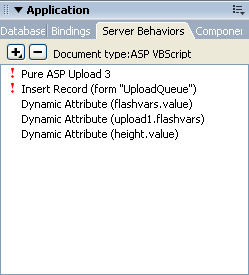
To add the uploaded values of our form to the database we'll have to create an Insert Record. Select the Server Behaviors tab in your Application panel and choose Insert Record:
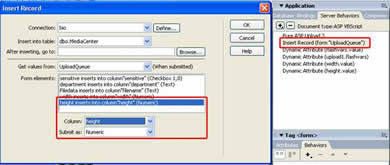
Select the Connection to your database and the correct table, then choose the Form elements and set them to the correct Columns and make sure the Submit as values are correct:
- Testing the Uploader
Save your files, upload them and test the uploader in your browser by uploading some files.
- Viewing the uploaded files in the
Database
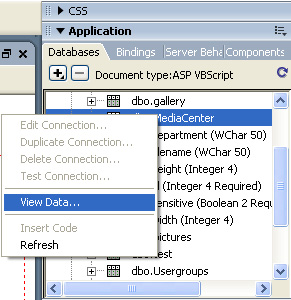
You can use Dreamweaver to view the uploaded files from your database.
Select the Database tab from your Application panel and right click on the table you selected in step 5 and select View Data…
The following popup appears:
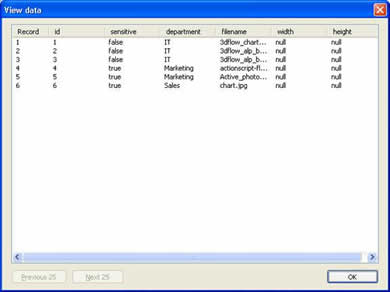
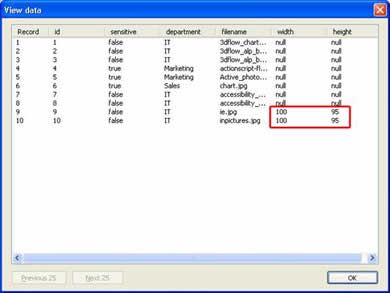
As you can see the files and the form values that we've uploaded at step 6 are displayed in the View Data field.
- Storing the Width and Height of Each
Image in the Database
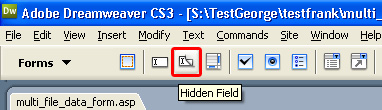
To store the image dimensions in the database we'll add two hidden form fields, one that contains the width of the uploaded image and another that contains the height. Place the cursor inside the form field and select Hidden Field from the Forms tab.
Name the field width and select the Bind to Dynamic Source icon in the Properties Inspector.

Then select the Width field and press OK.
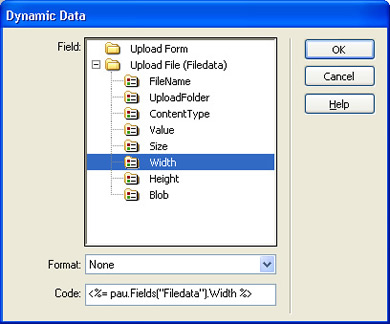
Do the same for the Height field.
Double Click the Pure ASP Upload 3 Server behaviour in your Application panel and press OK.
Then double click on the Insert Record behaviour and set the Column and Submit as values and press OK.
Save your files and upload them to the database and you are all set!
After testing you'll see that the width and height of the files you uploaded after inserting the hidden form fields are saved:
![]()