Insert DMXzone Calender 3
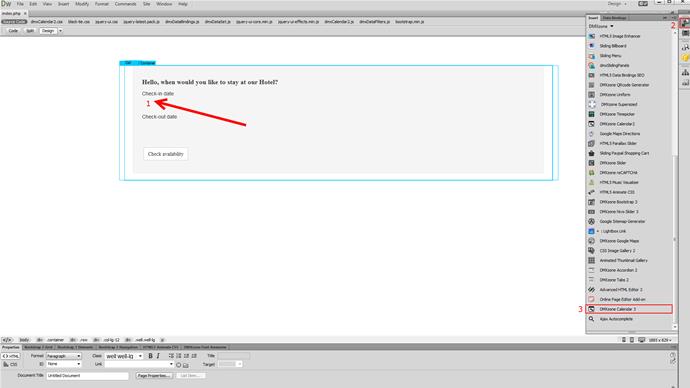
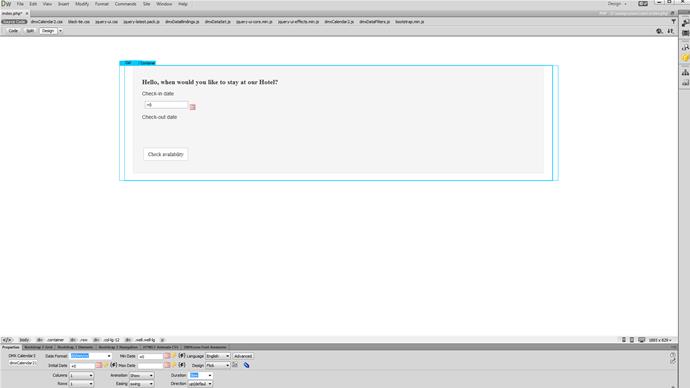
We created a really basic form. Our page contains a responsive Bootstrap 3 container. Inside the container we want to place the DMXzone Calendar. Click inside the container (1) and from the insert panel (2) select DMXzone Calendar 3 (3).
Selecting the date format
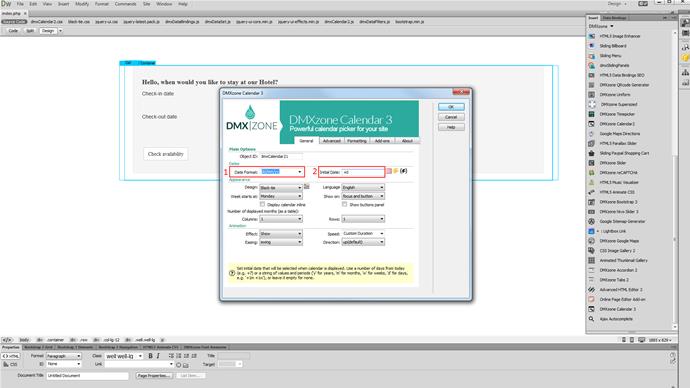
Select the date format that will be used with this calendar. We select the European date format, as we are located in Europe. (1) You can set an initial date or you can leave this field empty. We set plus zero as an initial date. This will set today as an initial date. (2).
Customization
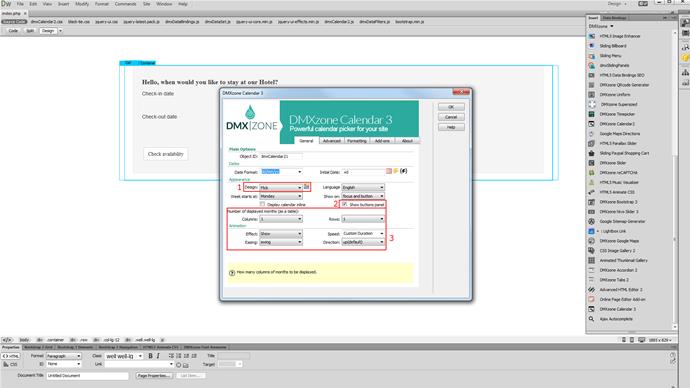
Select a design preset for your calendar. We choose the "Flick" one (1). You can choose whether to show the calendar inline or not and whether to show the buttons panel or not. We choose only the show buttons panel option (2). Select the number of months to be displayed and adjust the animation settings (3).
Elements and navigation options
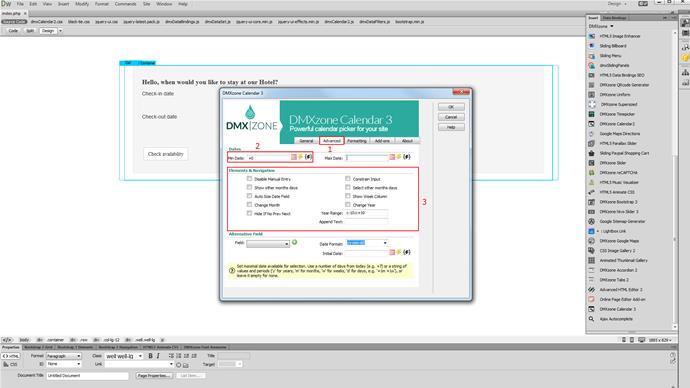
We move on to the advanced tab (1). We need to set the minimal date available for selection to be equal to - today's date. We enter plus zero here (2). You can leave the maximum date field empty. Setup the elements and navigation options for the calendar (3) and when you're done, click OK.
Preview the results
You can add as many calendars as you need, on your page. Now, save your work and preview the result in the browser.
Comments
Be the first to write a comment
You must me logged in to write a comment.