Create real-time image effects on your web page with Flash Image Enhancer. Use rounded corners, borders, drop shadows, blur, grayscale and mouse over effects like an image description that slides in!
Flash Image Enhancer Manual
Create real-time image effects on your web page


Adding text effects
Introduction
In this tutorial we're going to create a text effect that will be displayed when the user moves his mouse over the image.

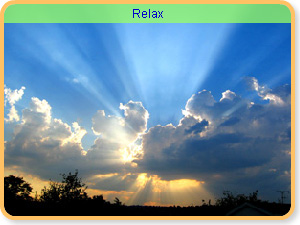
Start: Original image

General Options set: Border, Shadow
Mouse Over options set: Text effect which customized colors and opacity
- Before you
begin
Make sure you've read the Before You begin and Applying the Flash Image Enhancer extension – Basic Settings chapter.
- Setting the Text options in the Mouse Over Tab
Select the Mouse
Over tab of your Flash Image Enhancement interface. First we determine the Position of the bar that will contain our text, you can display the text on the top or bottom side of the image. We'll set it to top. You can set the
transparency of background behind the text by setting the BG Opacity option, we'll set it to 75. You can also define its color with the BG Color option, let's set it to green (0x99FF66). The Speed option sets the
velocity of the background of the text that moves in when a user moves over the
image. The lower the speed, the smoother the animation. Make sure you use any
value above 0. We set it to 1.
Enter the text you want to display on the image by entering your message in the Text field.
In this example we'll type the short text "Relax".
We leave the Font Size to 12. We leave the text alignment to center by selecting the 2nd of the three icons. The first one is to align the text to the left, the third one is to align the text to the right.
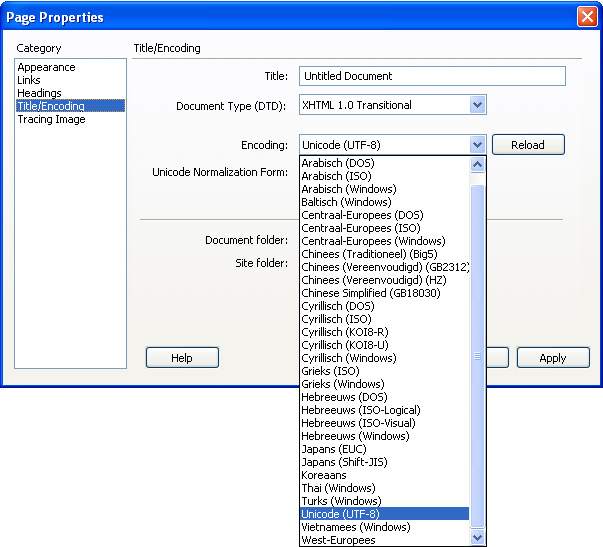
Let's change the color of the text by setting the Color option to blue (0x0000CC). We leave the Use Embedded Font checked. Uncheck it if you want to display foreign characters (like Chinese or other special characters). This will force the usage of system fonts (set your page encoding in your page properties to the format that will support your language, for instance UTF-8).
Note: when unchecking the Embedded Font anti-aliasing is not supported. Furthermore the reflection of the font will not be displayed.
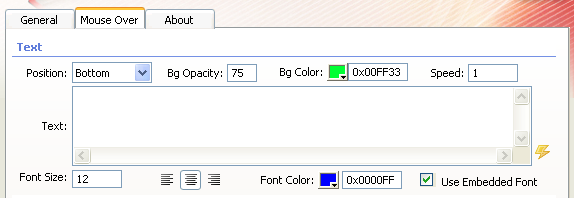
The text options
- Final steps
Press Ok, save your files, upload them to
your server (including the script library) and the result should like below.
General Options set: Border, Shadow
Mouse Over options set: Text effect which customized colors and opacity
George Petrov
 George Petrov is a renowned software writer and developer whose extensive skills brought numerous extensions, articles and knowledge to the DMXzone- the online community for professional Adobe Dreamweaver users. The most popular for its over high-quality Dreamweaver extensions and templates.
George is also the founder of Wappler.io - the most Advanced Web & App Builder
Comments
Be the first to write a comment
You must me logged in to write a comment.