In this article we you will find useful information about the DMXzone Ajax Form Dreamweaver extension. We covered everything from basic to advanced usage, well presented in detailed tutorials and videos. Also we included the features packed in this helpful tool and many more.
DMXzone Ajax Form Manual
Learn how to use the DMXzone Ajax Form extension


Advanced: Styling the Default Success and Error Message Sections
In this tutorial we will show you how to style the default Success and Error message sections in DMXzone Ajax Form.
*You can also check out the video.
How to do it
- We already added a simple form wrapped with DMXzone Ajax Form.
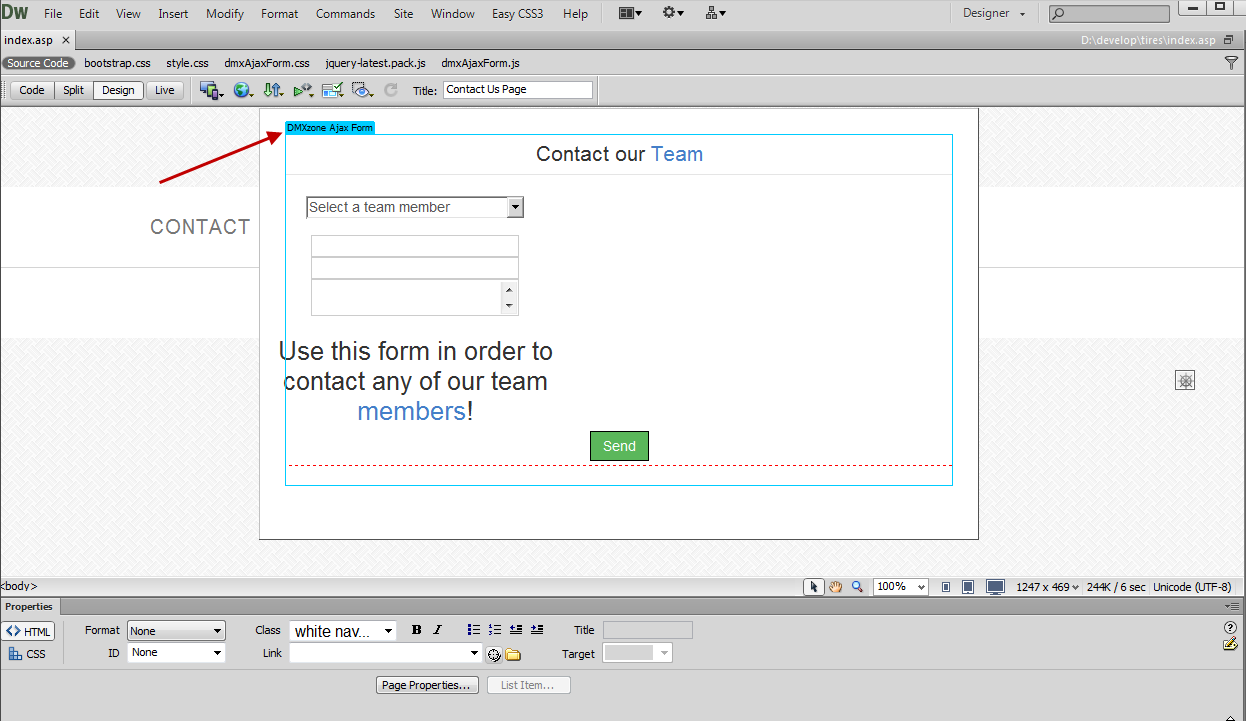
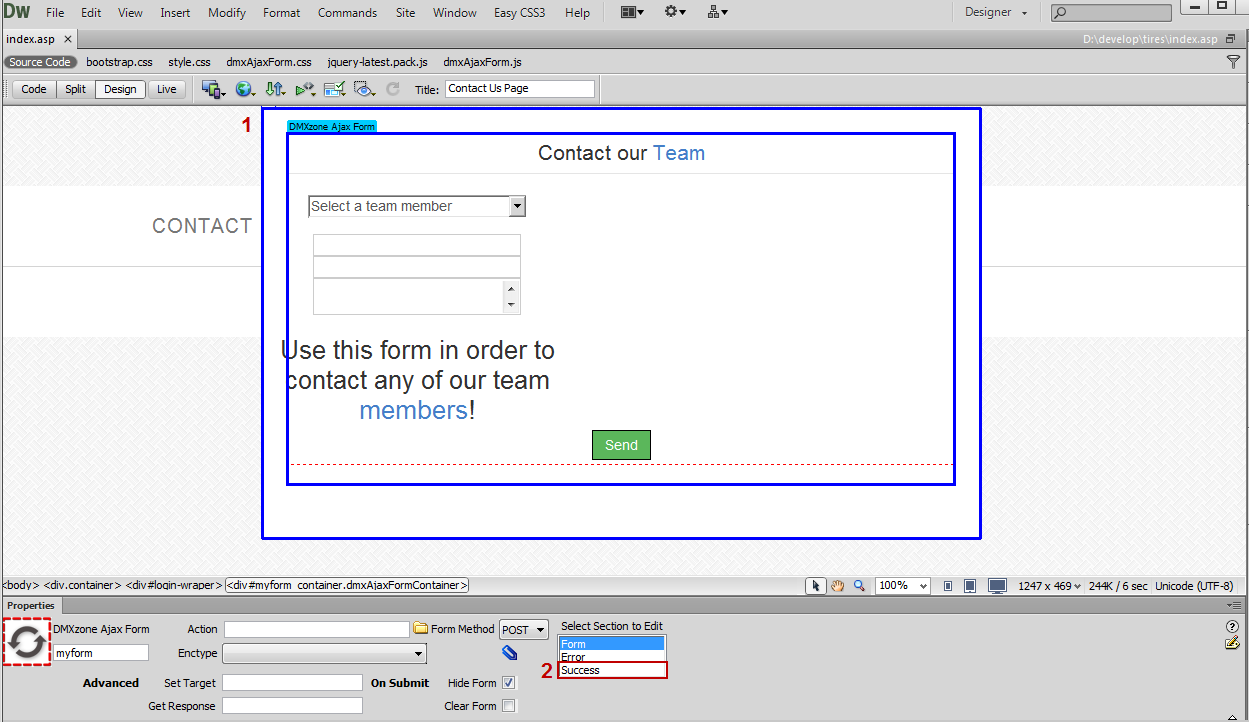
- Click the form (1) and choose the Success
section (2).
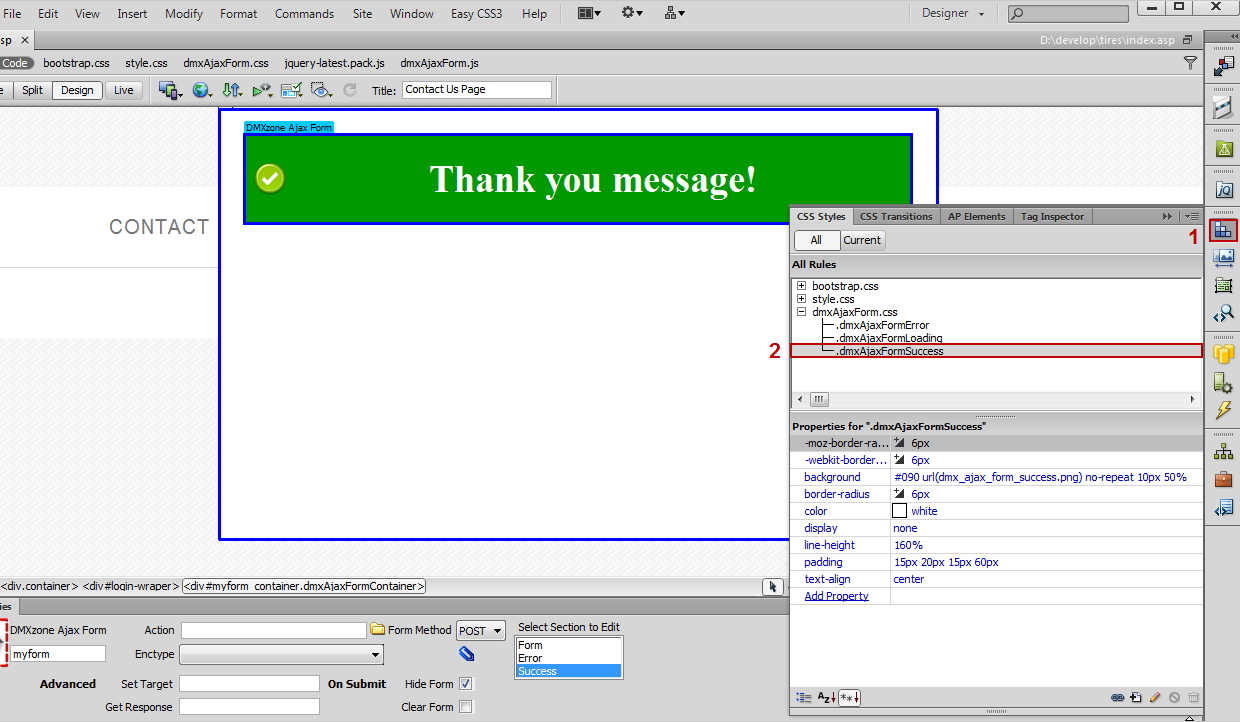
- This is the default Success message and we want to change
its appearance, therefor click the CSS Styles button (1) and under dmxAjaxForm.css select the .dmxAjaxFormSuccess class (2).
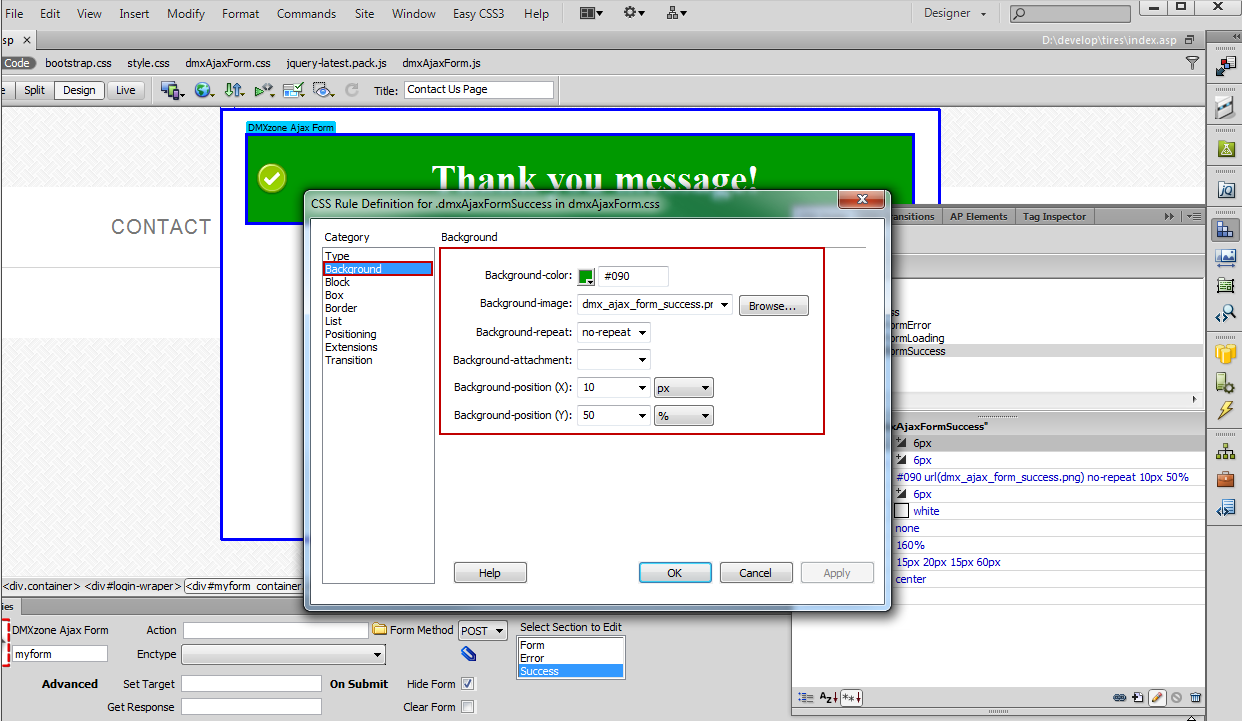
- In the CSS Rule Definition for .dmxAjaxFormSuccess
window, select the Background item, where we will change the
background settings for the success message section.
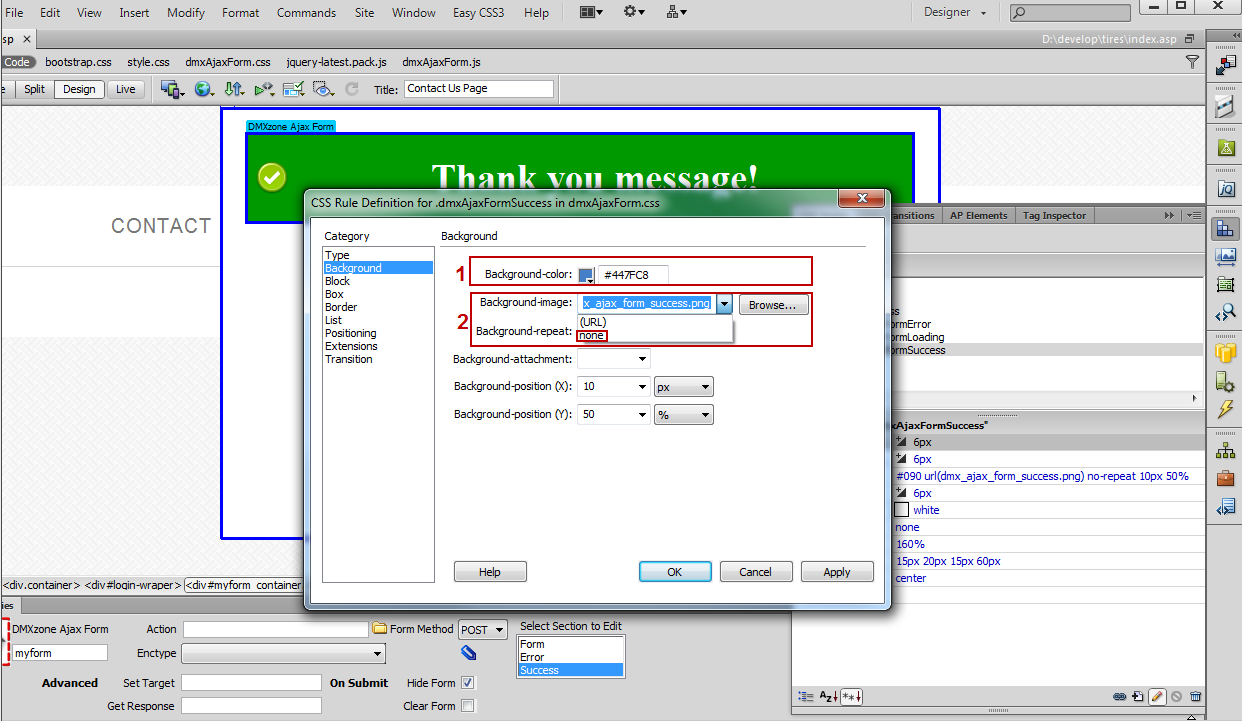
- We change the background color (1) and remove the image by selecting none (2) as it doesn't match our new background color. Also you can change any other CSS property of this class. When you're done, click the OK button.
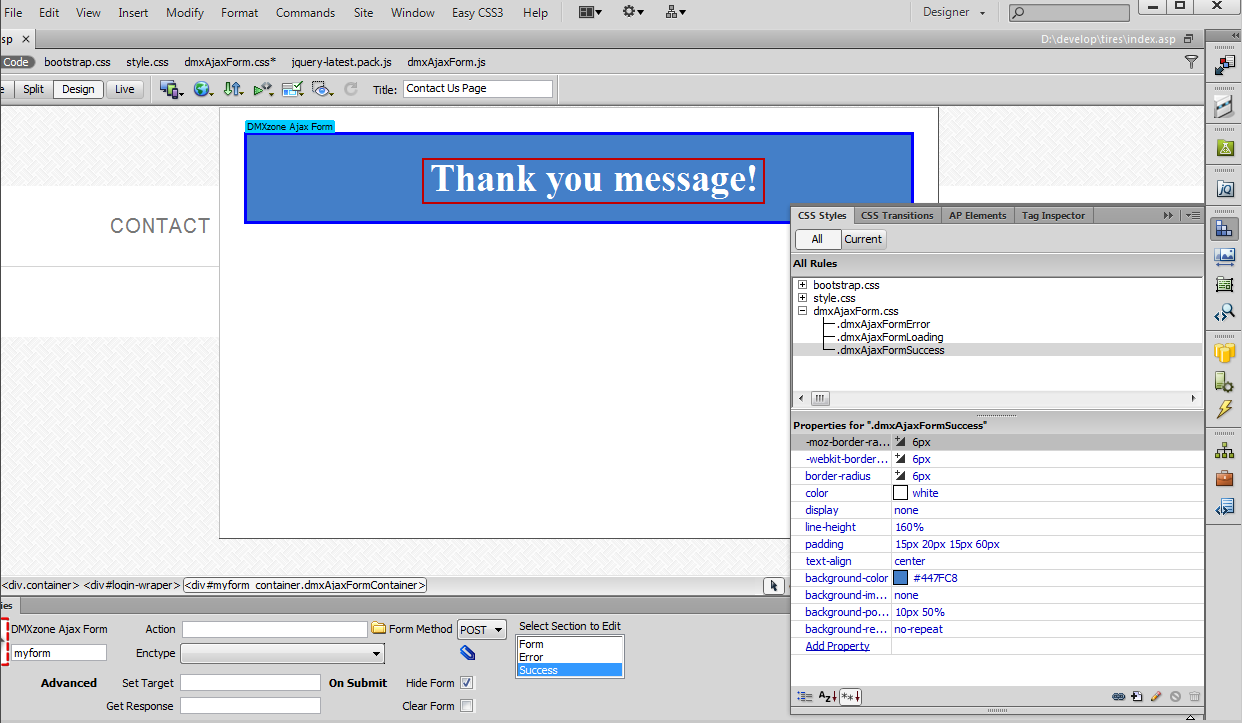
- You can change the text and its appearance as well.
We do the same with the Error section.
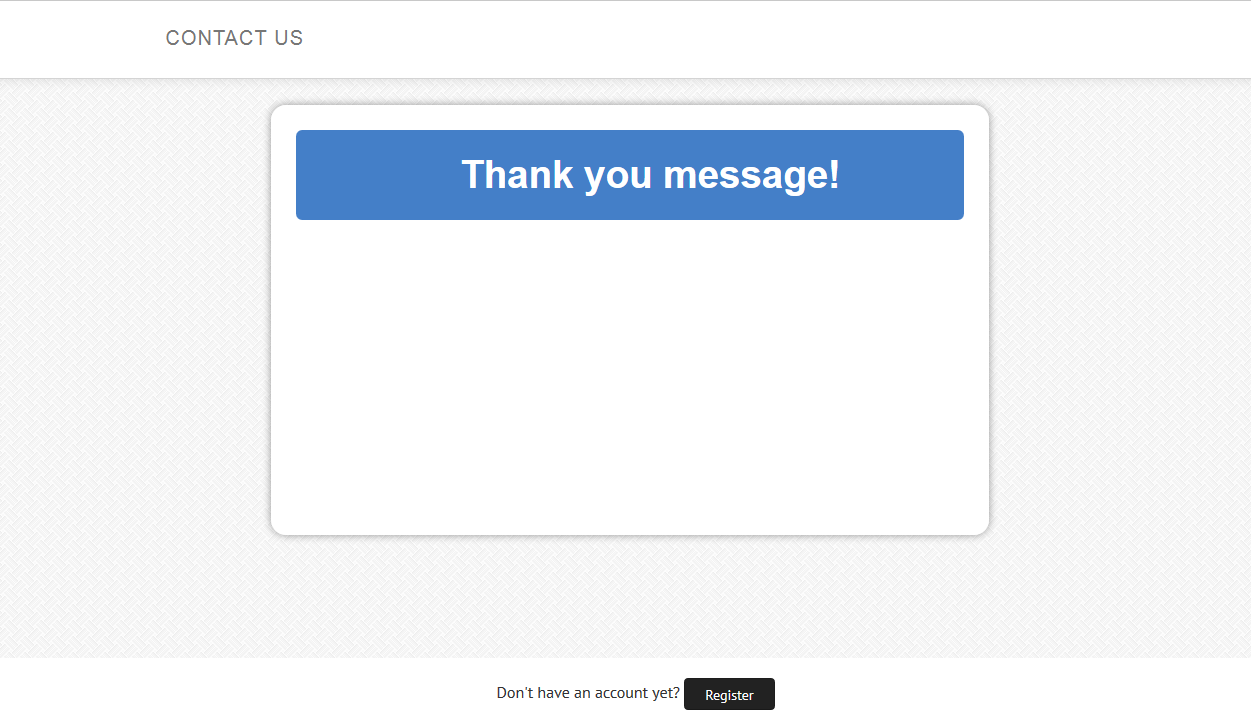
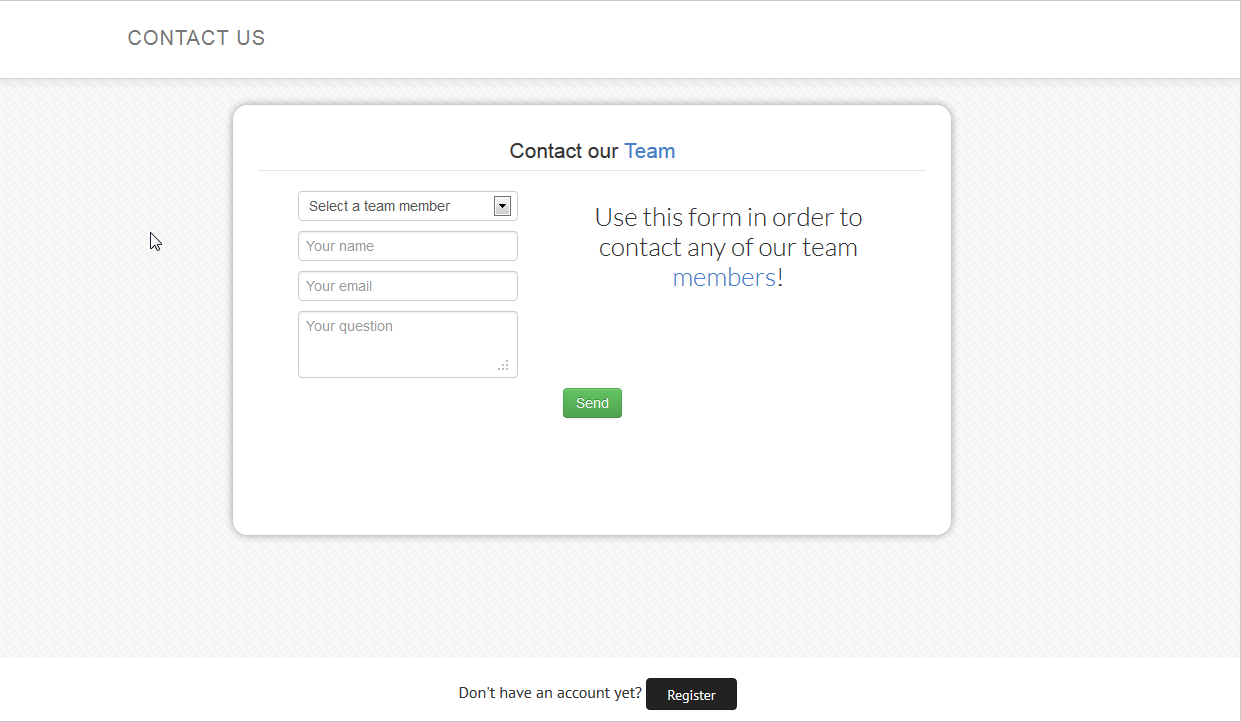
- Now you can save your work and preview the result in the browser.
Comments
Be the first to write a comment
You must me logged in to write a comment.