In this article you'll find all the needed information in order to work with the DMXzone ePub Manager extension. It features useful tutorials for basic and advanced usage. If you follow the steps you will be able to set up your Dreamweaver workspace for ePub projects, create ePubs from scratch, edit the metadata and even edit an existing ePub projects.
DMXzone ePub Manager Manual
Fully edit and generate ePub books in Dreamweaver


Advanced: Creating ePubs from Scratch using DMXzone ePub Manager
In this tutorial we will show you how to create a new ePub
project from scratch using one of the ePub templates included in DMXzone ePub
Manager.
*You can also check out the video.

How to do it
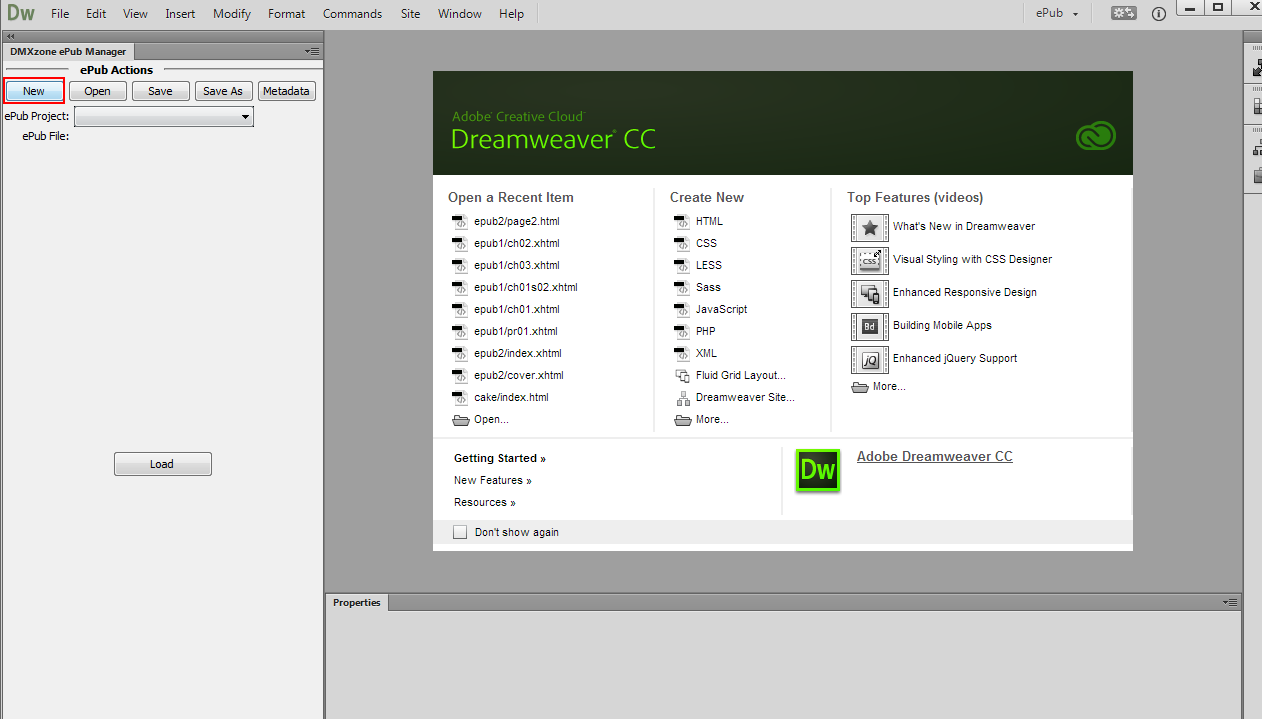
- First thing is to create a new ePub file by click the new button.
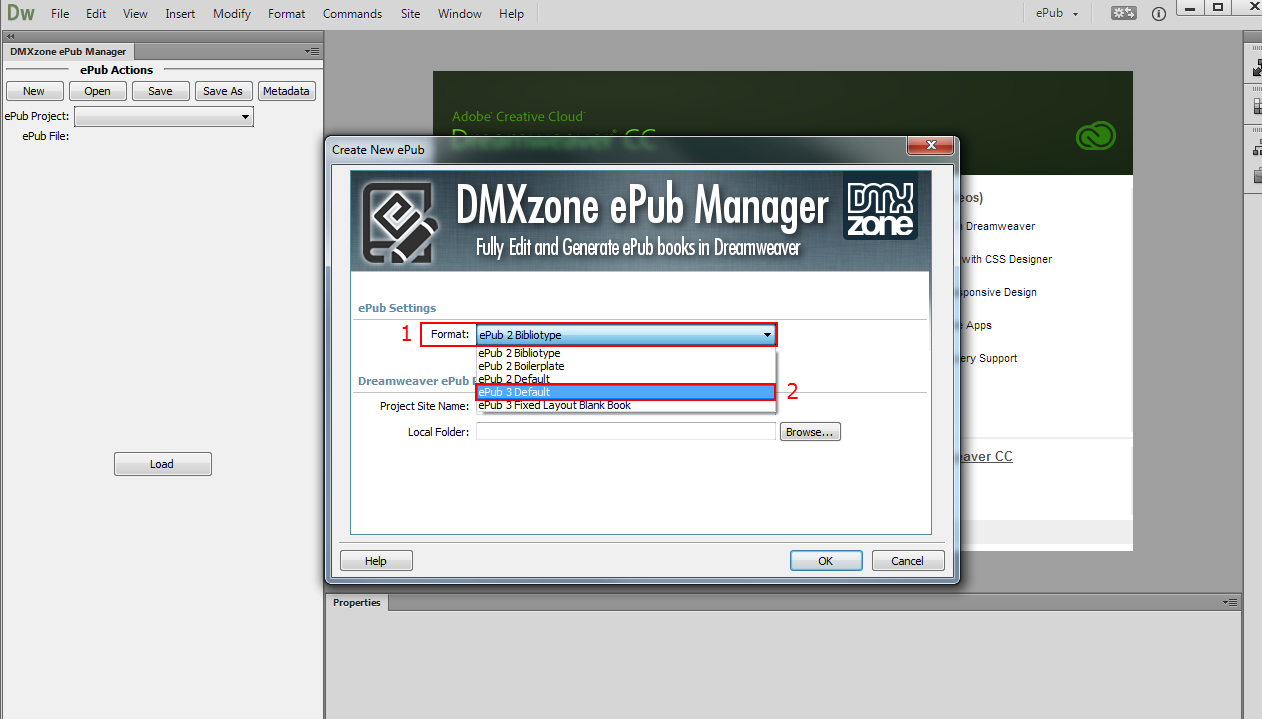
- The create new ePub window opens. Open the format select menu (1) and select the ePub 3 default format (2). DMXzone ePub Manager includes a few industry proven ePub templates.
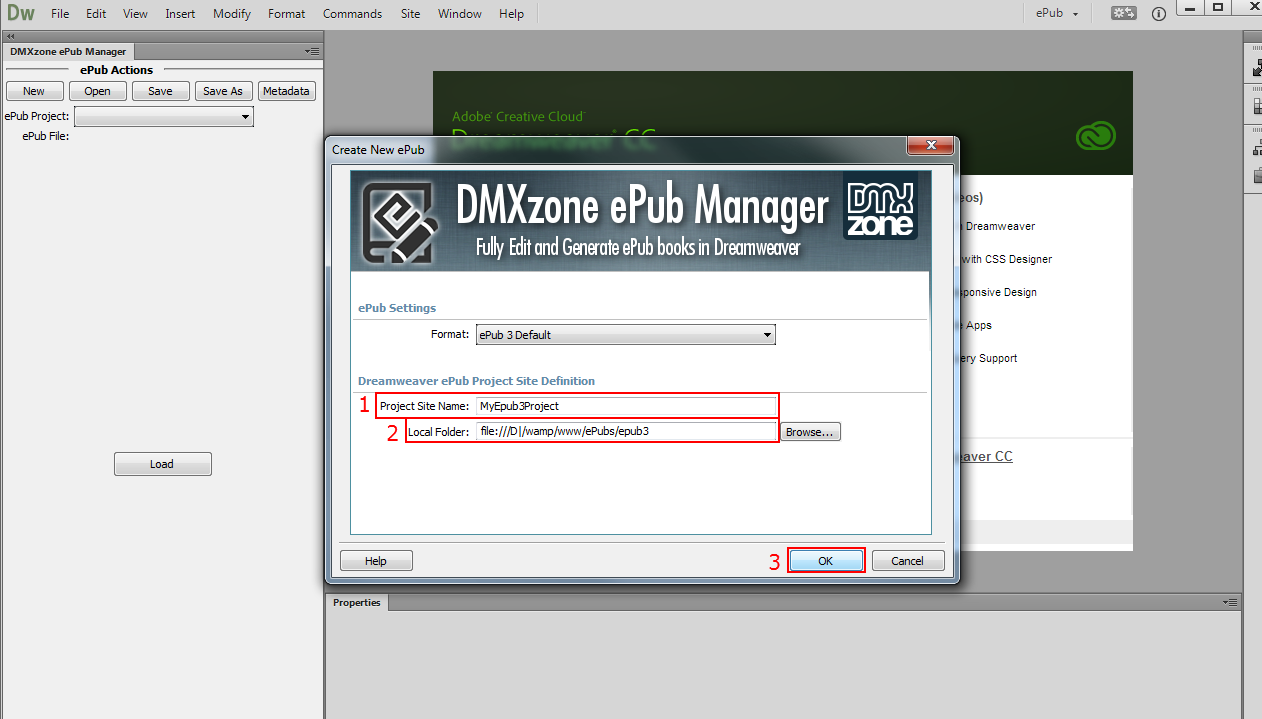
- Add a name for the ePub project site (1) and select the local folder where the files will be stored (2) When you're done, click OK (3).
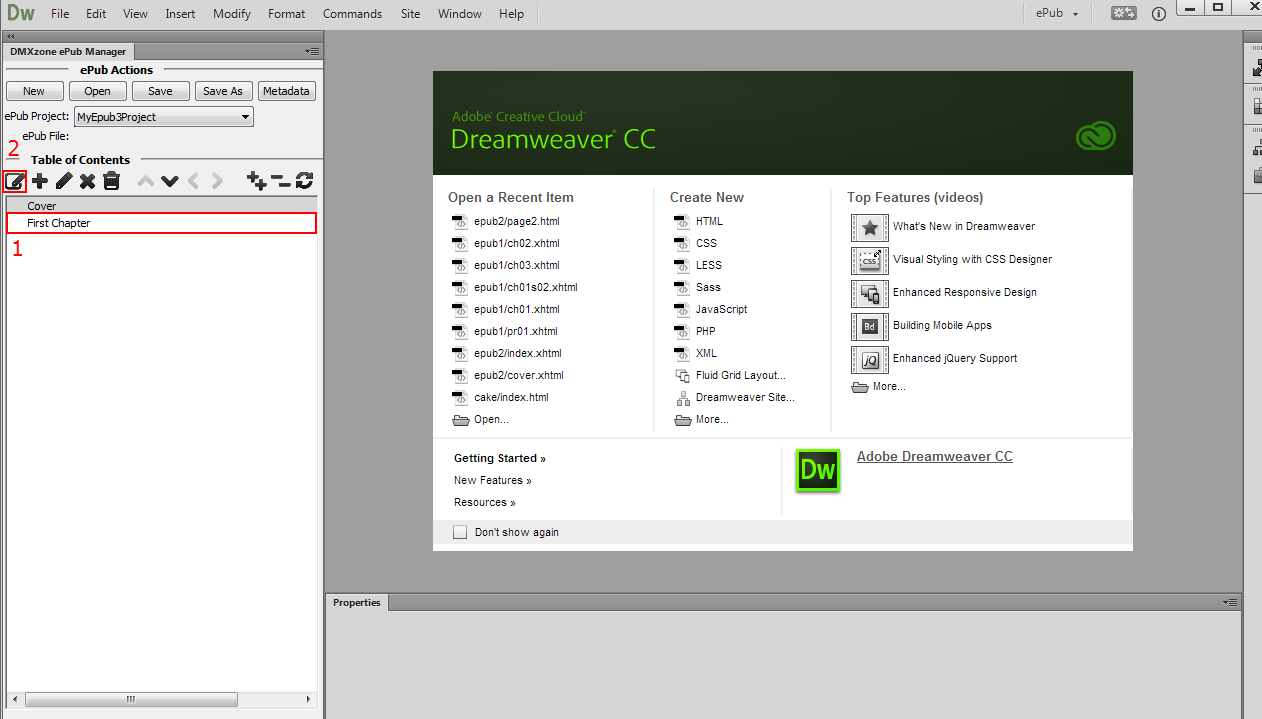
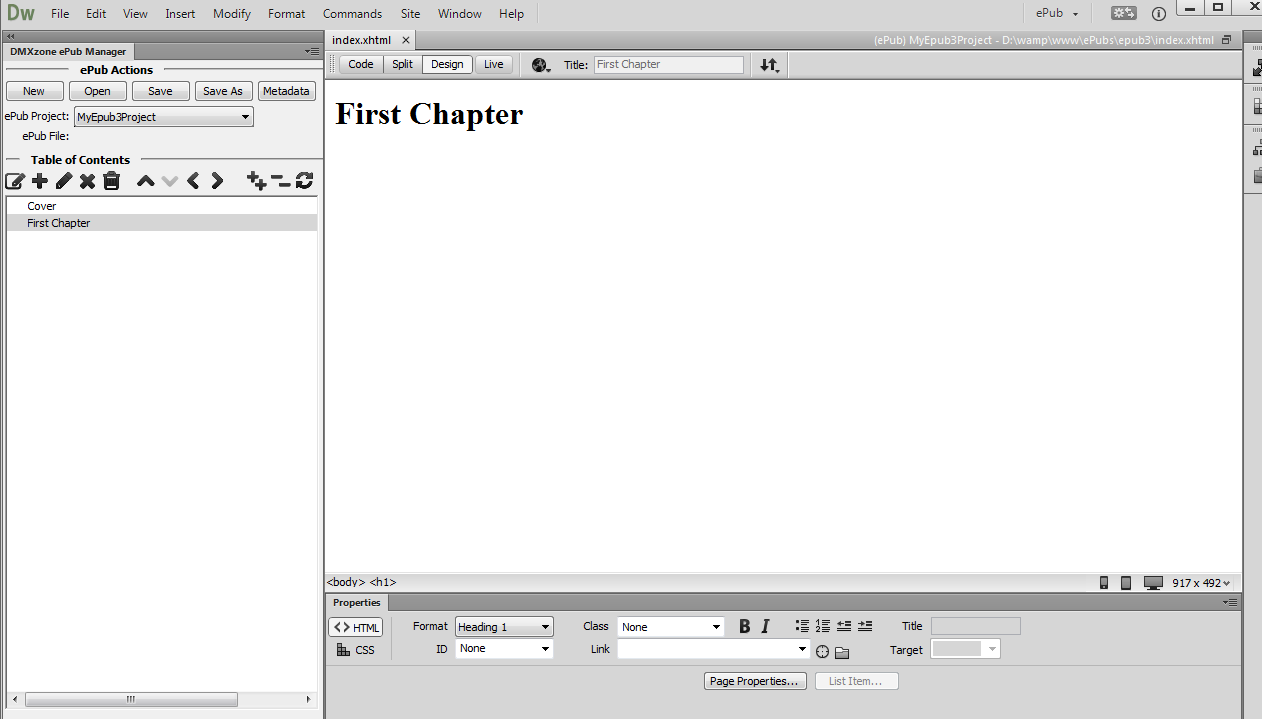
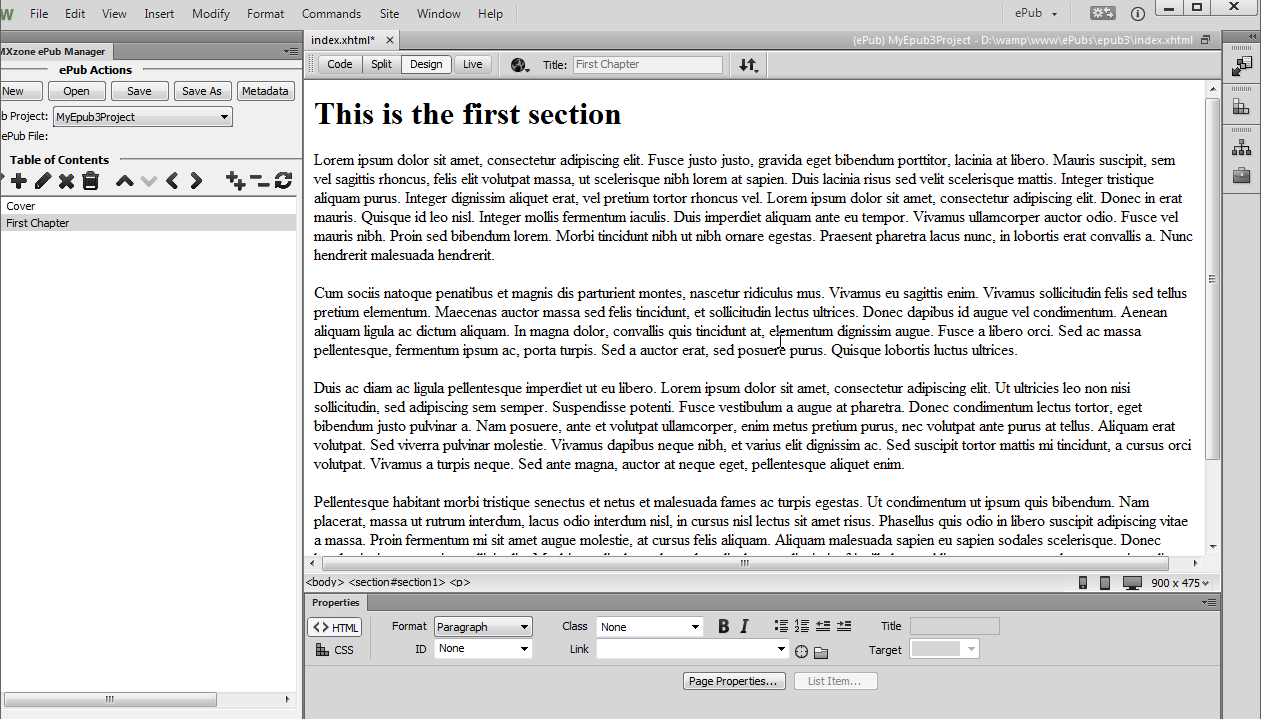
- This template comes with a sample table of contents. Select the first chapter (1) and click the open page button (2).
- A page with some dummy text appears. Ye can delete the dummy content and add your content there.
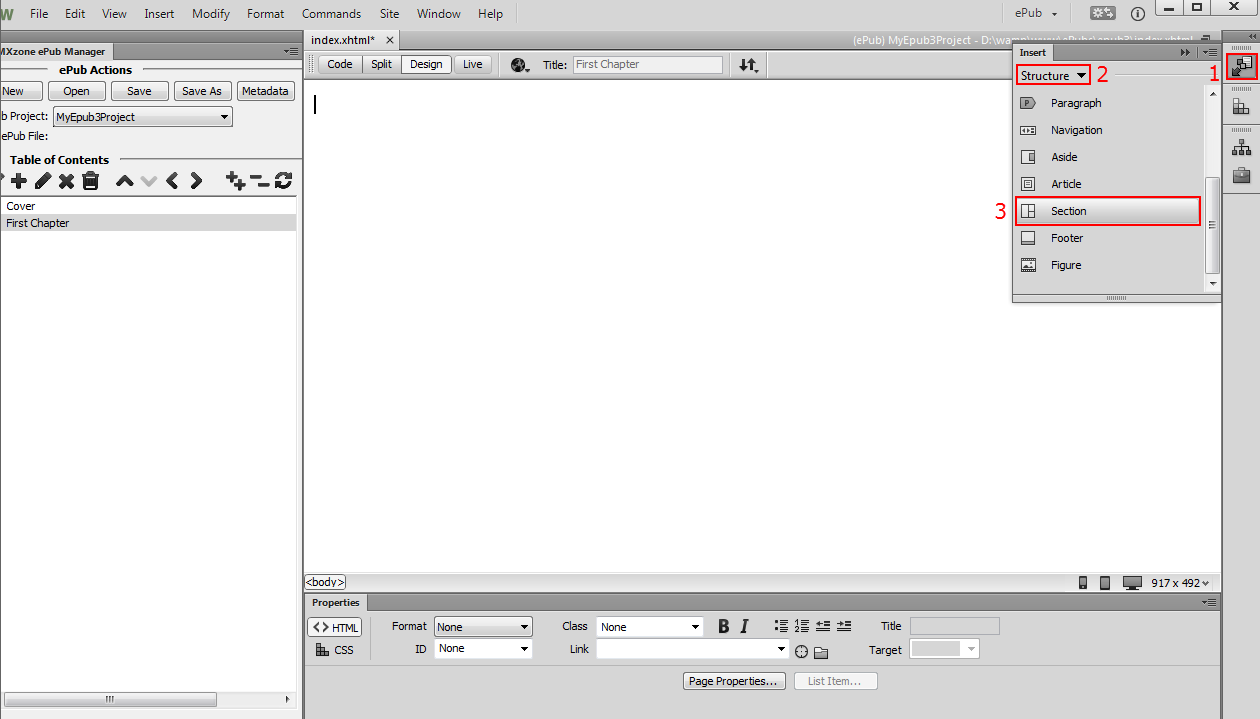
- Now we are going to insert a section that contains a title and some paragraphs with text. Click the insert button (1) and under the structure menu (2), choose section (3).
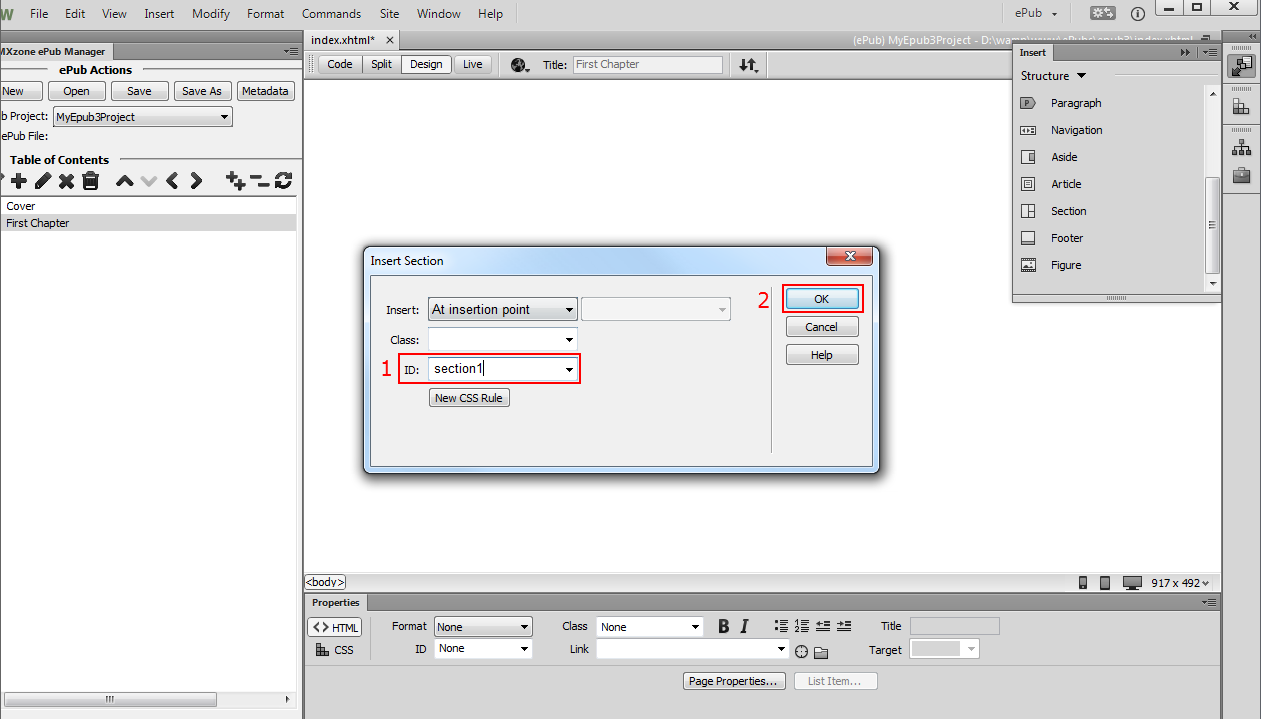
- The insert section window opens. We add an ID for this section: section1 (1). Once you're ready, click the OK button (2).
- We add a title for this section, select it (1) and from the format combo box we choose Heading 1(2).
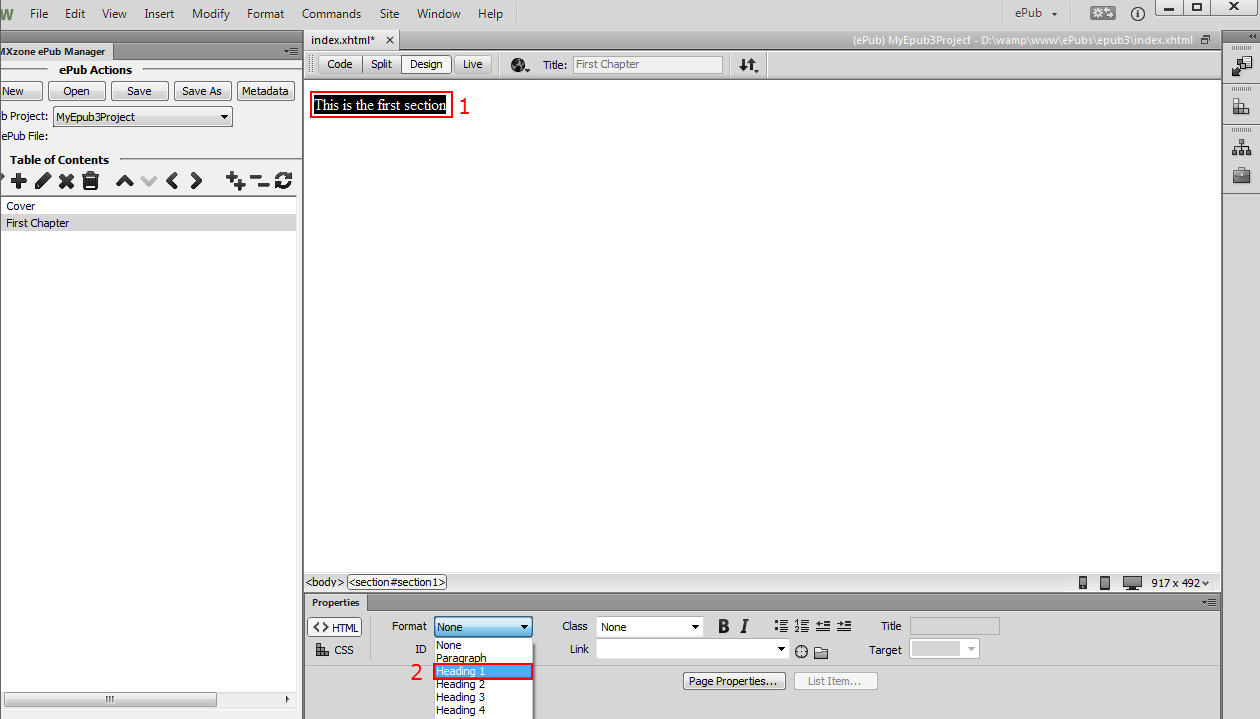
- Now we add the content of the section.
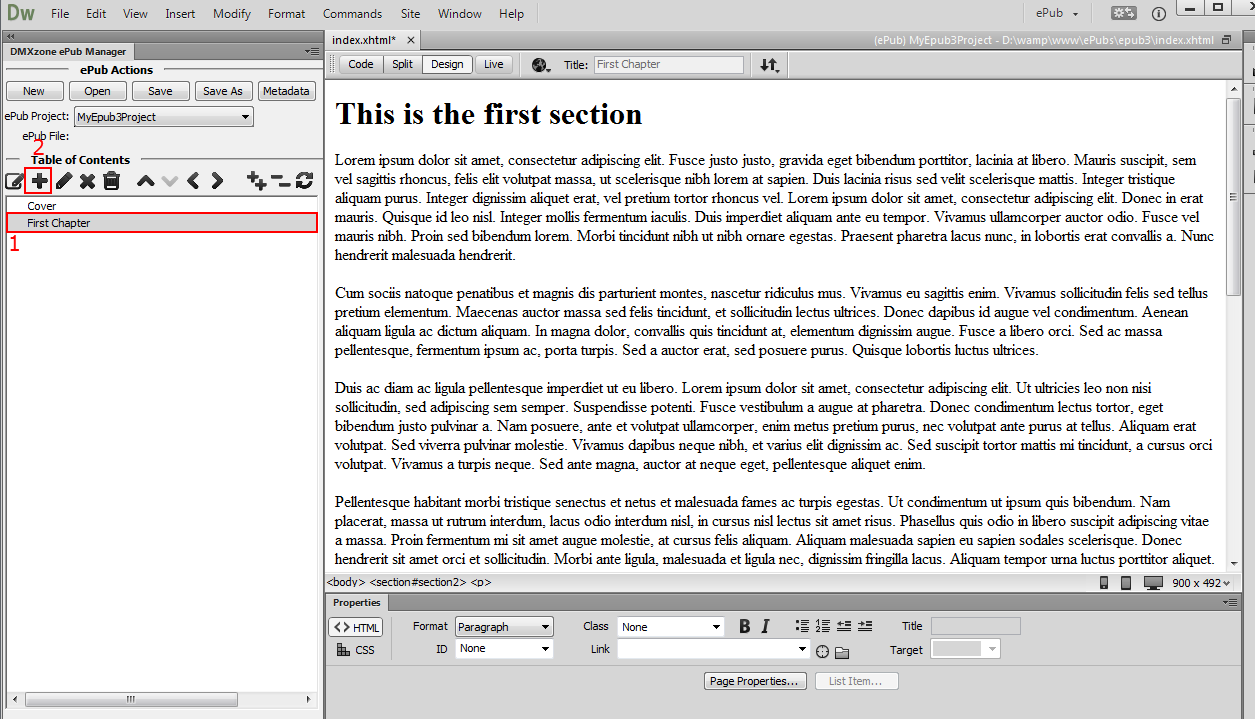
- We add another section the same way, this time we use an ID: section2. Now let's add links to our sections in the table of contents. Select the first chapter (1) and click add new Item button (2).
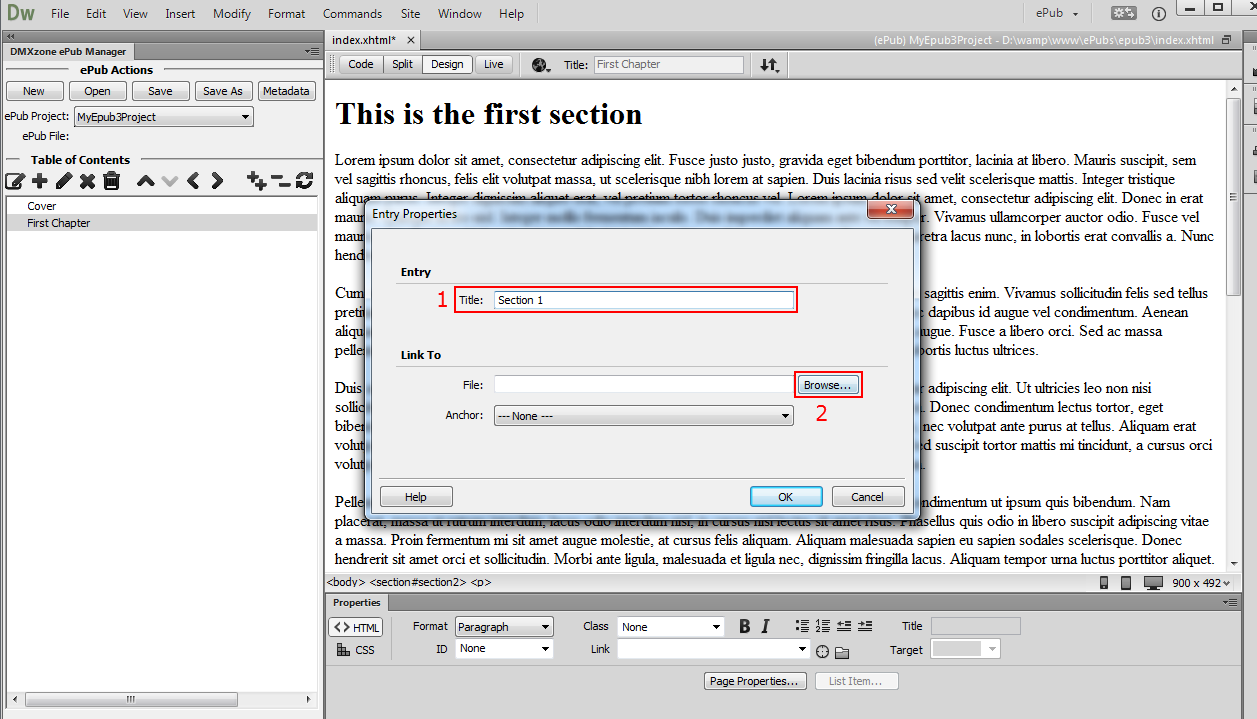
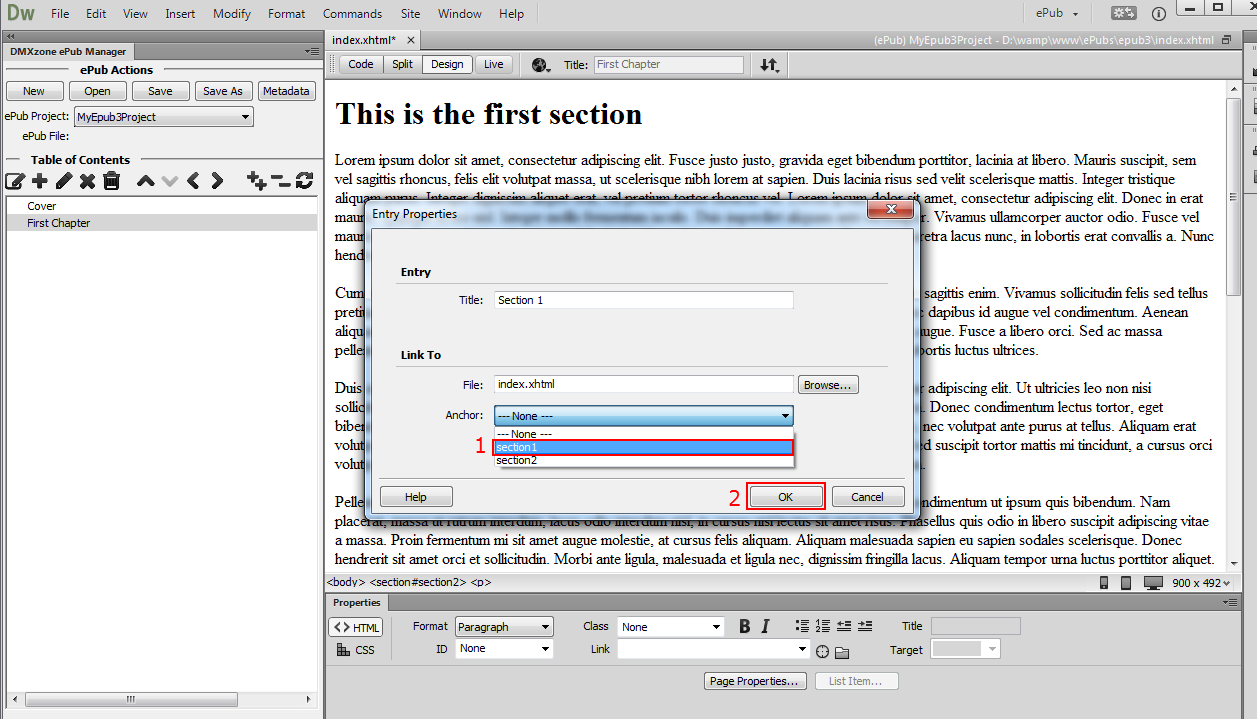
- The entry properties window opens. We add Section 1 as an entry title for the first section that we created (1) and click the browse button (2).
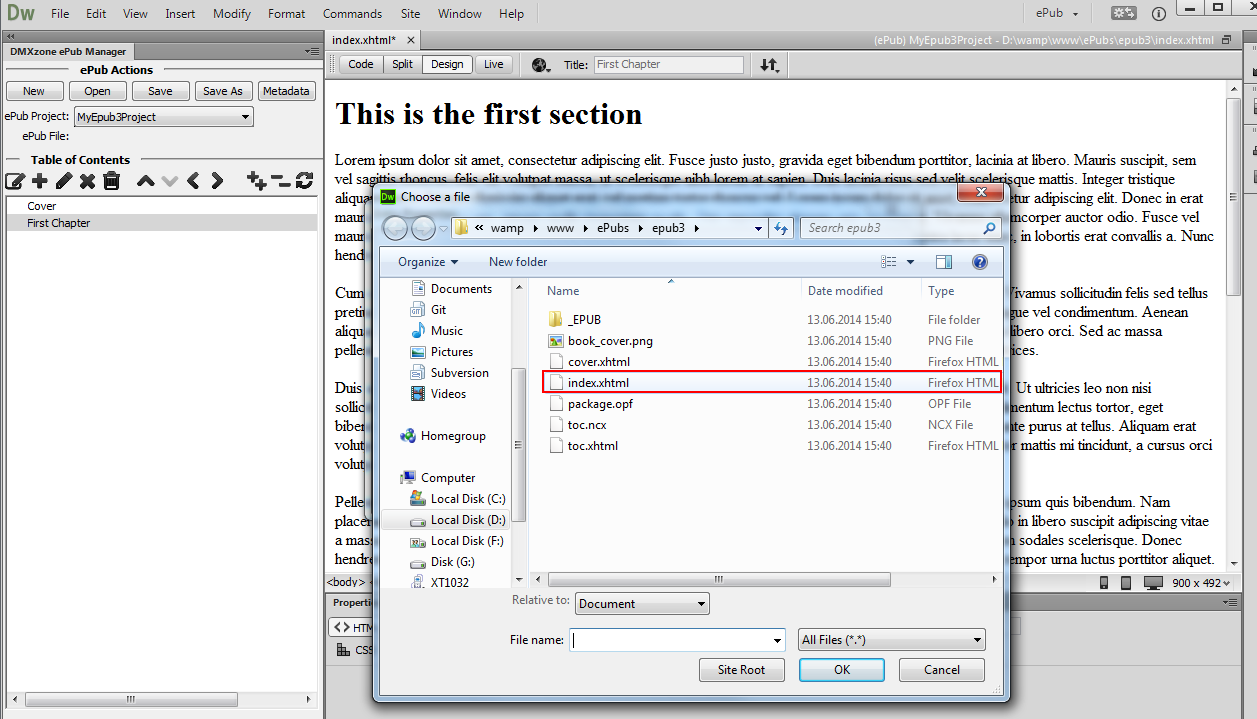
- We added the two sections into the index.xhtml file. Select it.
- Open the anchor select menu, select section1 (1) and click Ok button (2).
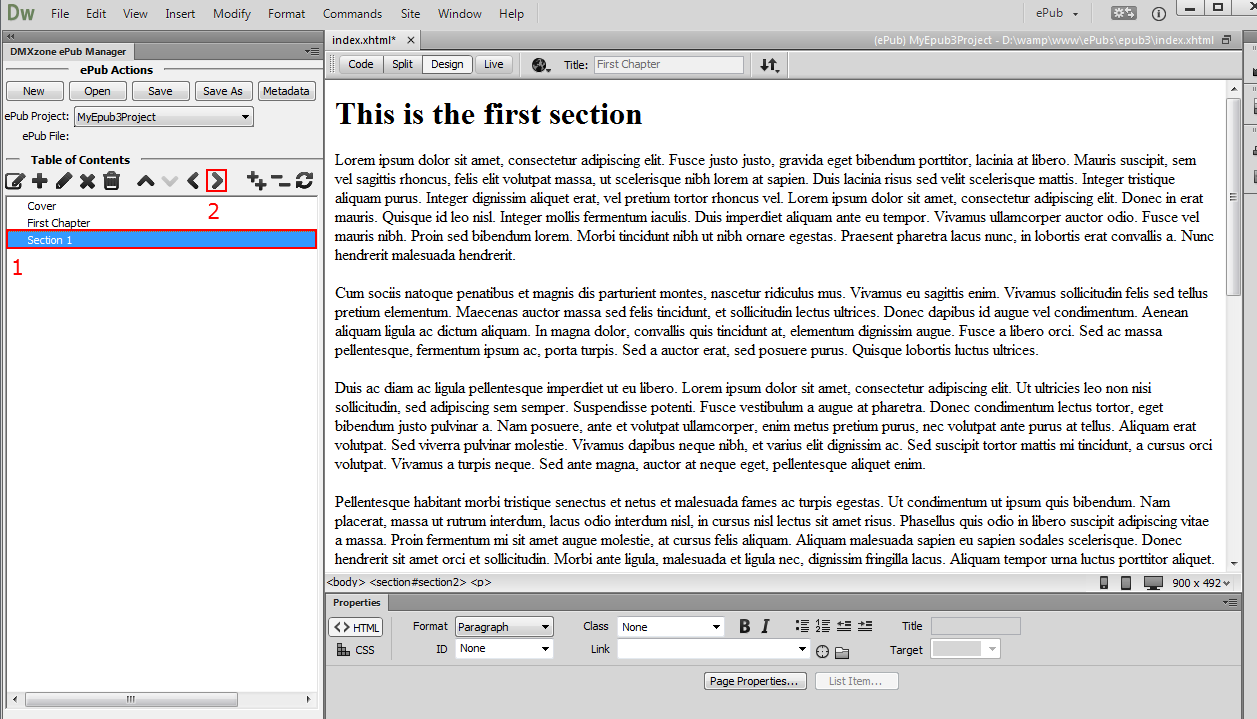
4. Select the Section 1 entry that we've just created (1) and click the move item right button (2).
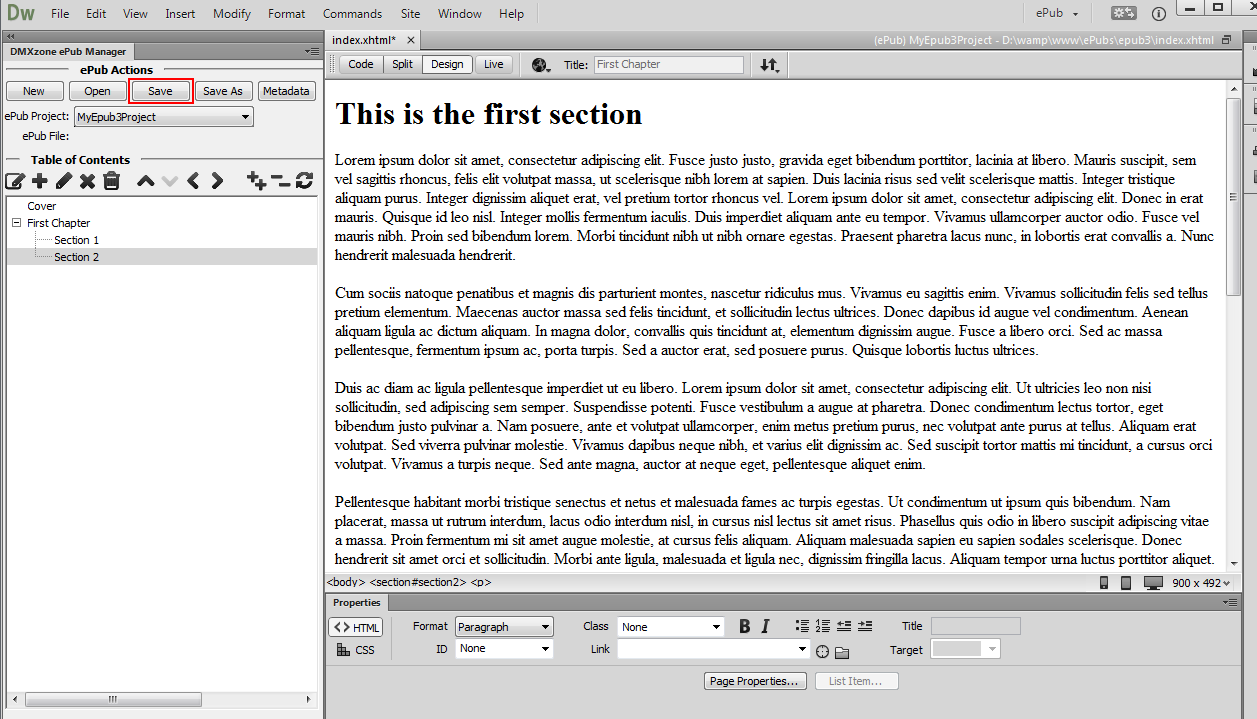
- We do the same for the Section 2, this time linking the entry to section2. When you're done, click the save button and the choose an ePub file to save window will open.
- Add a name for the ePub file (1) and click the save button (2).
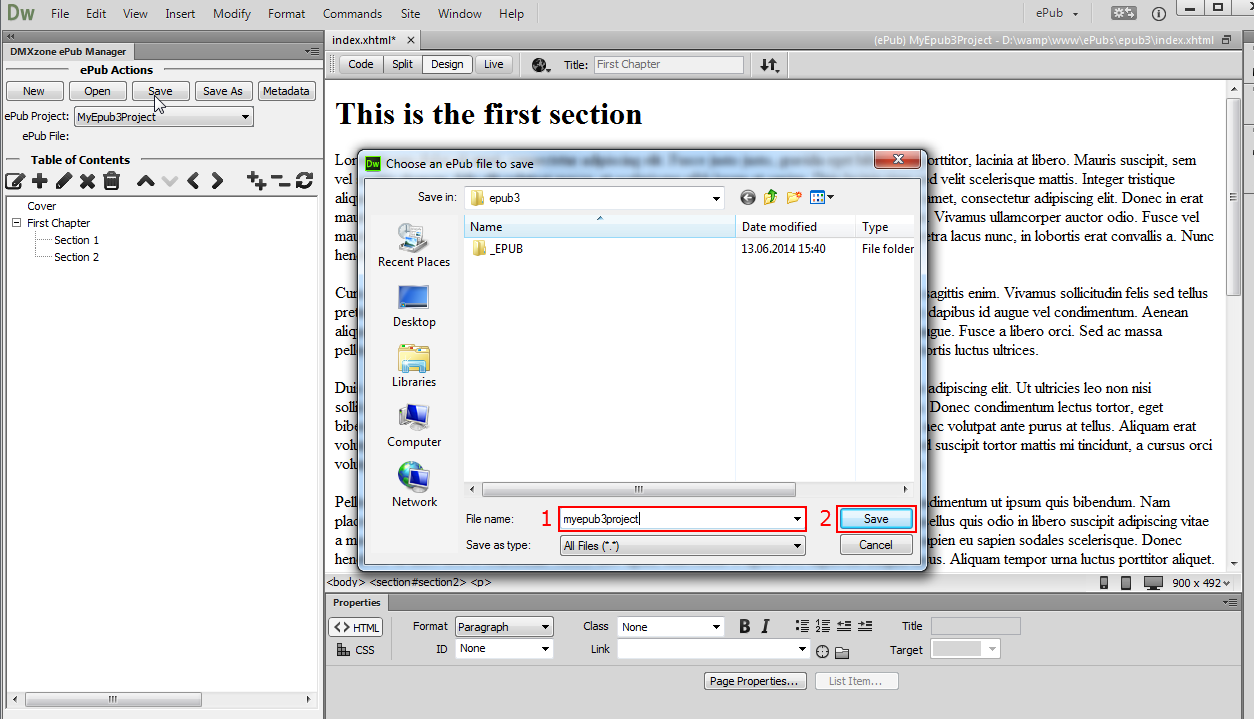
- The DMXzone ePub Manager takes care of all the error prone and boring job of listing all your files in an ePub manifest, spines and table of content files. When you choose to save the new ePub file it is all done automatically for you! That's how easy it is to create a new ePub project from scratch using one of the ePub templates included in DMXzone ePub Manager.

Comments
Be the first to write a comment
You must me logged in to write a comment.