In this article you'll find our user tutorial, which will teach you how to work with Sliding PayPal Shopping Cart 2 Dreamweaver extension. We covered everything from basic usage to creating dynamic shopping carts. All tutorials are also available in video format. If you experience any troubles with the extension, please contact our support and they will help you out.
Sliding PayPal Shopping Cart 2 Manual
Learn how to use Sliding PayPal Shopping Cart 2
The Basics: Use Sliding PayPal Shopping Cart 2 on your Page
In this tutorial we will show you how to insert Sliding
PayPal Shopping Cart 2 on your page and set it up.
*You can also check out the video.

How to do it
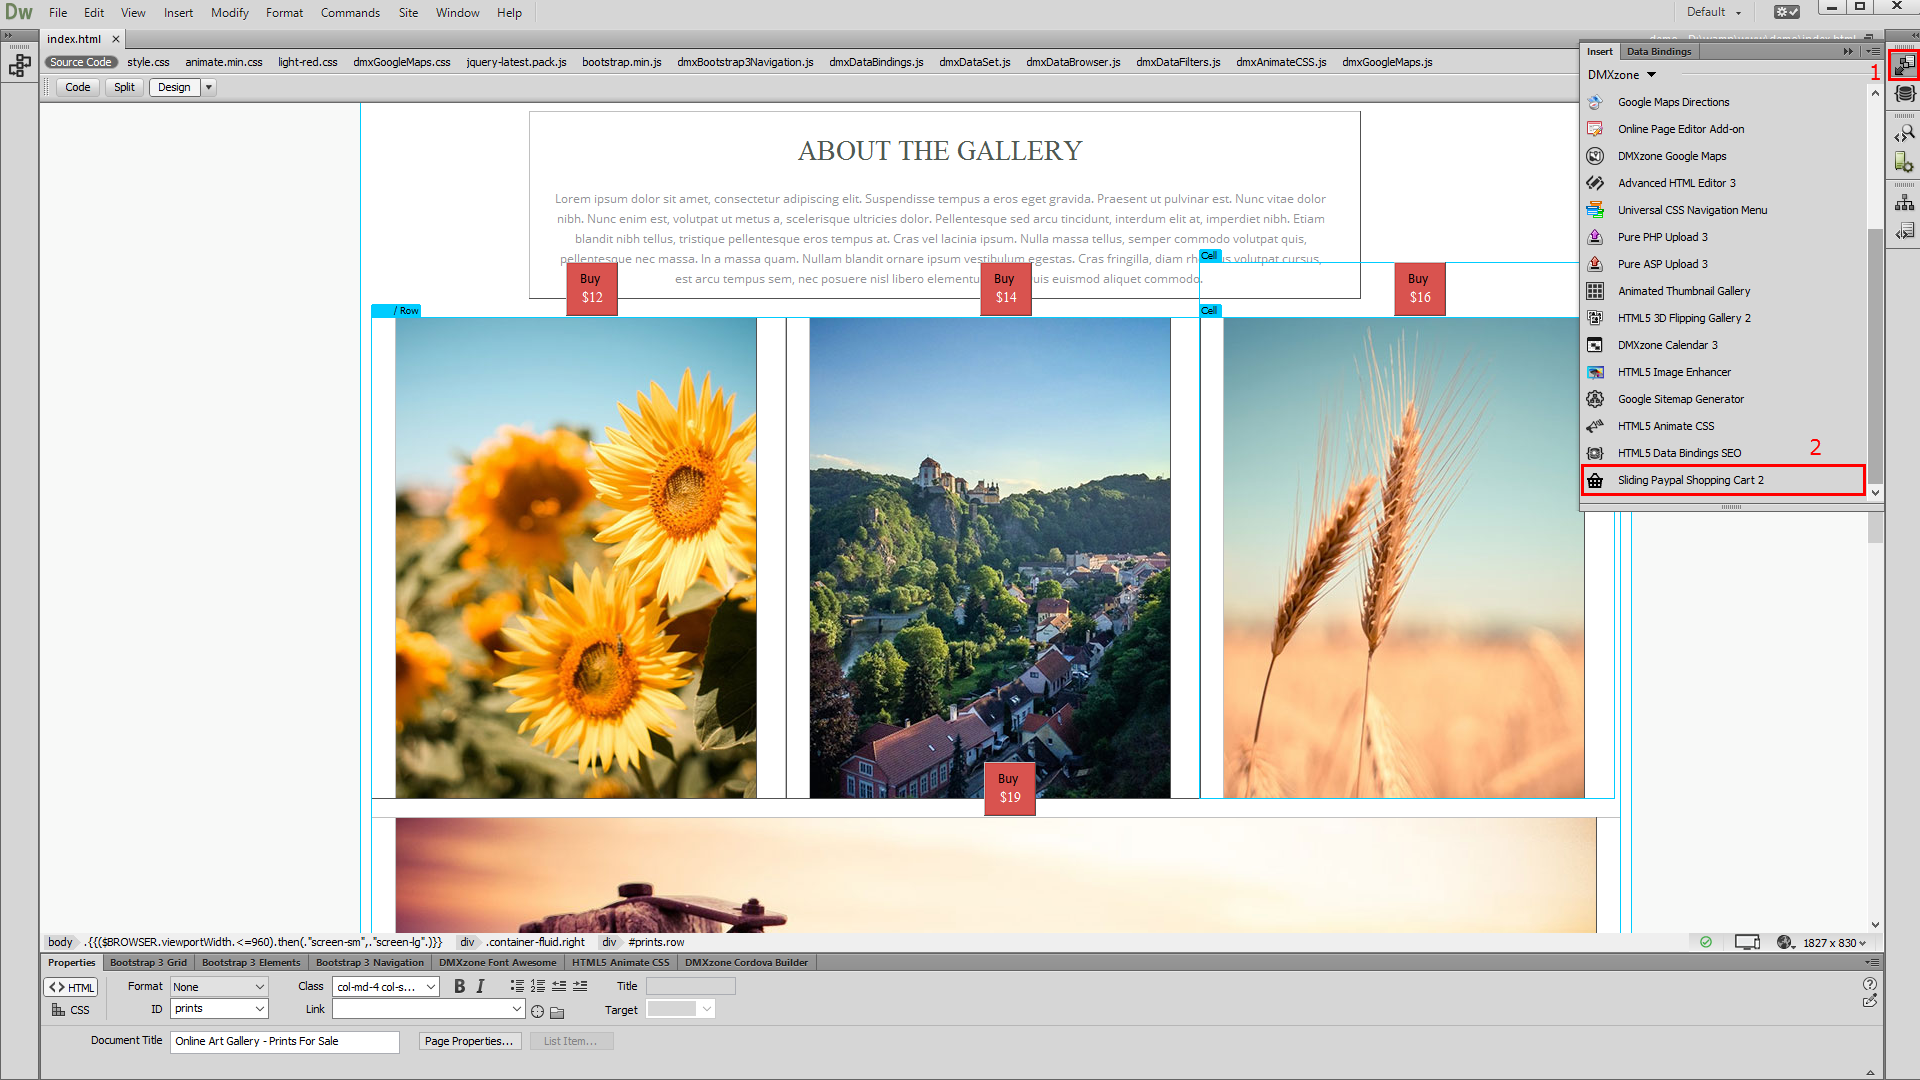
- We inserted several pictures that we'd like to sell on our site. Each of the pictures has its own buy now button, which actually is a simple HTML button. First, let's setup the general options of the Sliding PayPal Shopping Cart 2. Open the insert panel (1) and select Sliding PayPal Shopping Cart 2 (2).
- Select where the shopping cart should appear – on the left or on the right edge of your screen. We select the right edge (1). Enter the distance from the selected edge. The default value here is 50 pixels, but you can also use percentage values here. We leave it to its default (2).

- Select a currency for the payments, for our tutorial it's EUR (1). Then, enter your PayPal ID or the email address, associated with your PayPal account (2) and choose one of the predefined designs (3).

- You can use successful URL, in order to redirect the users, when the payment is completed. Also, you can use a cancel URL, to redirect the users, if they cancel the payment.

- In the advanced tab (1), you can select an HTML element that the shopping cart should be rendered as a child of. The default parent is the page body and we leave this unchanged (2). You can change the PayPal URL, if you are using sandbox or another version of the PayPal website (3).

- Select the base path of your website to set the cookie to. We leave this option to its default (1). Set the number of days, that the user's browsers should keep the shopping cart data. We enter 10 days (2).

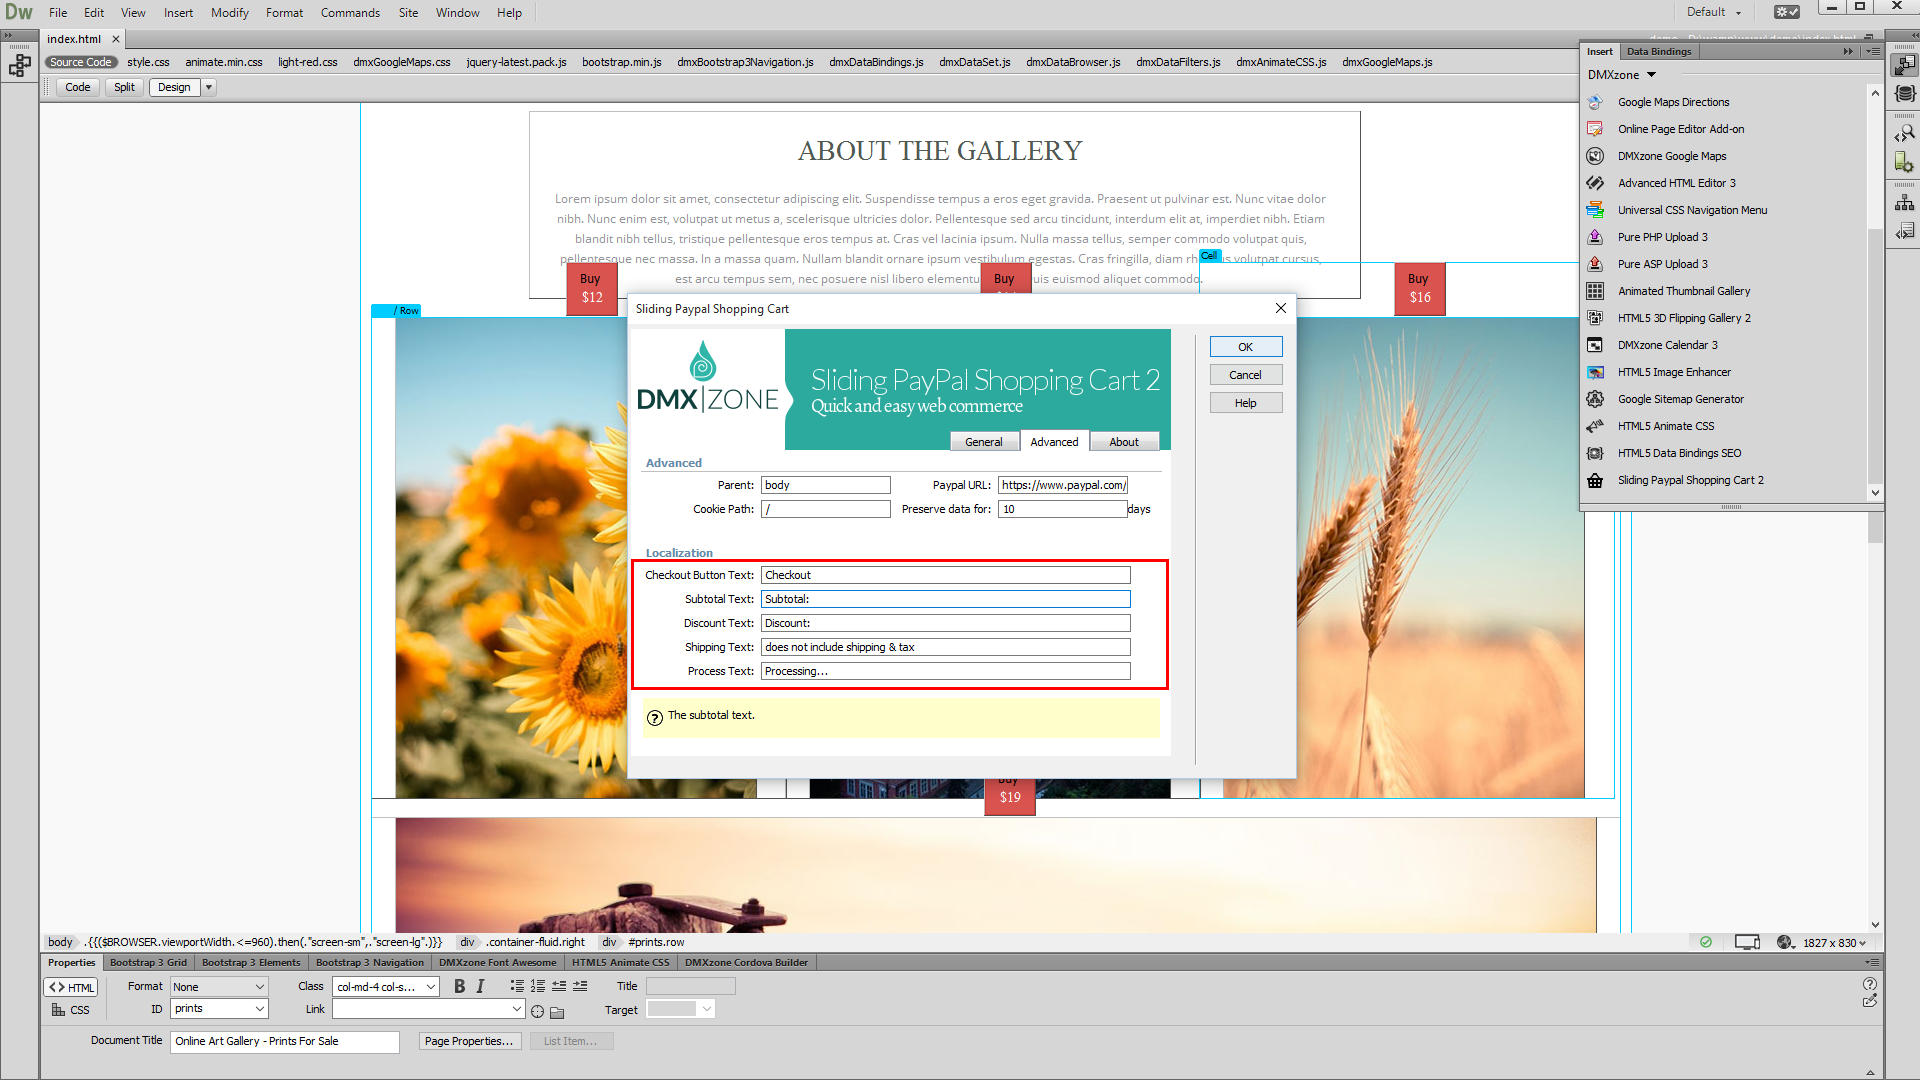
- Then, if needed, you can change the default shopping cart texts. We leave these to their default values. Click the OK button, when you are done.
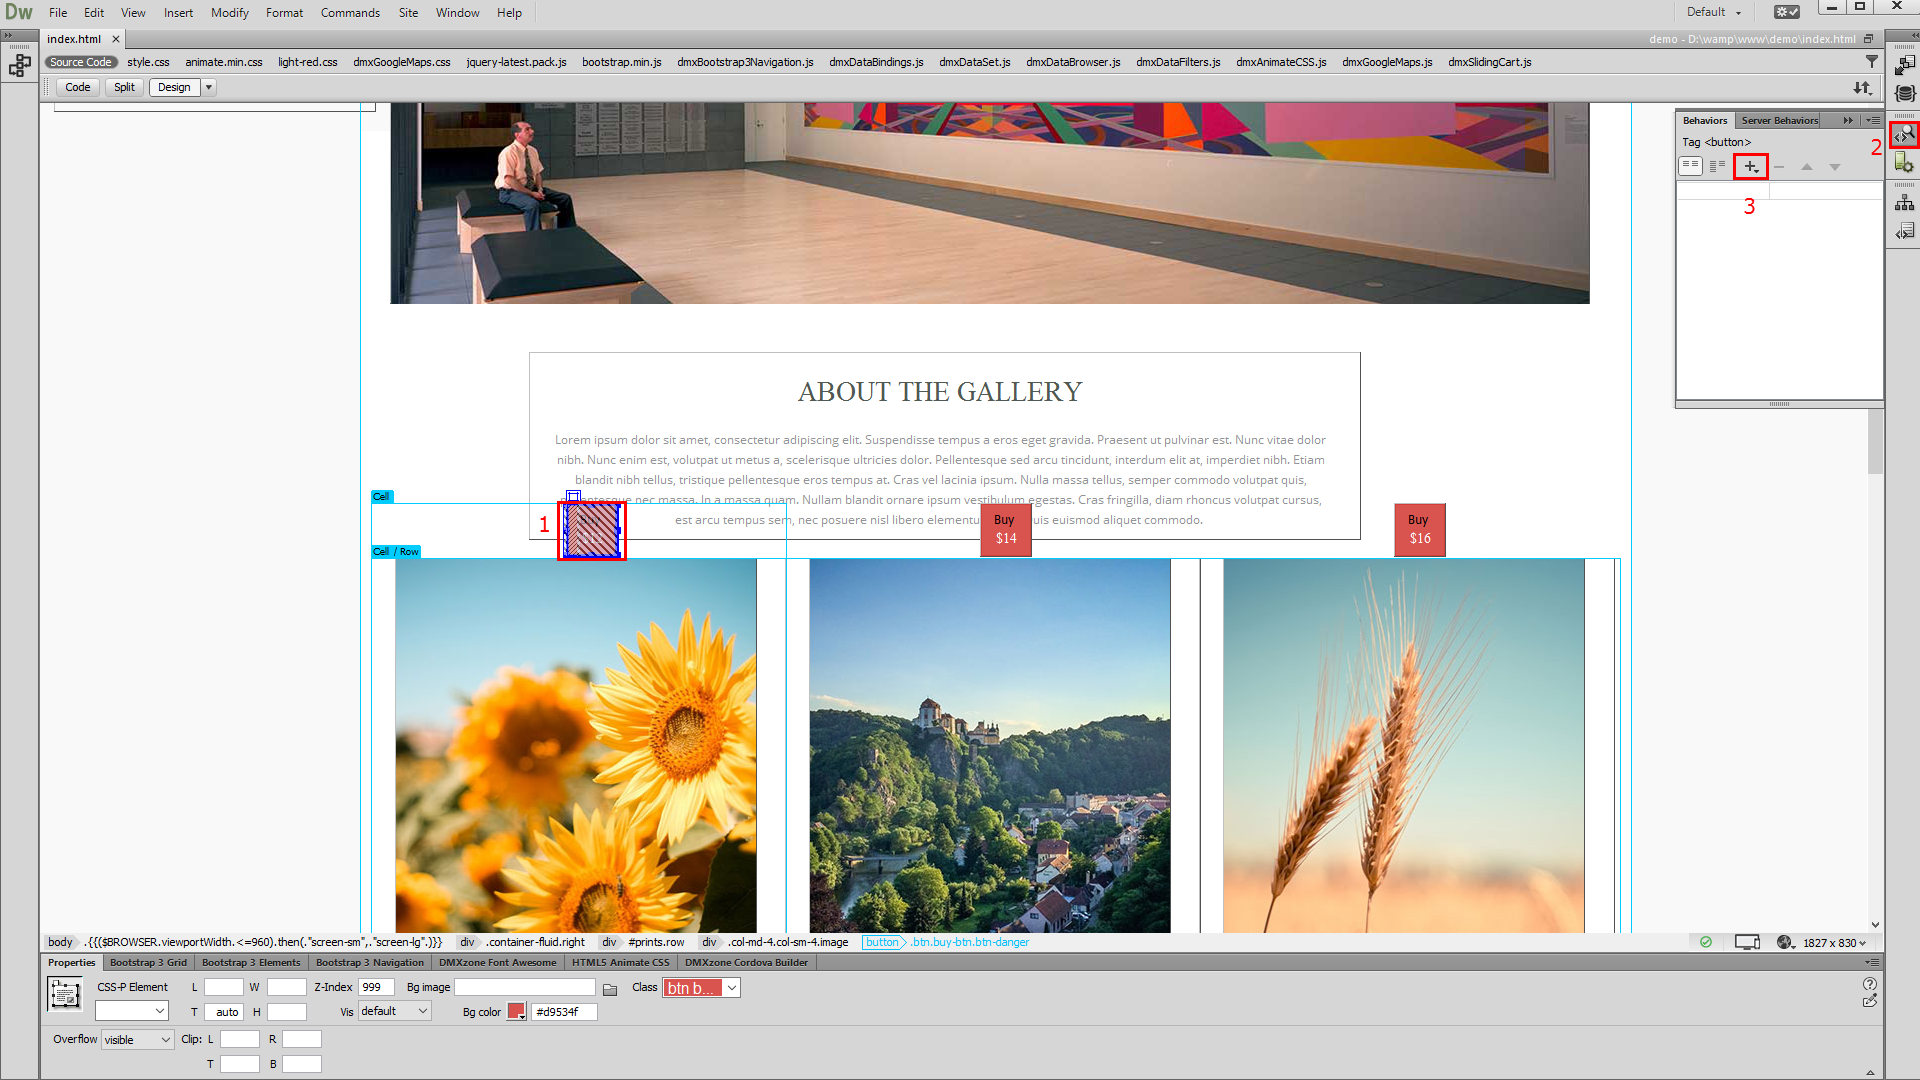
- We've successfully set up the Sliding PayPal Shopping Cart 2 options. Now we are going to add the Add to cart" functionality to our "Buy" buttons. We select the buy buttons, for our first picture (1) and from the behaviors panel (2), choose add new behavior (3).
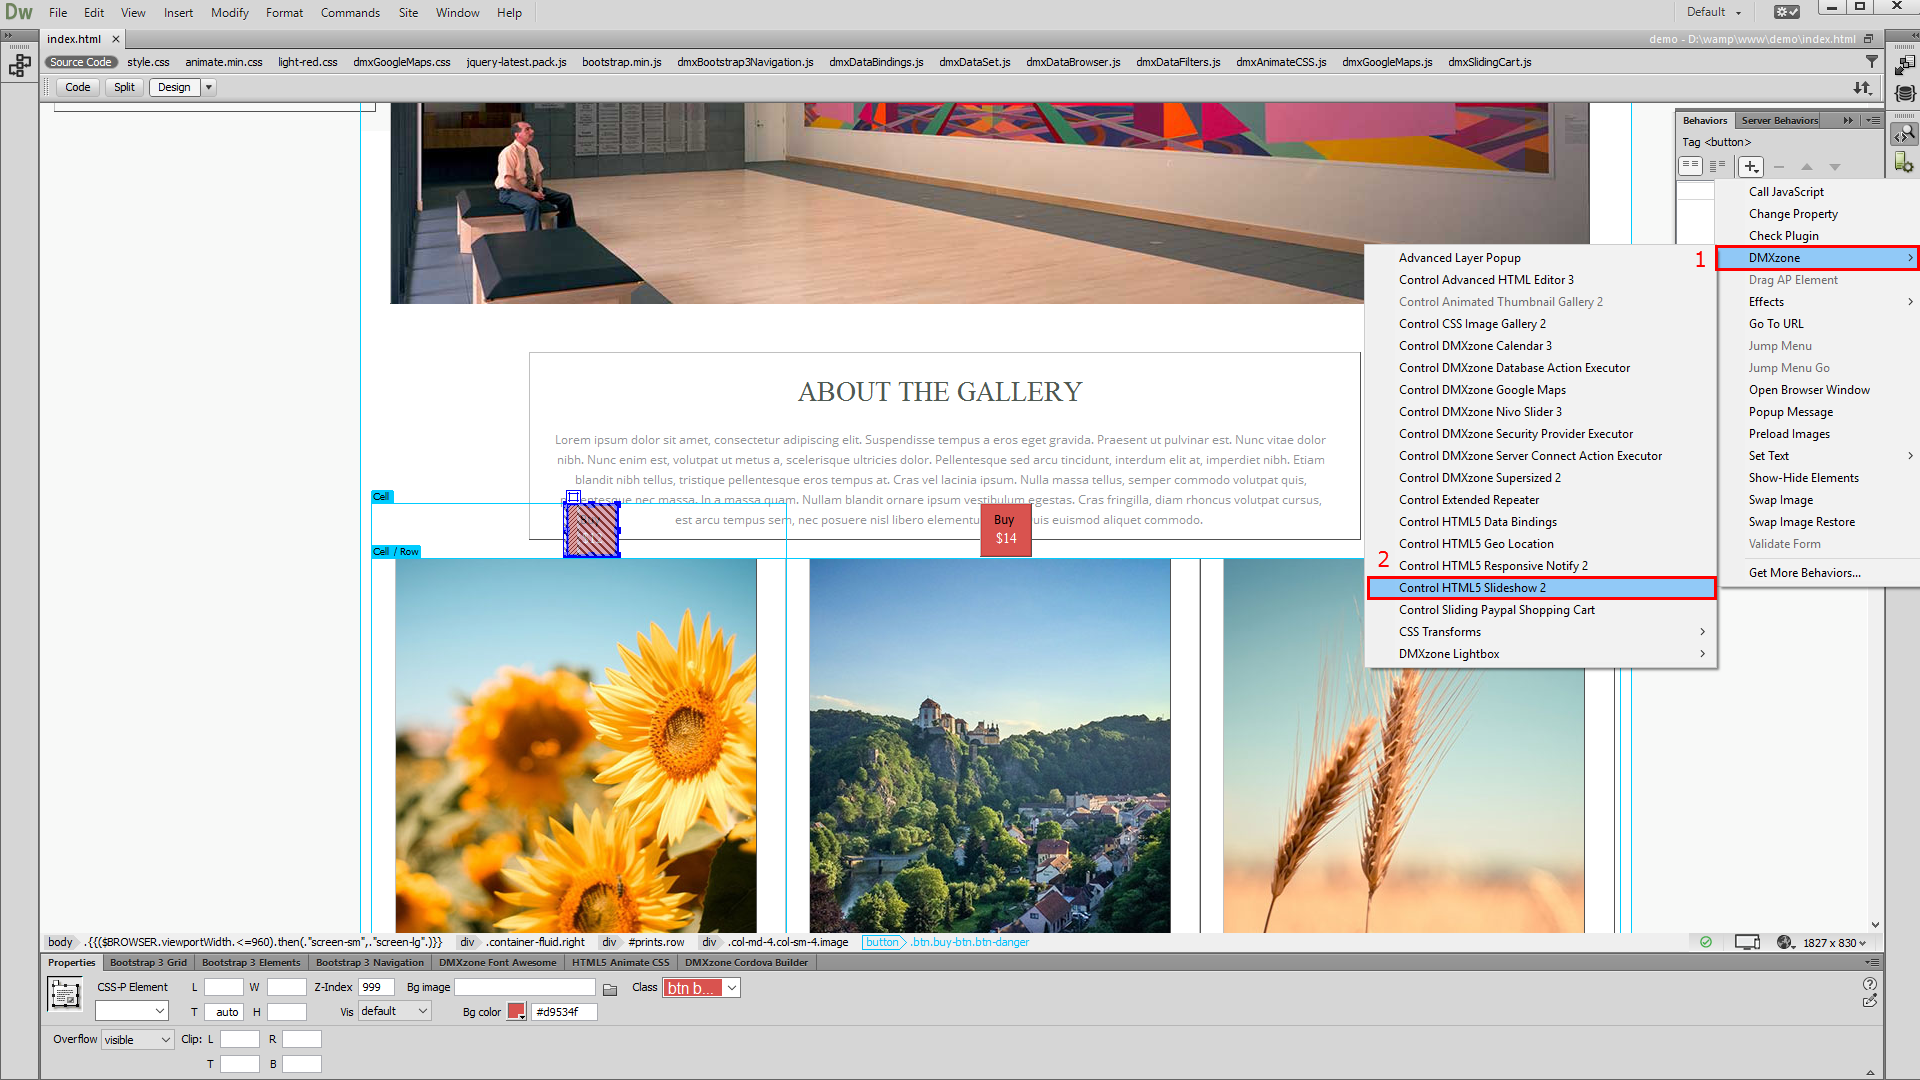
- Then, in the DMXzone menu (1), select control Sliding PayPal Shopping cart (2).
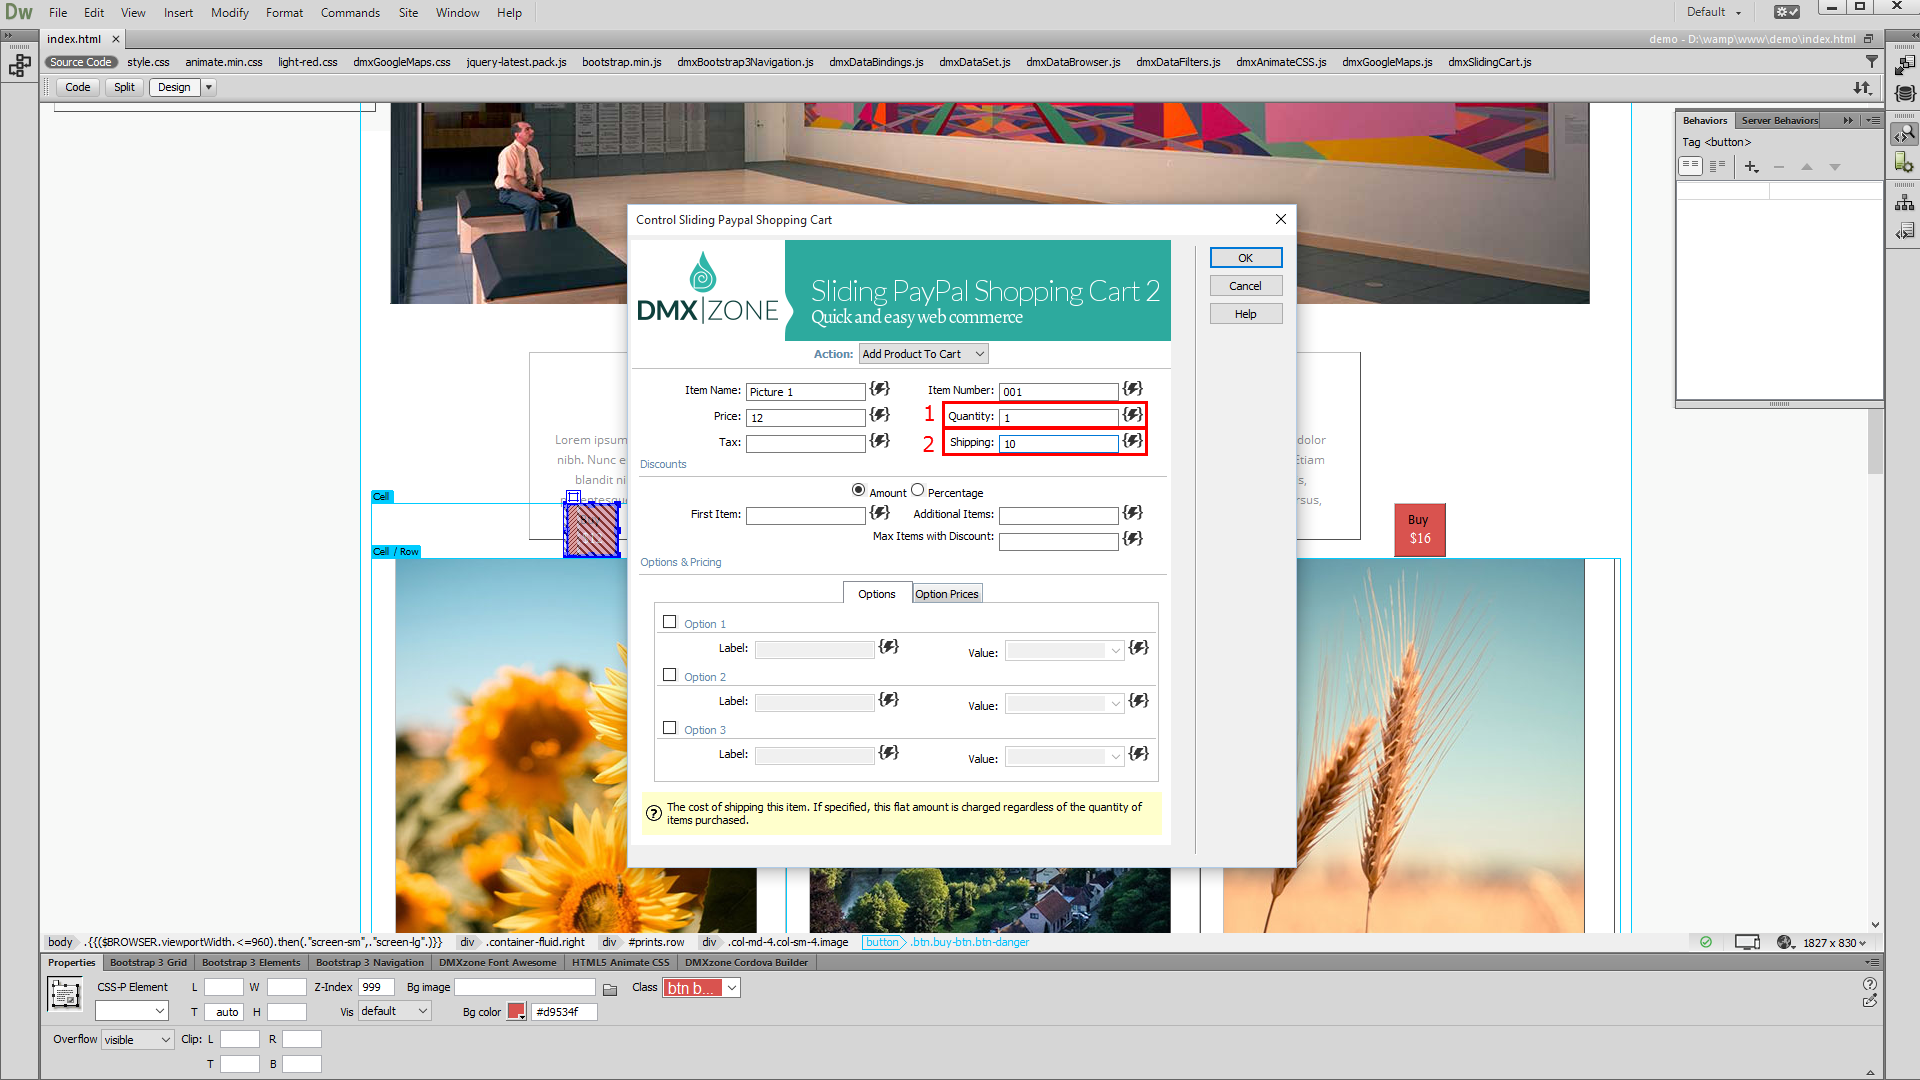
- Select the add product to cart action (1) and add a name for your item (2). Then enter a price (3) and a tax if you want but we leave the tax field empty. Enter a unique item number to track your sales in PayPal (4).

- Set the number of the items to be added to the cart when the buy button is clicked (1). You can add a flat shipping charge, to be added to the payment. If specified, this flat amount is charged, regardless of the quantity of the purchased items. We enter 10 euro (2). When you're done, click OK.
- We do the same for the rest of the products on our page. Now, let's preview the results.

Comments
Be the first to write a comment
You must me logged in to write a comment.