Dazzle your viewers with 3D photo navigation. Create an amazing gallery with cool perspective effects in seconds and give your photos stunning 3d and camera effects. The component is fully ActionScript 2 compatible.
Make sure to take a look at the complete ActionScript 2 reference as well.


Editing the Gallery with the Property Inspector
Introduction
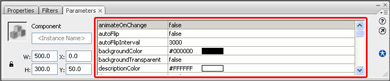
In this chapter we're going to edit the
properties of the gallery using component parameters. Click on the preview of
the gallery to display its parameters. Below is a screenshot of the component parameters
before we've edited them.
Editing the Slide options
We'll start with the first parameter; we'll leave animateOnChange to false as this property doesn't have any effect in this tutorial. The
animateOnChange enables you to animate the movement to the main image when the
selectedIndex property is changed. This property is only useful when you use
ActionScript or bindings to change the selectedIndex property, it will then
behave like the goto() function.
Set autoFlip to true, to automatically cycle trough your images like a
slideshow.
Let's set the autoFlipInterval to 2000 milliseconds so that the
slideshows pauses for 2 seconds before going to the next image.
Leave the backgroundColor to black and the backgroundTransparent parameter to false to keep our nice black background color.
Change the descriptionColor option to grey (#999999) to change the color of the text below your photos.
We'll leave the descriptionFont to Verdana as
we don't want to change the font used for the
description text.
We change the descriptionSize to 16 to increase the size of the description text.

We'll set the dofStrength to 5 to enable the strength of the depth of field effect.
We'll leave the flipDuration to 2000 milliseconds, this means that the movement between two images takes two
seconds.
We set the fogStrength to 50 to create the illusion of depth by fading our images as they go further back.
We'll set the imageAngle to 60. This will turn the back images
inward at a sharper angle.
We'll set the imageDepth to 400 to put the images next to the main image further to the back.

We'll leave the imageHeight to 200 as we don't want to change the height of our
images. If you want to change the height of your images, make sure that you
leave the W and H values in the Commands -> Edit 3D
ImageFlow Gallery XML menu empty. Furthermore make sure that you set the imageKeepAspect property to false, which maintains the proportions of your image
dimensions (unless you change the imageWidth property as well).
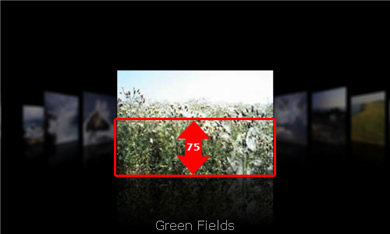
We'll set the imageOffset to 75. It determines the
offset from the center of the gallery to the bottom of the main image.
The property imageQuality sets the quality of the images on the background. Quality
set to low results in a deformed image but has very good performance.
Quality set to high has a very good image representation but a slow
performance.
We'll set the
Quality to medium which gives a decent image representation with a good
performance.
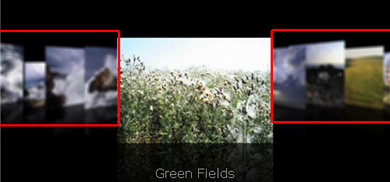
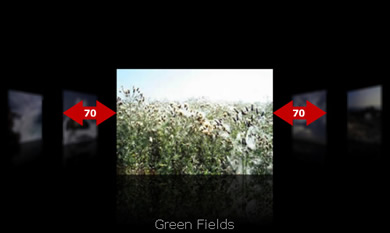
We'll set the imageSpaceBack to 70. This will increase the space between our images in the back.
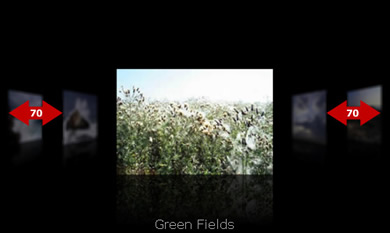
Let's set the imageSpaceMain property to 70 as well to create a nice uniform spacing between our
images. This property sets the space between the main image and the images in
the back.
We'll leave the imageWidth and imageHeight to 200 as we don't want to change the width
of our images. If you want to change the width or height of your images, make
sure that you leave the W and H values in the Commands -> Edit 3D ImageFlow Gallery XML menu empty. Furthermore make sure that you
set the imageKeepAspect property to false, which maintains the
proportions of your image dimensions (unless you change the imageWidth property as well).
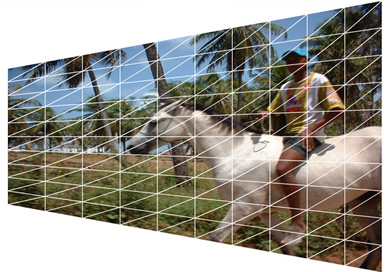
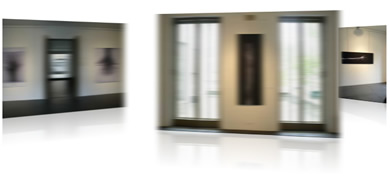
The motionBlur property blurs our images when we cycle trough the gallery. We leave it to false as our images are too small and the flipspeed is too low to notice the effect. If
you set the motionBlur property to true and use bigger images and
a faster flip speed you'll get the following effect:
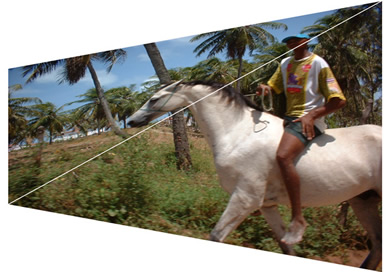
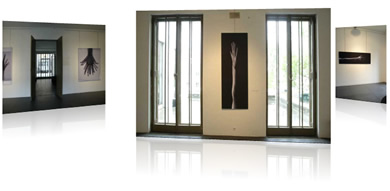
Without Motion
Blur the transition would look like this:
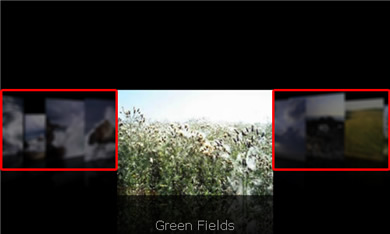
We'll leave the reflections to true as we'd like to keep the mirror effect below our images. For
the example below we've temporarily changed the reflectionStrength to 60, we set the reflectionSize to 30 set the dofStrength and
the fogStrength to 0.
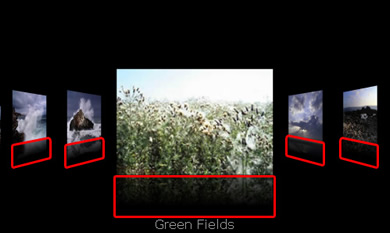
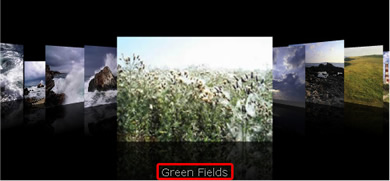
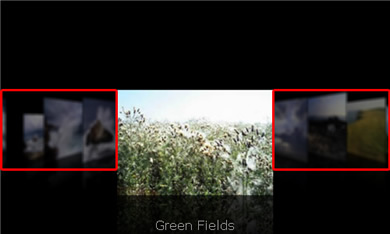
As you might have noticed, the gallery always started with the green field
image. This is because we've set the selectedIndex property to 4.
This means that we'll always start at the 5th image (counting starts
at zero).
Let's add a title to the gallery. We'll set the titleText to Land and
Sea, we'll set the titleColor to grey (#666666), the titleSize to 18 and the titleFont to Verdana.

The xmlPath points
to our xml file (if you use it, you can also fill the gallery dynamically, we'll
explain how to do this in the next chapters). We don't change it. That's it,
save and test your movie to see the changes!
Comments
AS 3 version
Do you have at compoent for flash with Actionscript 3 APIs
You must me logged in to write a comment.