3D Photo Wall for Flash Manual

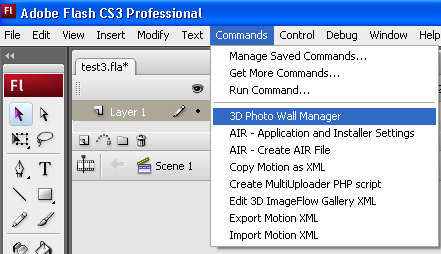
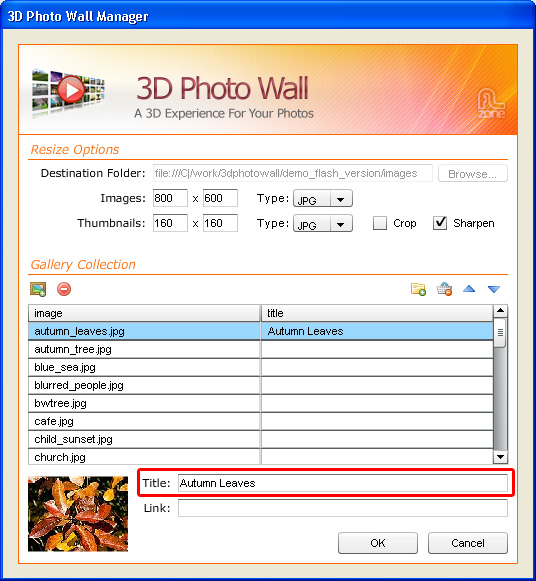
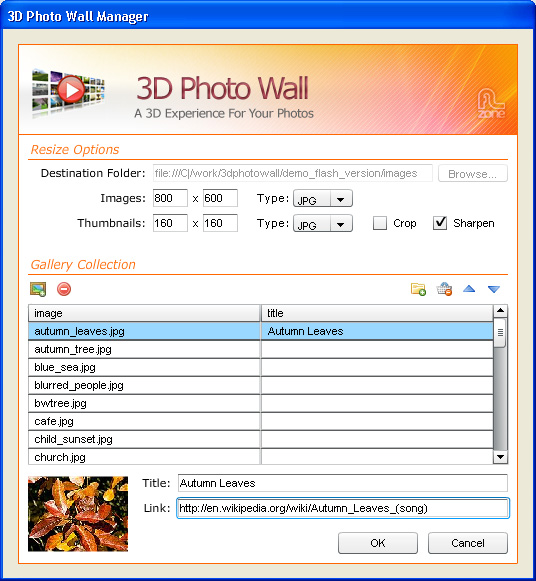
Transform your images into a 3D experience that will stun your users. Create an interactive moving 3D Photo Wall directly in Flash.Zoom in to full-size versions of images and add links.

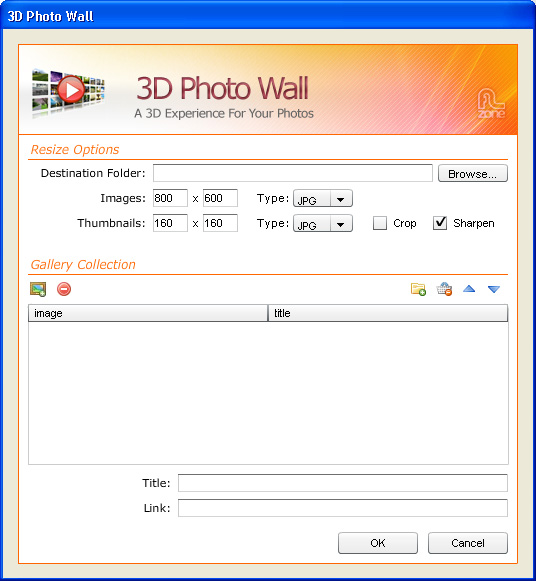
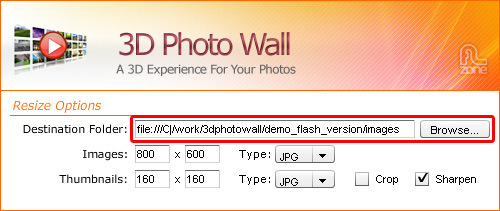
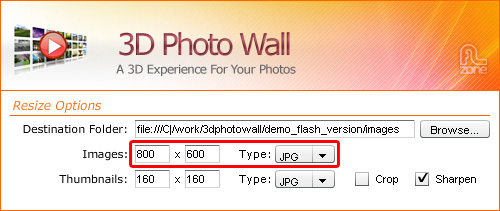
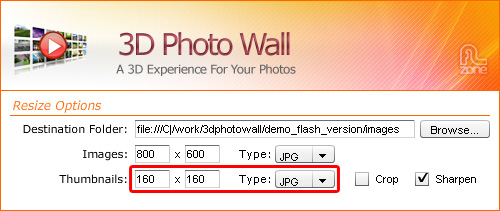
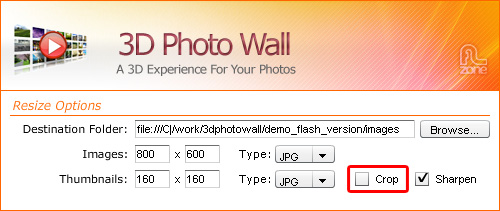
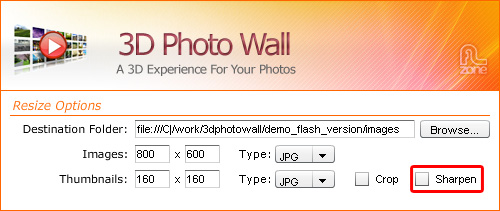
Directly use photos from your camera or hard drive as the build-in image processor will automatically rotate your images and make thumbnails in an eye blink. No external application is needed!

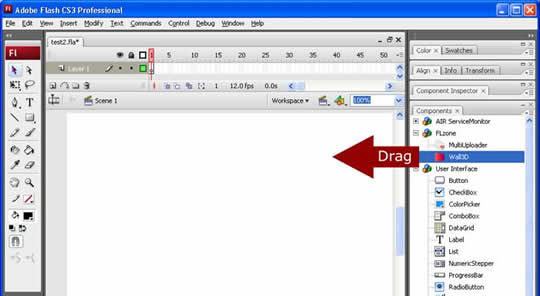
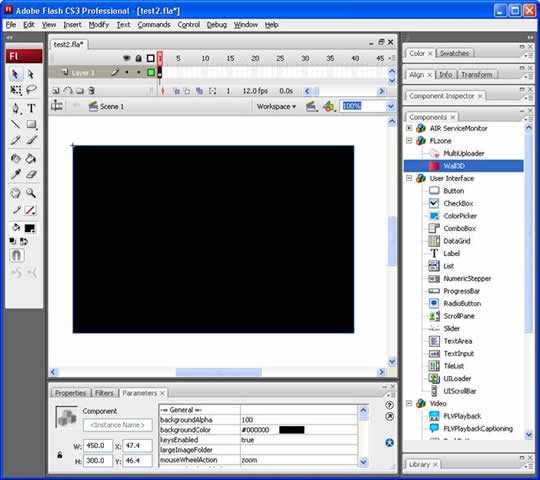
This component is build for the Flash IDE and ActionScript 3. Take a look at the ActionScript 3.0 reference. It is designed for building Flash Applications. There is also a Dreamweaver version that is build for use in Dreamweaver websites.


Building the 3D Photo Wall

  1. Create a new Flash page
    Create a new or open an existing Flash Action Script 3 page and save the page.

  2. Applying the component
    Choose the  icon from the Components window and drag it onto your stage:


    Save your Flash file.
    Select the preview that is now visible on the stage and switch to the parameters screen in the bottom of the page:

  1. Adding Images
    Go to the Commands menu and select 3D Photo Wall Manager.


    A new popup appears:


  1. Setting the resize options
    We set the Destination Folder using the Browse… button to specify where our images should be saved. Make that the destination folder is in the same (sub)folder as your FLA file.


    We use the Images fields to specify the width and height of the large images of the wall (these are displayed when a user clicks on one of the thumbnails). You can also specify the file type. We leave them at their default values.


    Then we set the values in the Thumbnails fields to specify the width and height of the thumbnails of the wall. You can also specify the file type. We leave them at their default values.


    We disable the Crop option as we don't want to crop our thumbnails to have exactly the same size. If you disable this option, the thumbnails will be scaled proportionally to the maximum specified dimensions.


    We disable the Sharpen option to use our original thumbnails.


  2. Select the Images tab and select the icon to add a complete folder of images or theicon to insert the images one by one. We'll add our  images using the icon.  You can arrange the order of your images with the  and  buttons and delete images from the 3D Photo Wall with the  button.


  3. Adding a Title
    We add a title to the image by selecting it and entering a text in the Title field.


  4. Adding Links
    Add links to your images using the Link field.

  1. Final Steps
    Press OK, save and preview the result in your browser.

Lubov Cholakova

Lubov CholakovaLubov has been with DMXzone for 8 years now, contributing to the Content and Sales departments. She is bringing high quality content in the form of daily blog updates, reviews, tutorials, news, newsletters,update emails and extensions' manuals. If you have a product that needs publicity or any other questions about the entire DMXzone community, she is the one you can contact.

See All Postings From Lubov Cholakova >>

Comments

Be the first to write a comment

You must me logged in to write a comment.