In this article you will find a detailed manual for the DMXzone Calendar 2 extensions. Everything from basic to advanced usage is covered with tutorials and videos. Also, we have included the features with screenshots for better preview.
DMXzone Calendar 2 Manual
A detailed information about the DMXzone Calendar 2 extension


Advanced: Using Standard Dreamweaver Insert Record Behavior
In this tutorial we will show you how to use DMXzone Calendar 2 with a standard Dreamweaver Insert Record behavior.
*You can also check out the video.
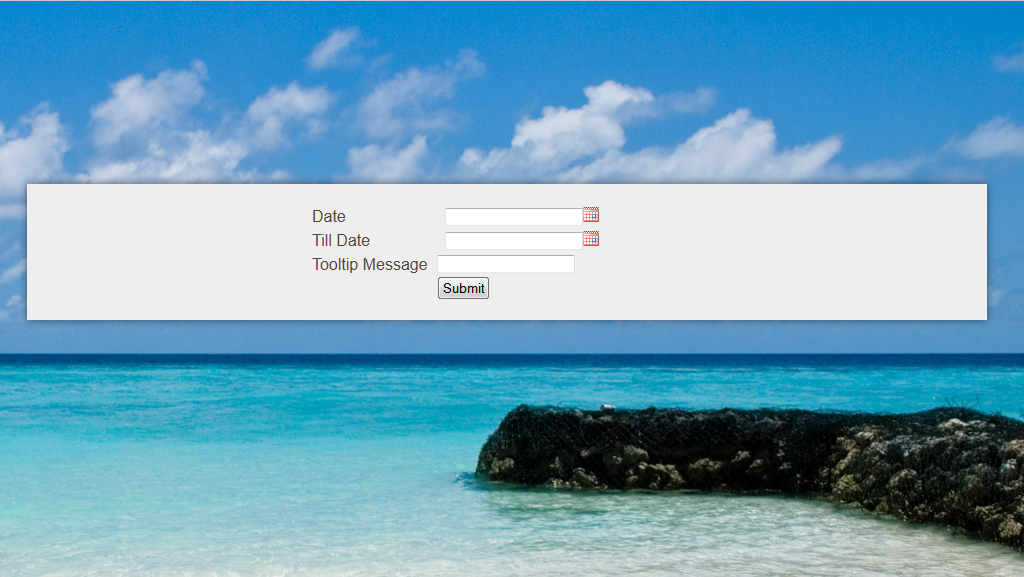
How to do it
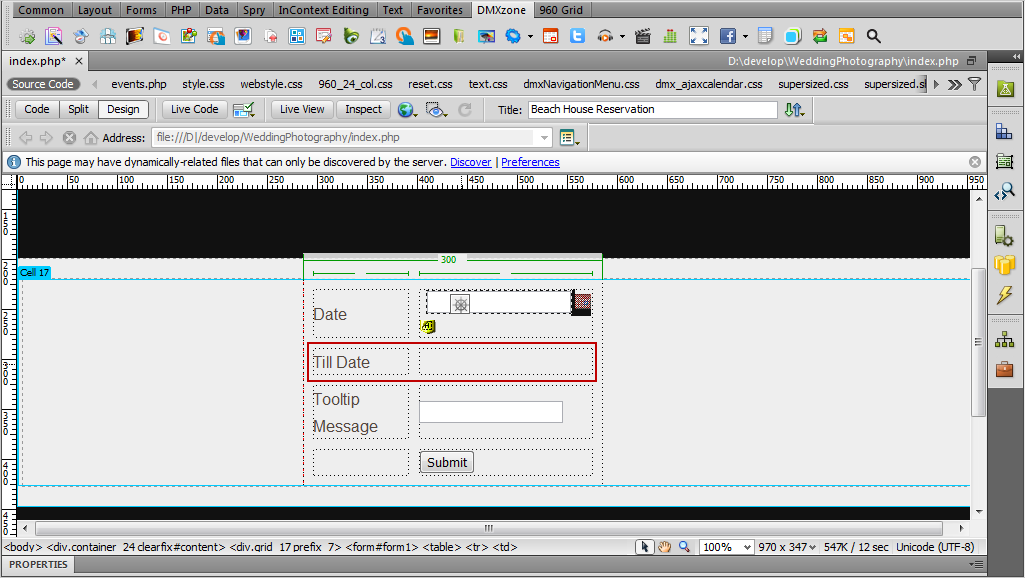
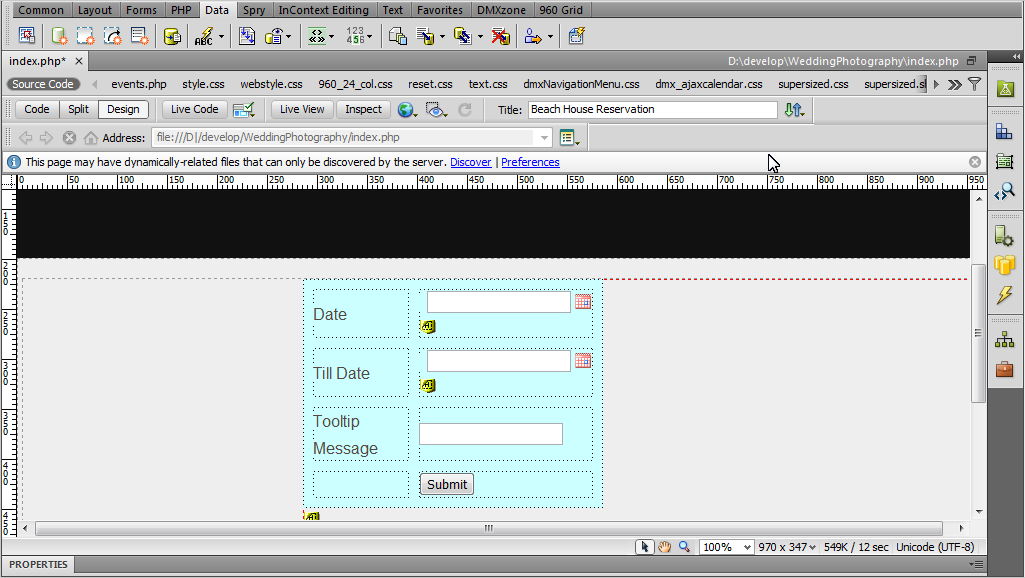
- We've already created our website layout and are going to insert Date, Till date and Tooltip message in our database. We will use DMXzone Calendar 2 as datapicker for Date and Till date.
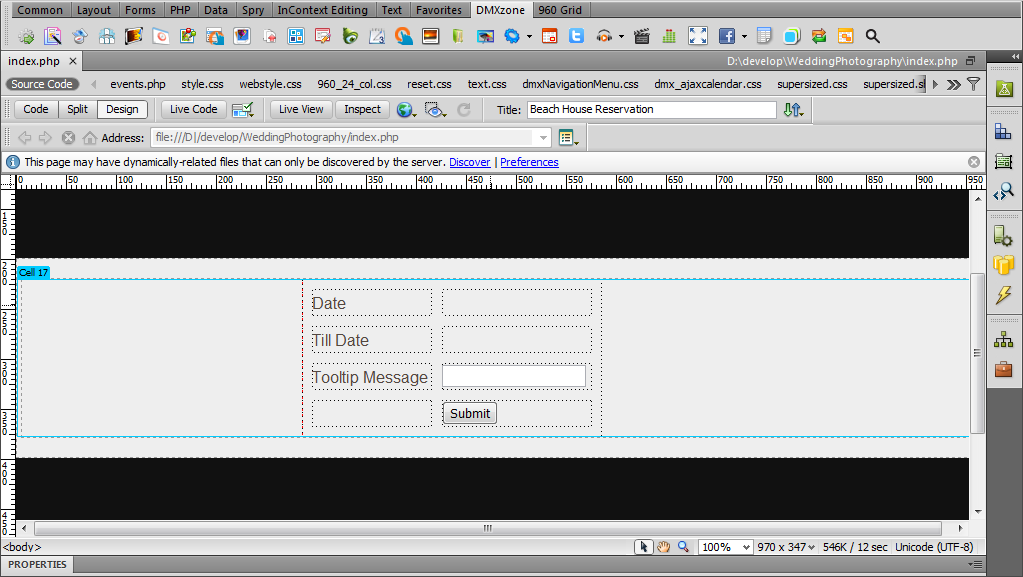
- In the DMXzone Calendar 2 window, enter an ID for the calendar (1), choose a date format that will be used on the page (2) and click the advanced button (3).
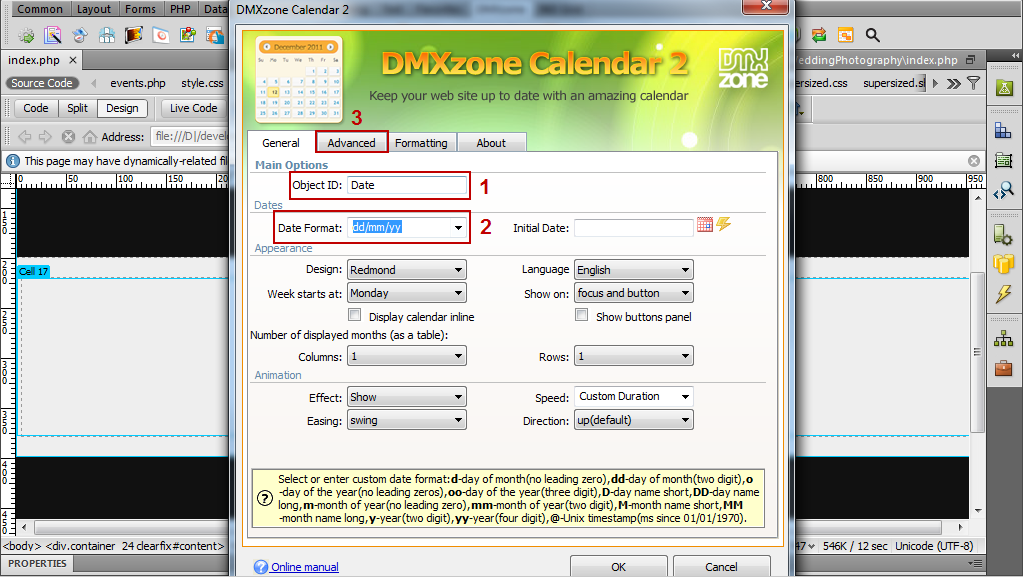
- Click the Add new hidden field button (1). The ID of the hidden field is the same as the calendar's ID with a prefix "hidden". When you're done, click OK (2).
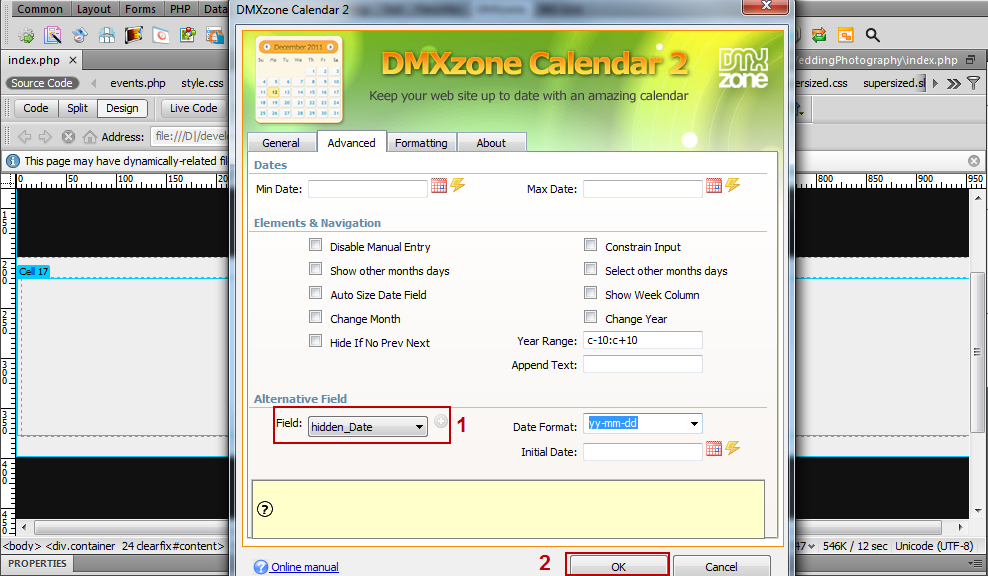
- We do the same for Till date.
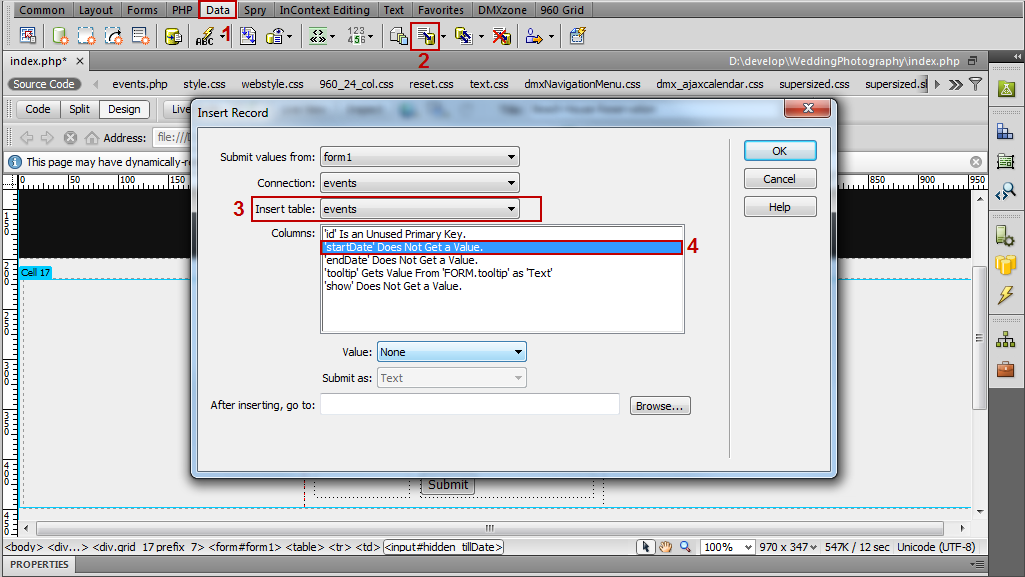
- Click the Data tab (1), select the Insert record icon (2), select your database table (3) and select the column that stores your Date (4).
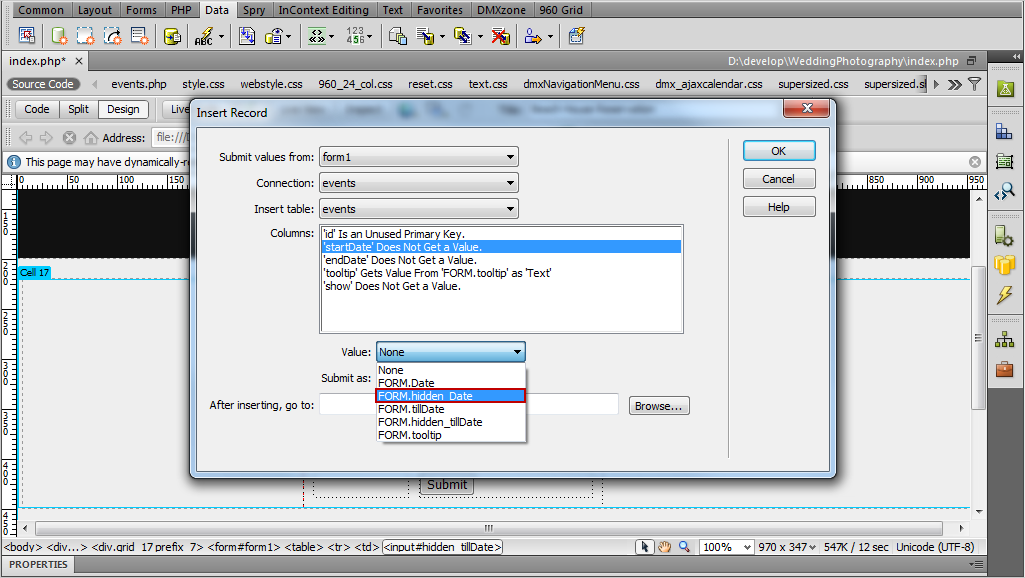
- Open the Value drop down menu and select the hidden field that we've already created for Date.
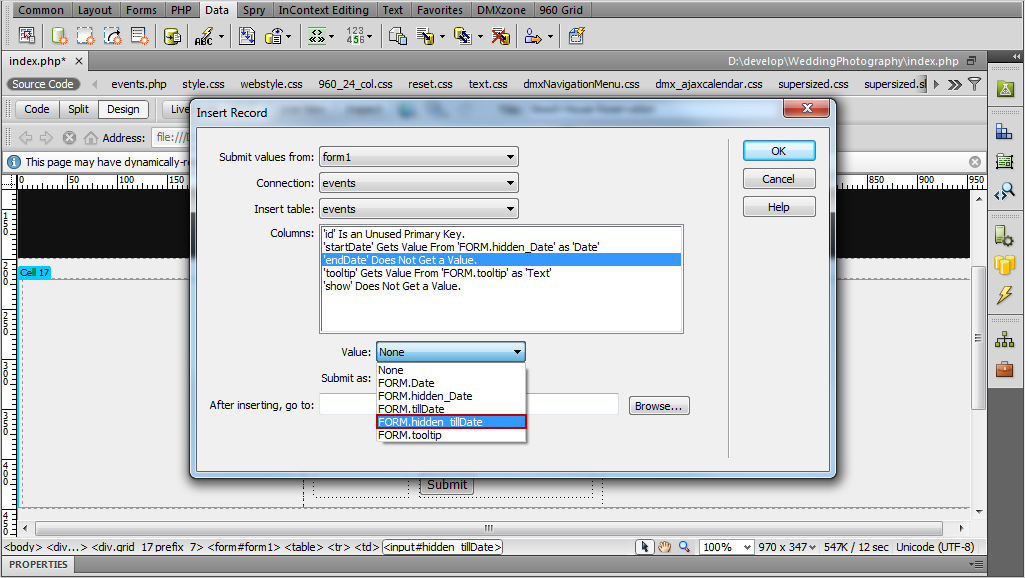
- We do the same for the Till date. Click the OK button when you're done.
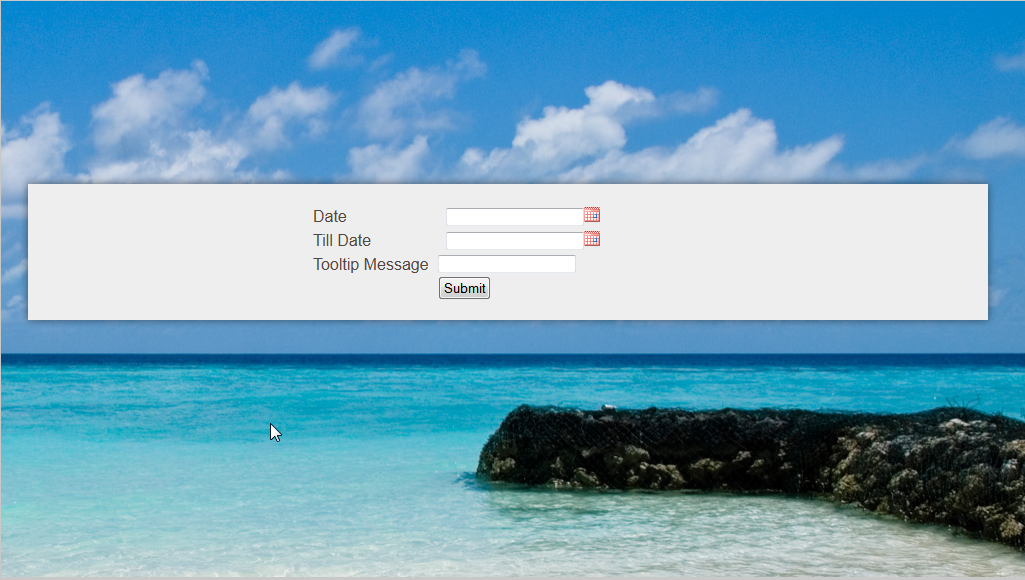
- Now, you can save your work and preview the result in the browser.
Comments
Be the first to write a comment
You must me logged in to write a comment.