In this article we covered the basic and advanced usage of HTML5 Parallax Slider extension. There are four useful tutorials, which are also video presented for easier use. The manual also contains the features highlights added in this Dreamweaver tool.
HTML5 Parallax Slider Manual
Learn how to use the HTML5 Parallax Slider


The Basics: Basic Usage of HTML5 Parallax Slider
In this tutorial we will show you how to use the HTML5 Parallax Slider and the basic features packed in it.
*You can also check out the video.

How to do it
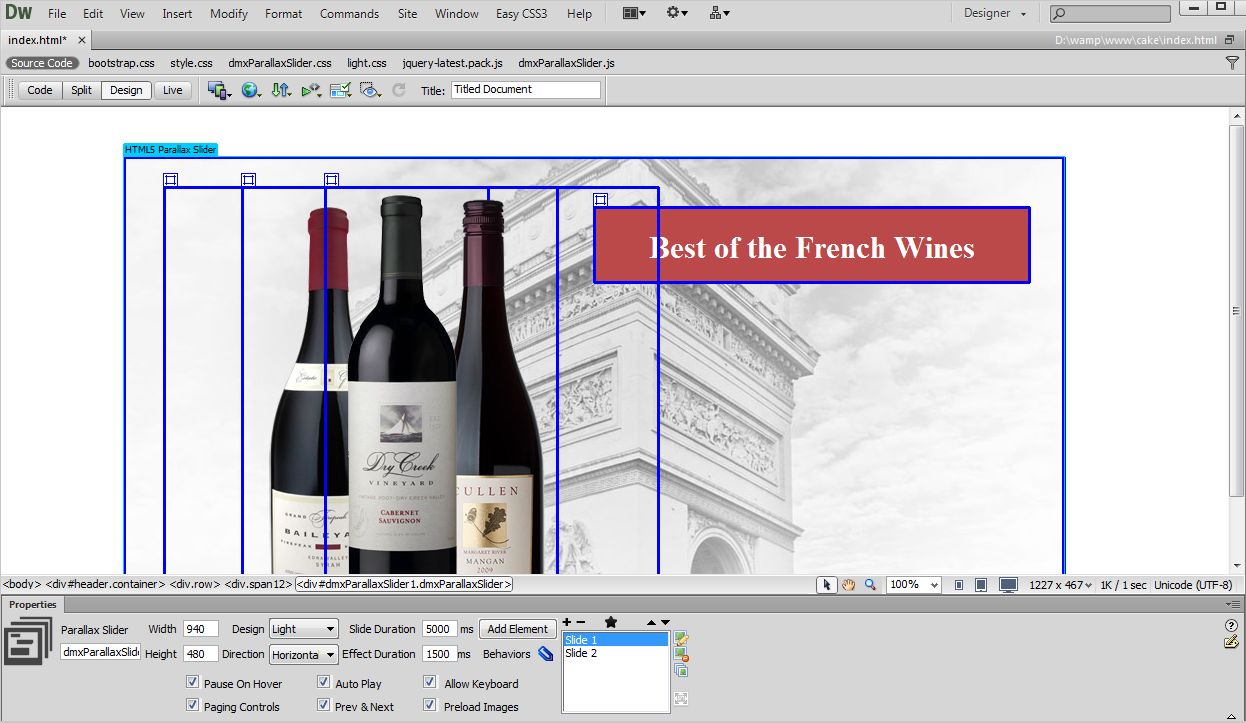
- Click the Insert button (1) to add the HTML5 Parallax Slider (2) to your page.

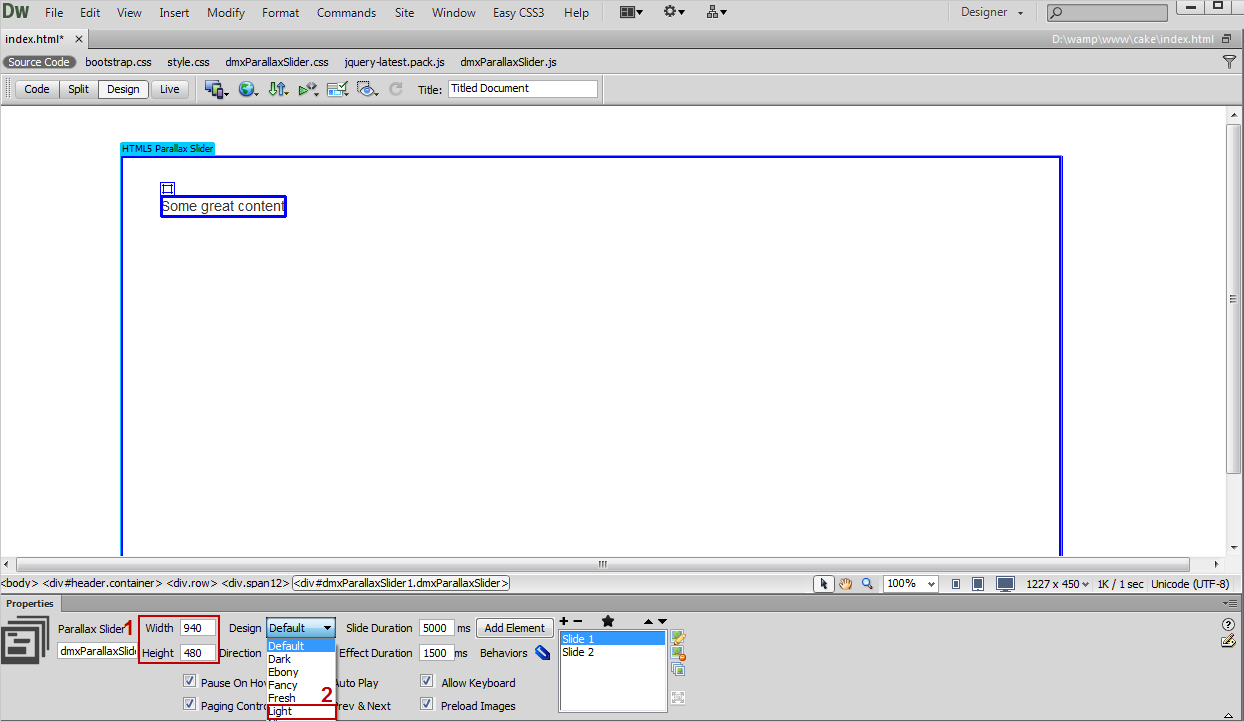
- Now, we will change the size of our Slider by adjusting
the width and height (1) and select the Light design (2) from the drop down menu in the Property inspector.
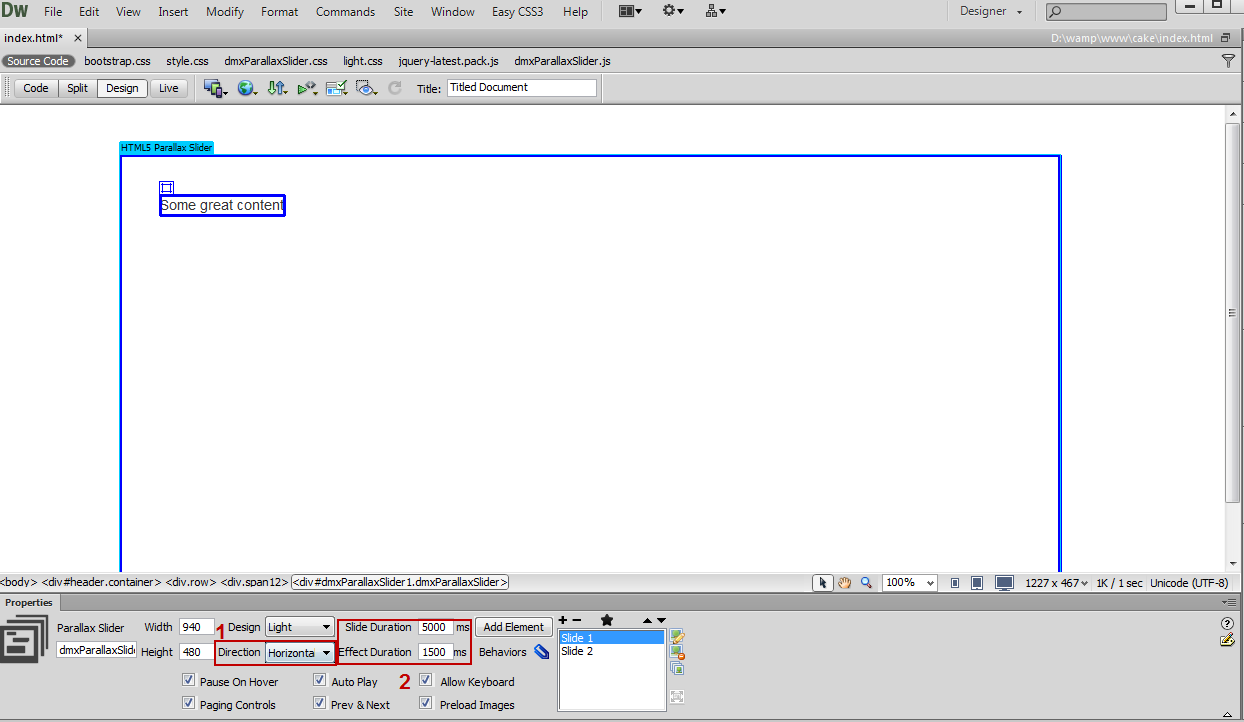
- For this tutorial we choose the Horizontal direction (1) for the slides move and leave the default slide and effect duration speed (2).
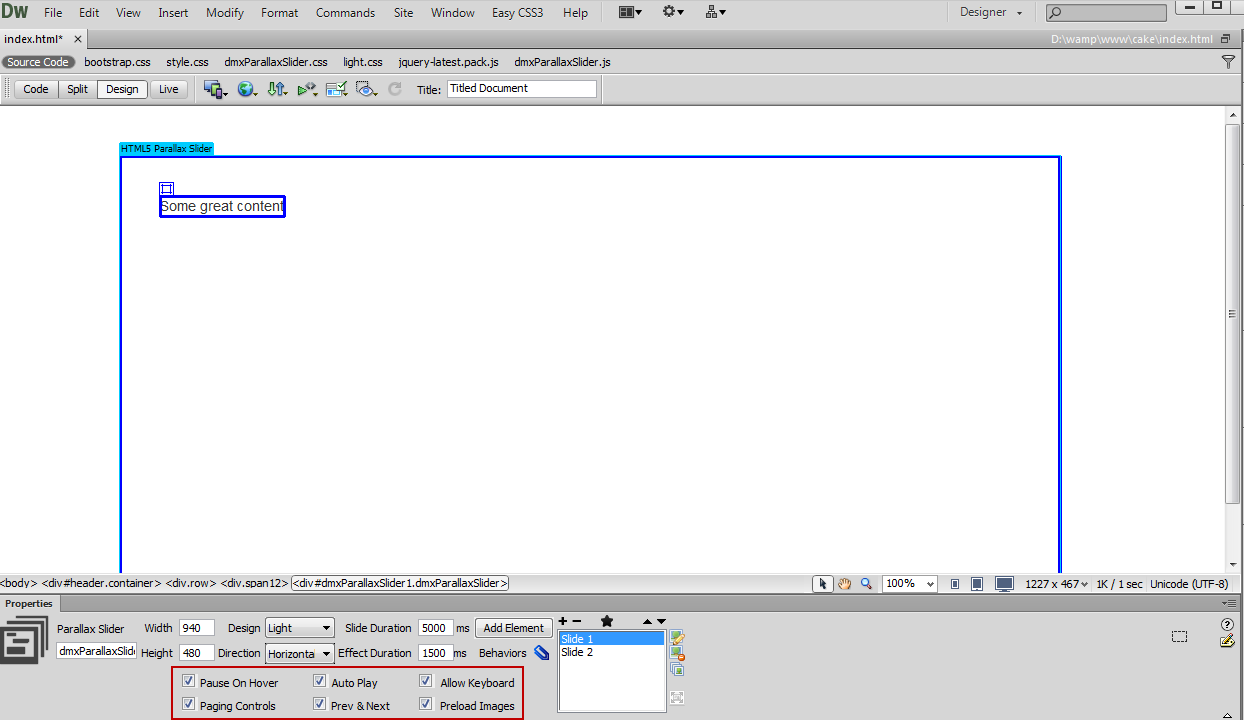
- You can customize the appearance of the slider and the
play options, which we will leave by their defaults.
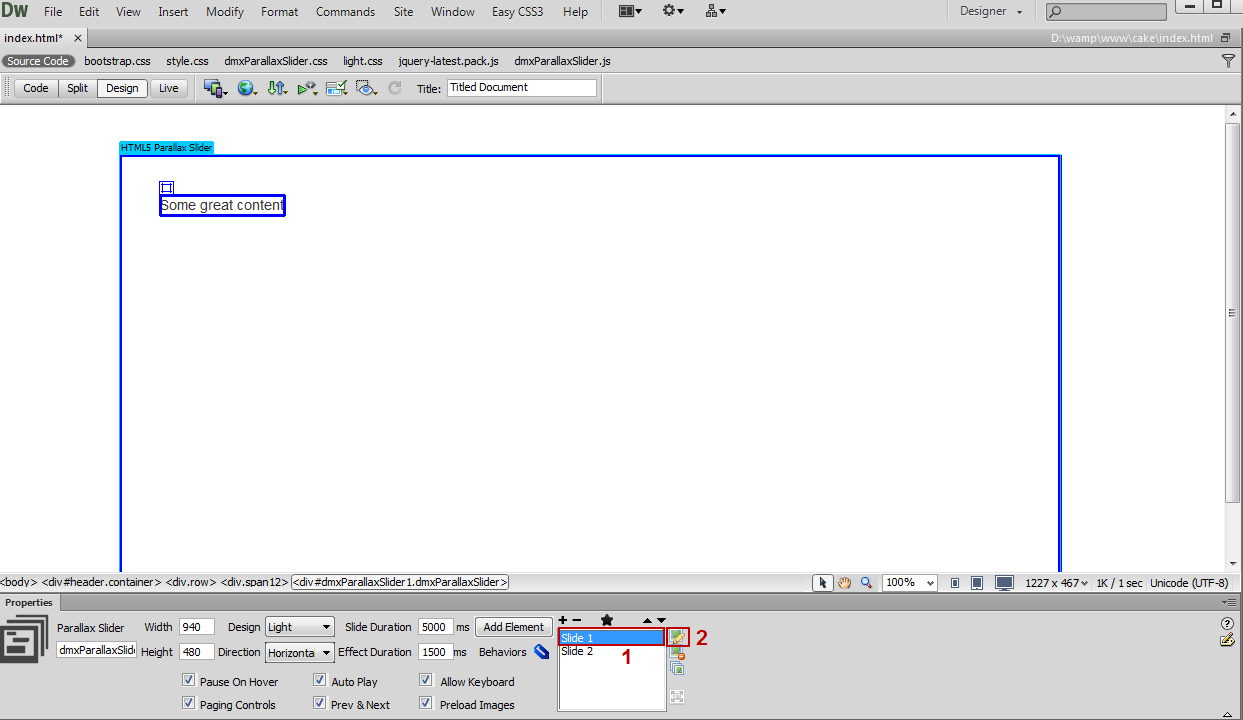
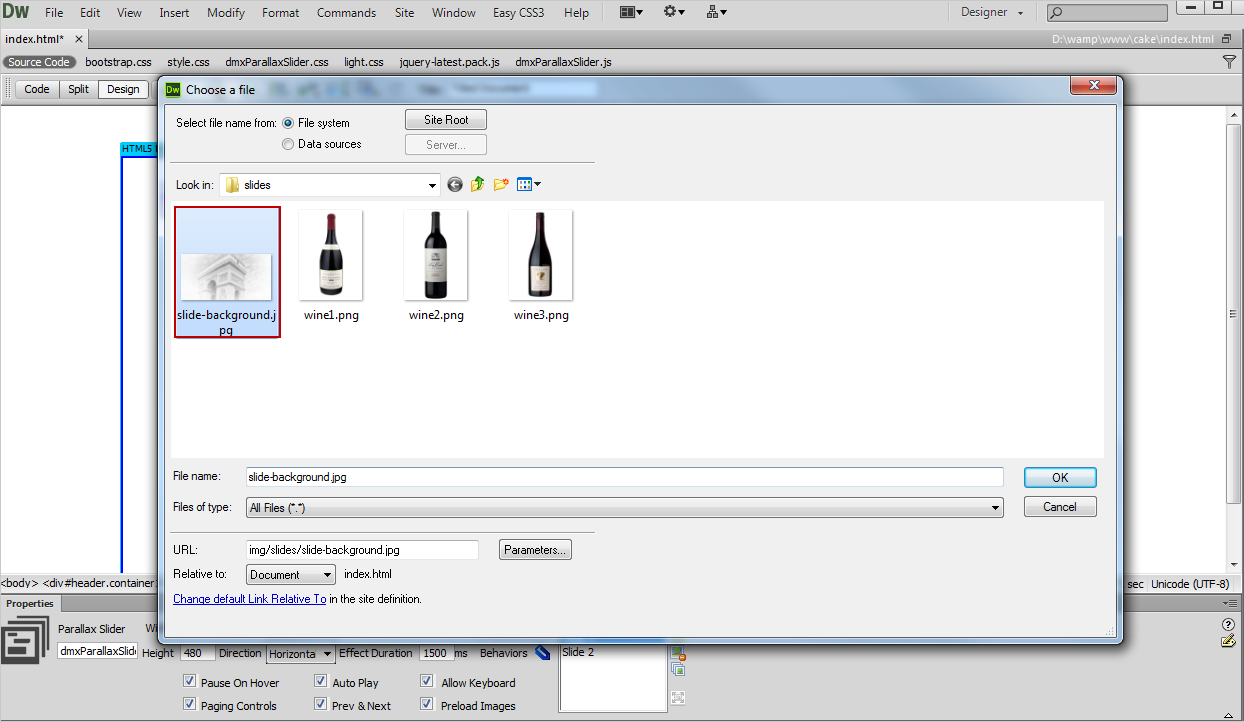
- In order to add a background image for the first slide, select Slide 1 (1) and click Add new image button (2).
- In the choose a file window, select the image and click OK.
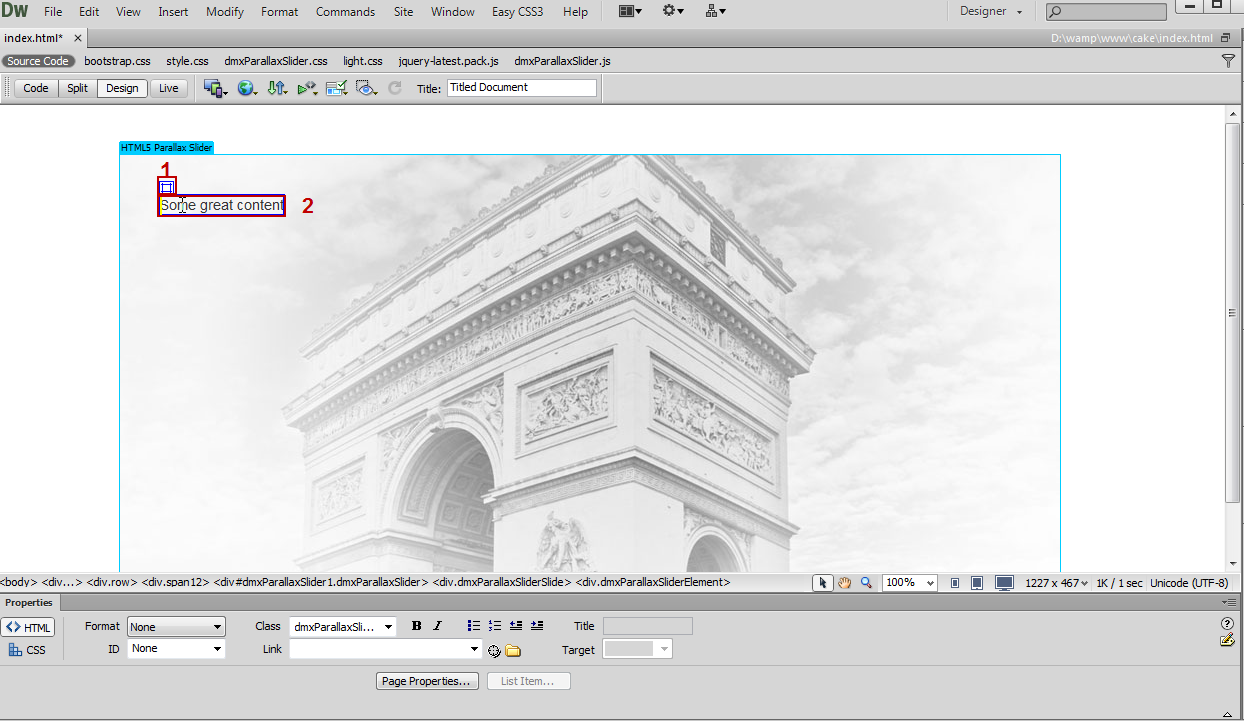
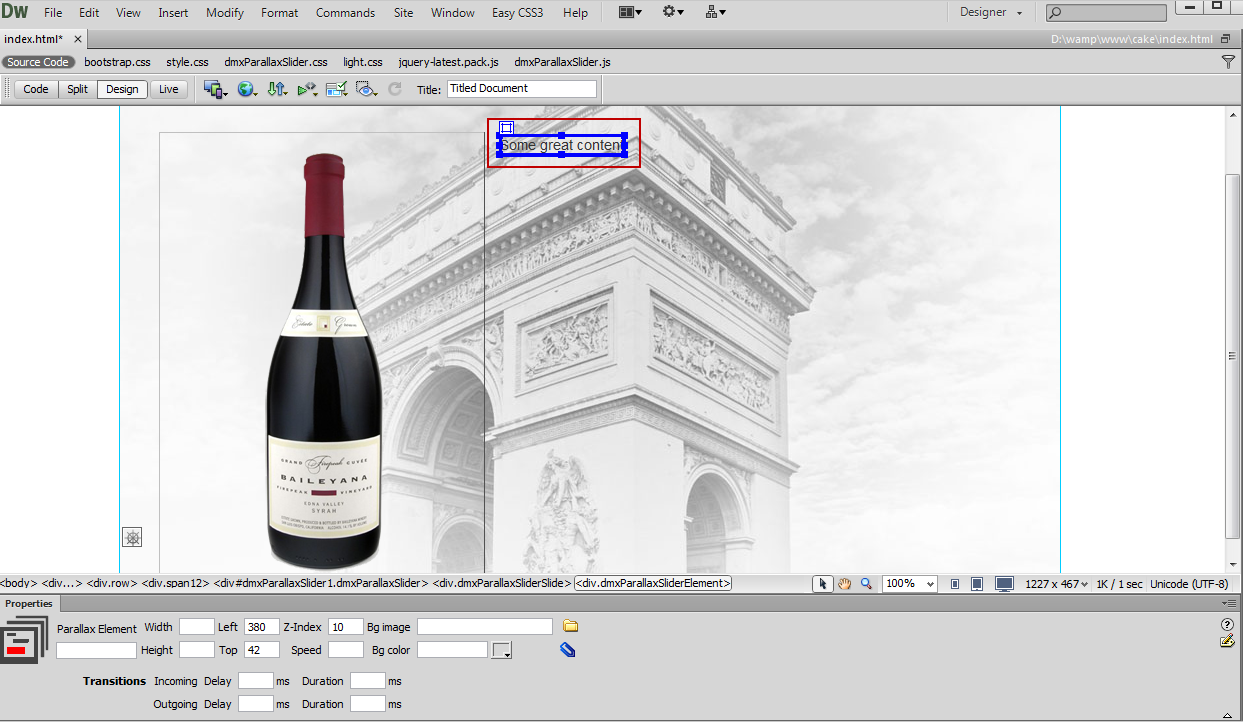
- Now, we're going to add an image element to the same slide. Select the default element (1) and delete its default content (2).
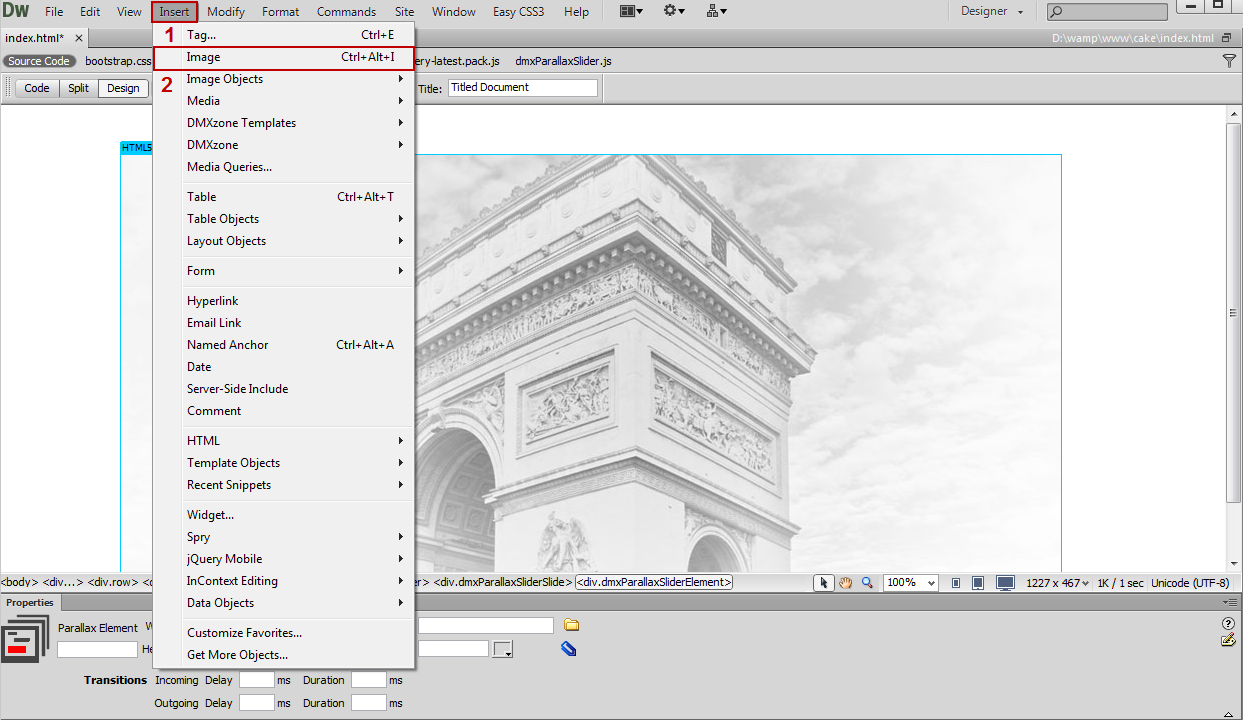
- In the insert menu (1), go to the image menu item (2).
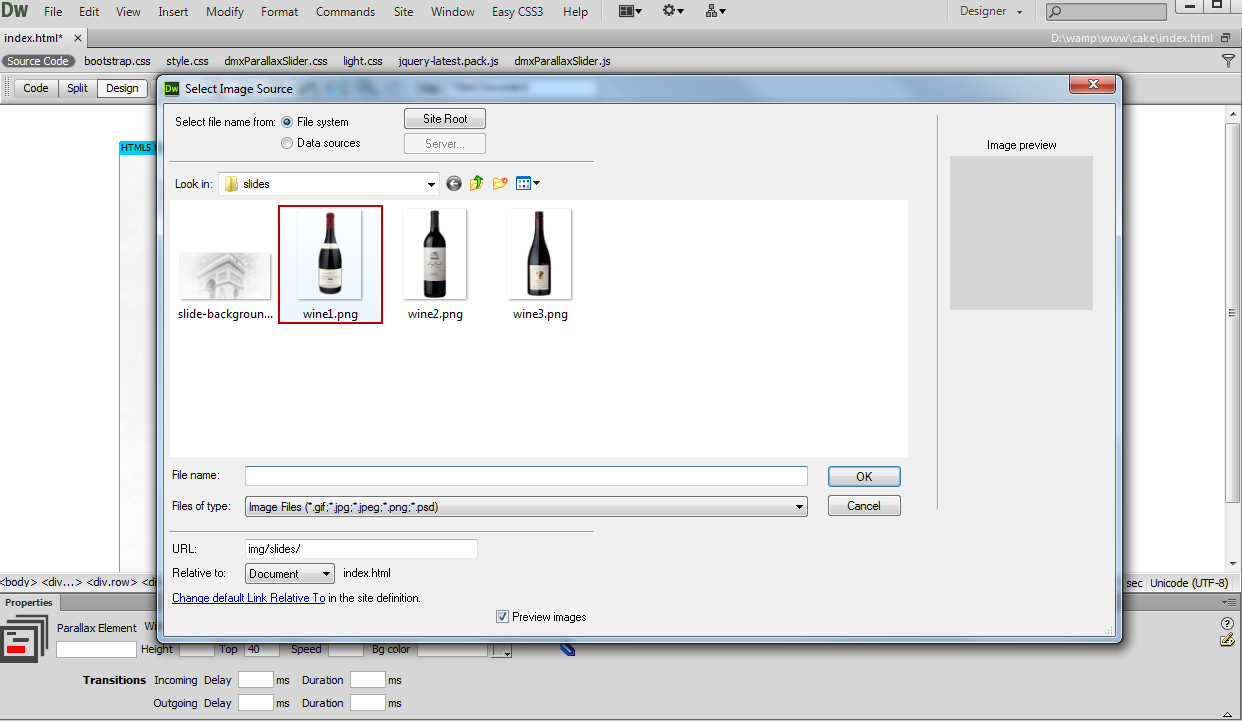
- In the select image source window, choose the desired image.
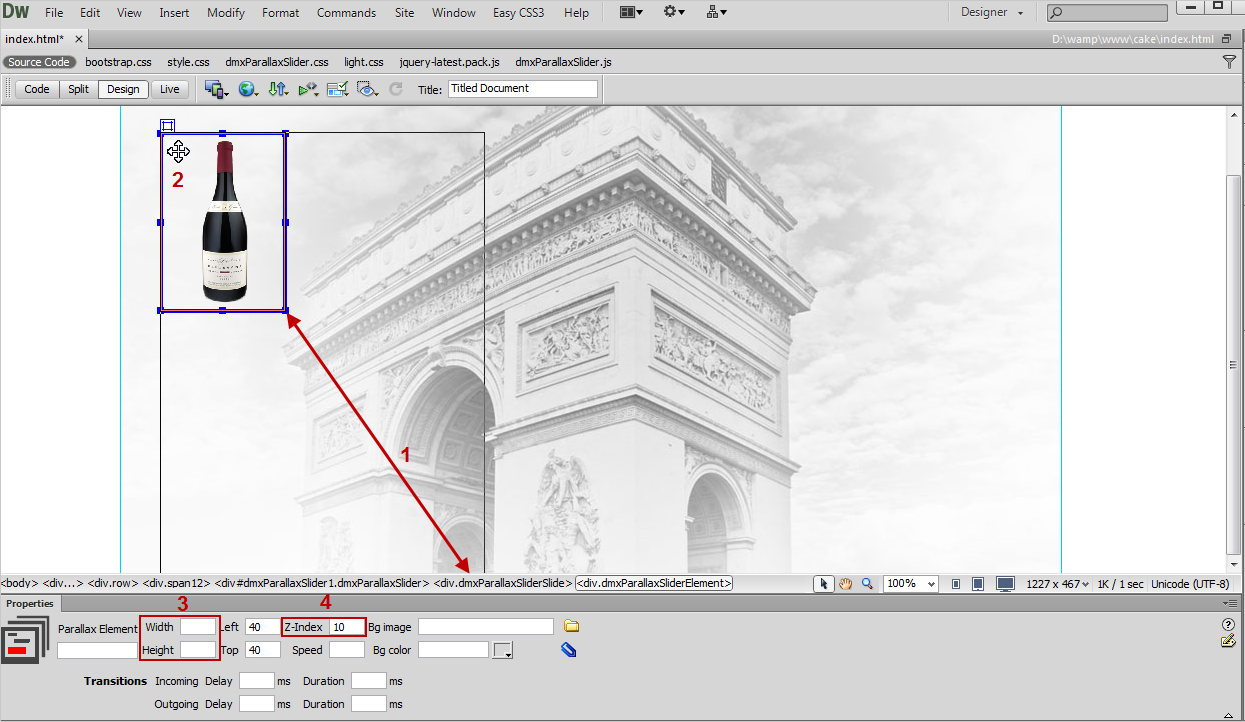
- You can resize (1) the Slide Element and drag (2) it to any position within the slide. You can also set a specific size (3) from the property inspector, and change the Z-index (4). The higher the z-index is, the faster the elements speed is.
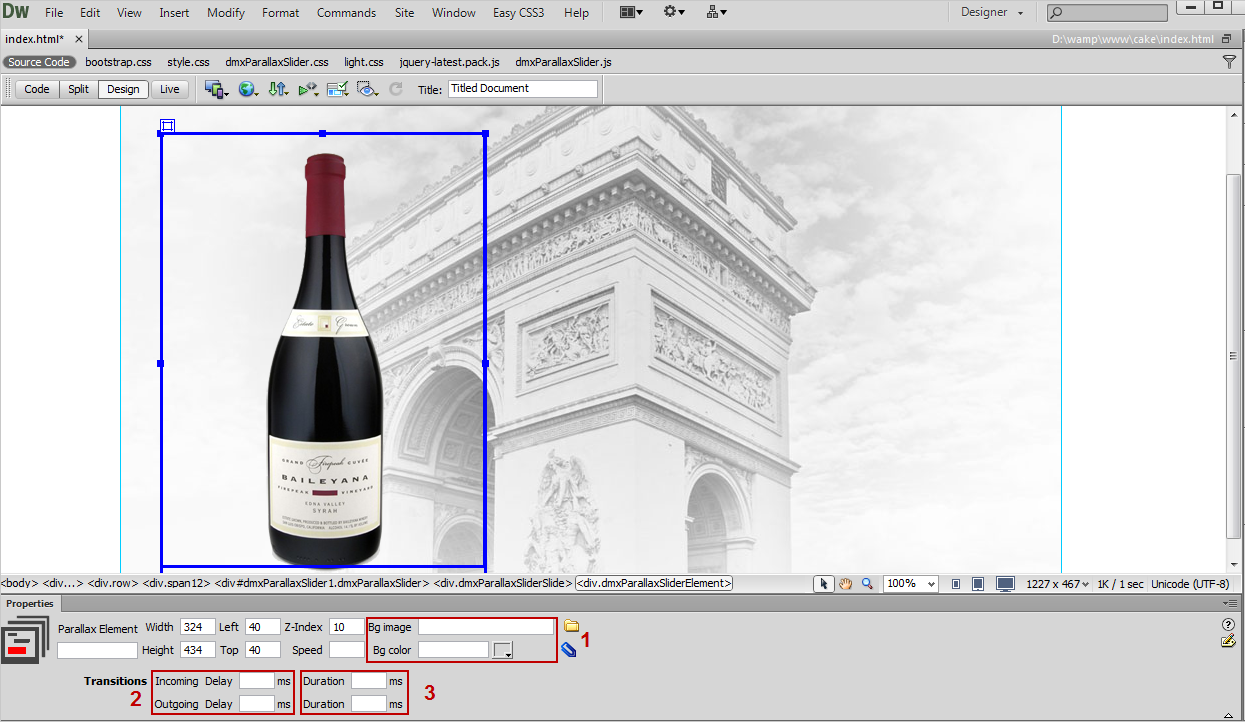
- You can add a background image and a background color (1) to the slide elements. Also, you can customize the Incoming and Outgoing Delay (2) for each of the slide elements as well as the Incoming and Outgoing effect Duration (3).
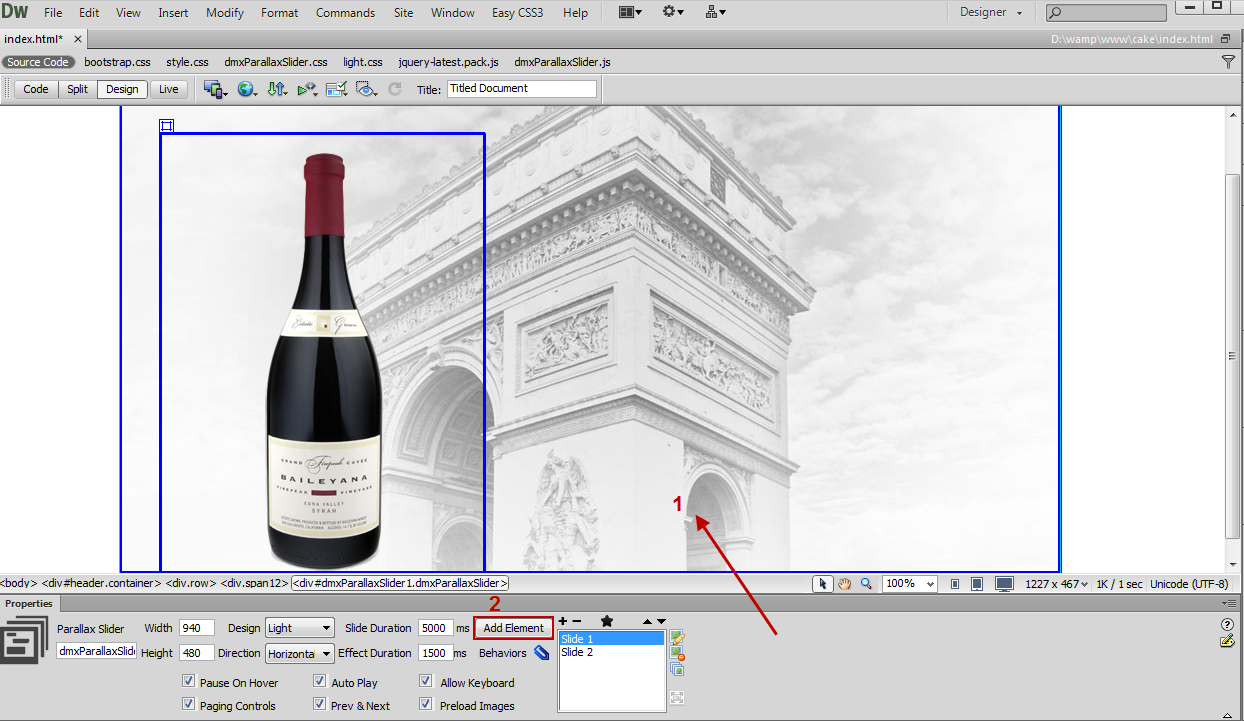
- Now, we're going to add a new slide element and in order to do that, click the Parallax slider (1) and click the add element button (2) in the property inspector.
- For the new element, we do the same in order to customize its content and appearance.
- Now you can save your work and preview the result in the browser.
Lubov Cholakova
 Lubov has been with DMXzone for 8 years now, contributing to the Content and Sales departments. She is bringing high quality content in the form of daily blog updates, reviews, tutorials, news, newsletters,update emails and extensions' manuals. If you have a product that needs publicity or any other questions about the entire DMXzone community, she is the one you can contact.
Comments
Be the first to write a comment
You must me logged in to write a comment.