In this article we covered all the important topics regarding the Sliding PayPal Shopping Cart Dreamweaver extensions. Here, you will find everything from basic usage and how to implement it on your website, to combining it with other DMXzone extensions and working with behaviors. For your convenience, the tutorials are also available in video format.
Sliding PayPal Shopping Cart Manual
Learn how to use the Sliding PayPal Shopping Cart extension


Advanced: Adding Different Values and Prices for a Product
In this tutorial we will show you how to add options with different values and different prices for a product using Sliding PayPal Shopping Cart.
*You can also check out the video.
How to do it
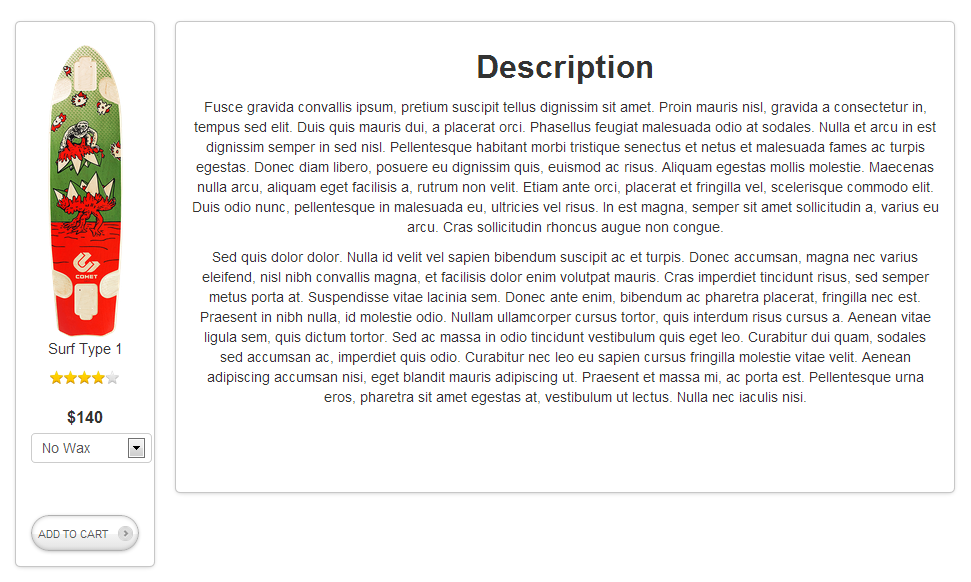
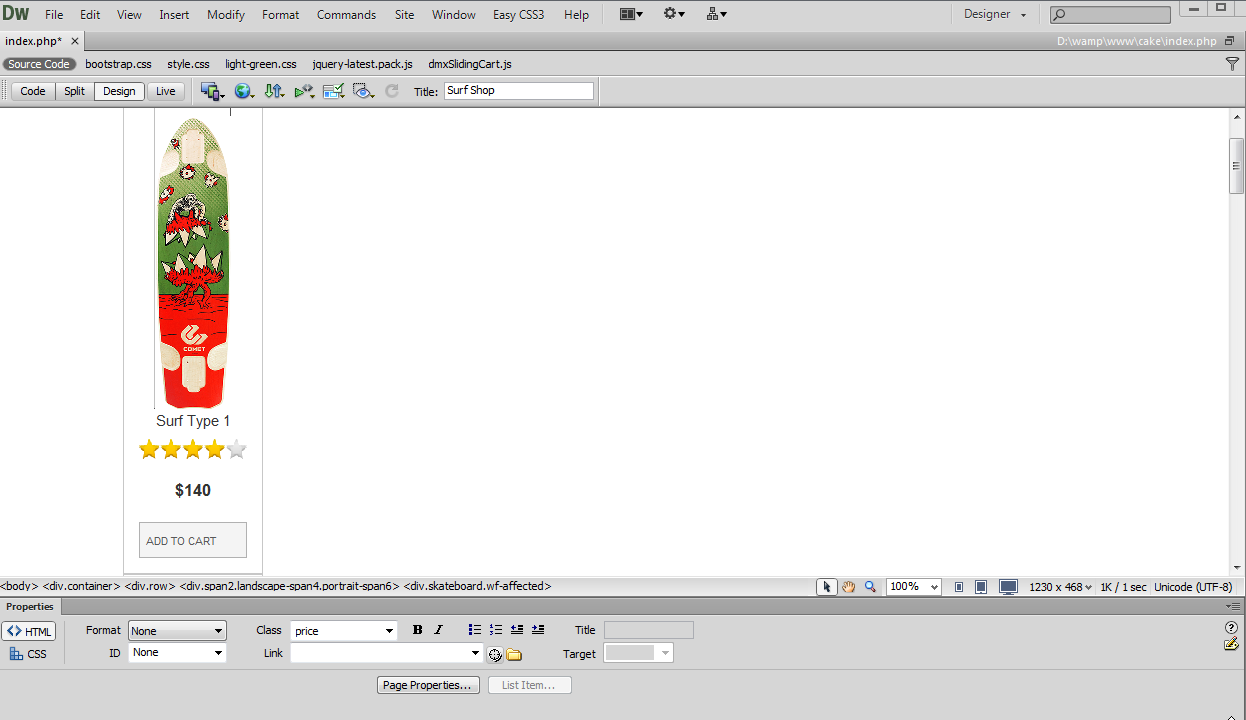
- We added Sliding PayPal Shopping Cart on our page. We have a product that we want to add several options to. Each of the options has a different price that will be added to the product price, if selected.
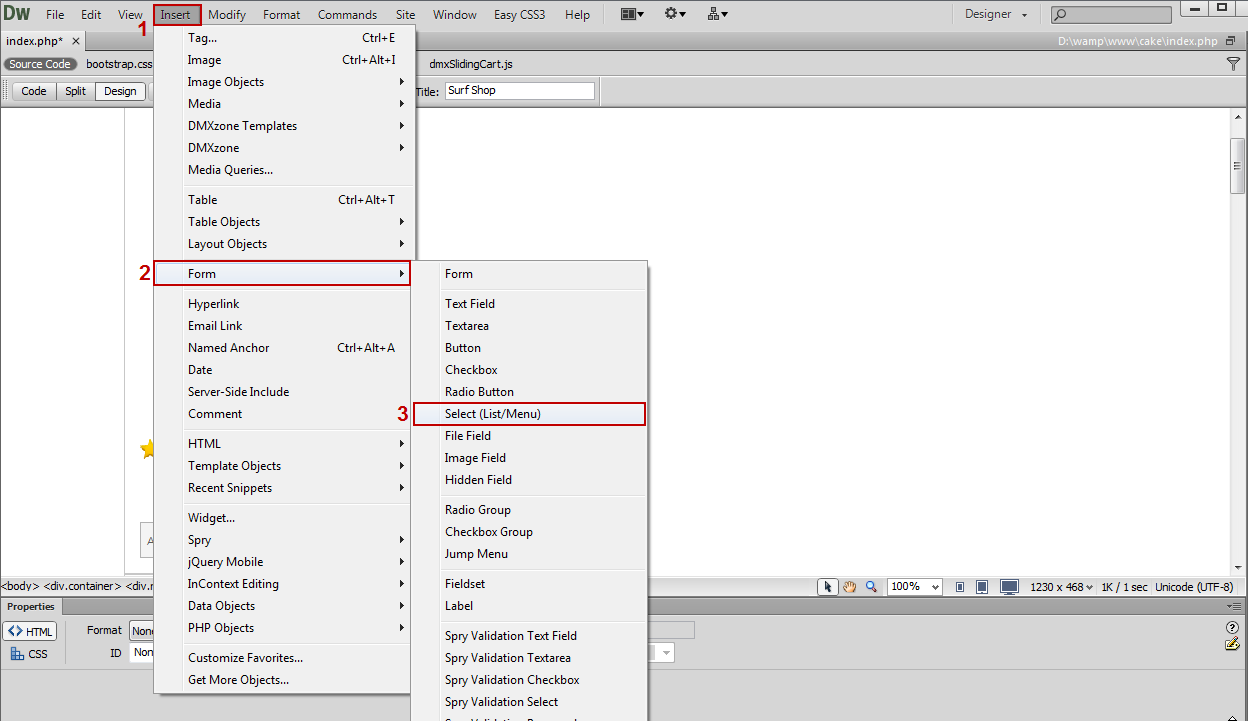
- First we are going to add a Select Menu that contains the
options for our product. Select insert (1) and from the form
menu (2), choose the select (list/menu) menu item (3).
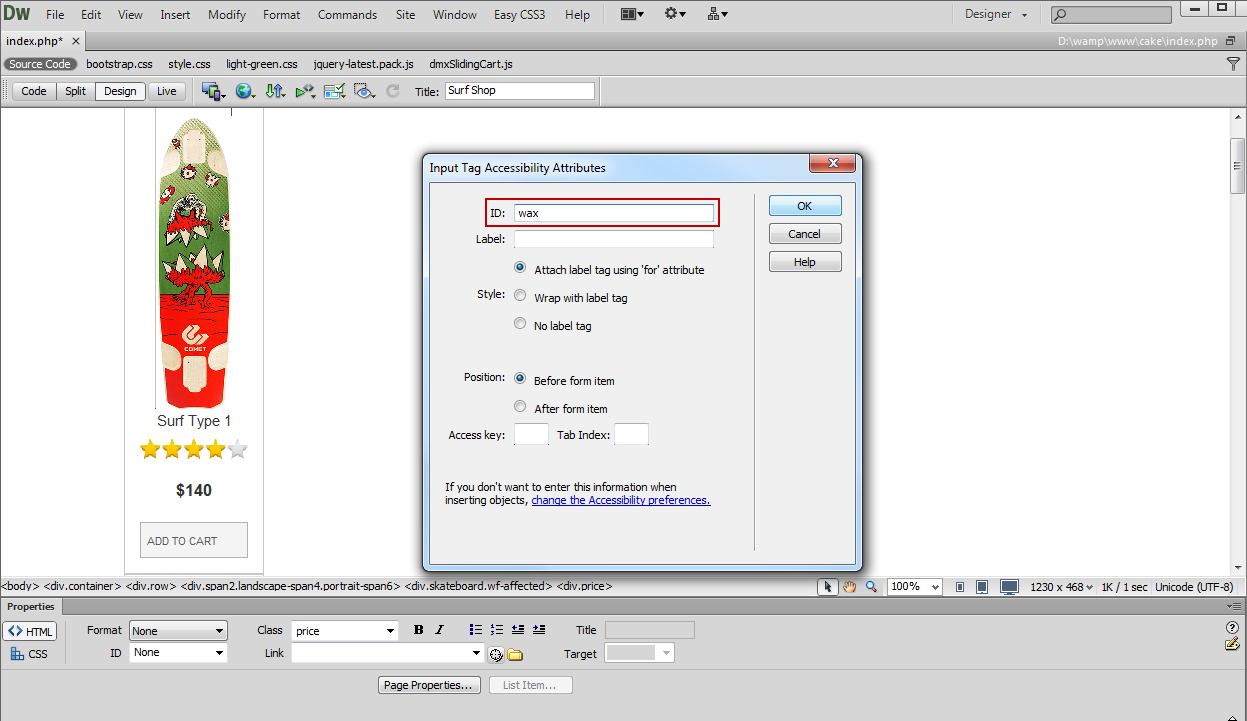
- In the Input Tag Accessibility Attributes window, we add an ID "wax" to our select menu.
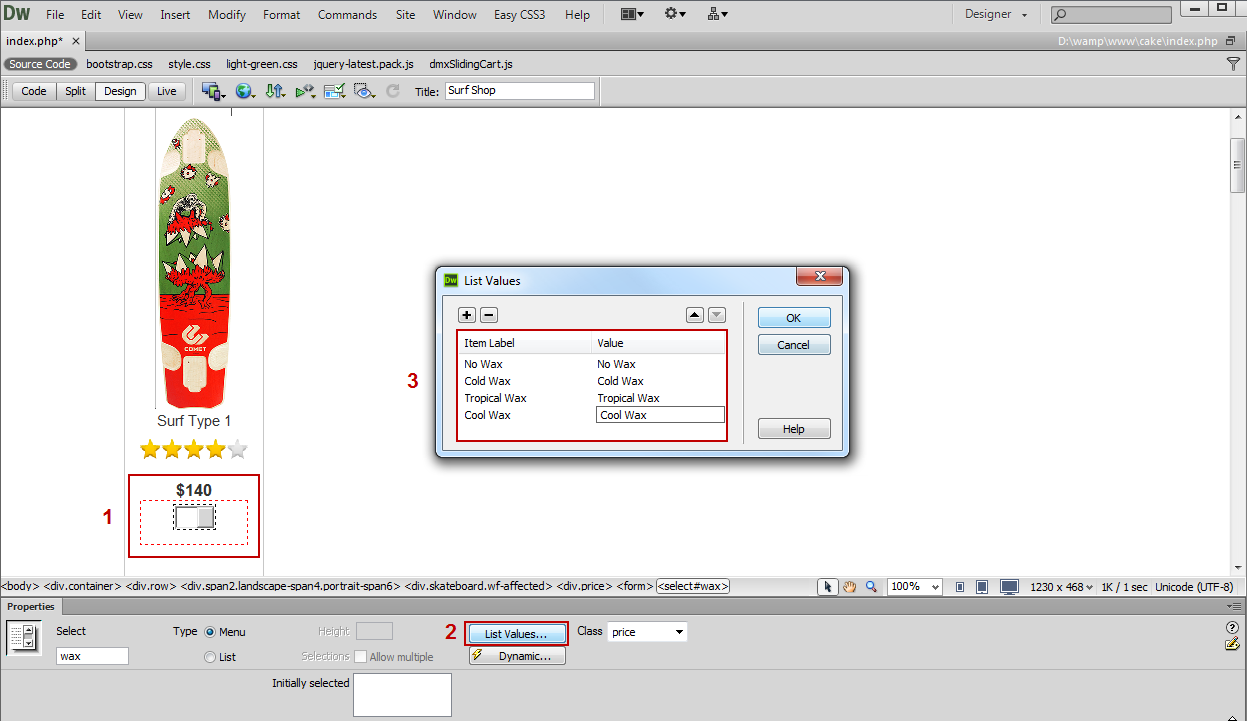
- Now we are going to add the options in the select menu (1). Click the list values button (2) and add the options for the select menu (3) in the list values window.
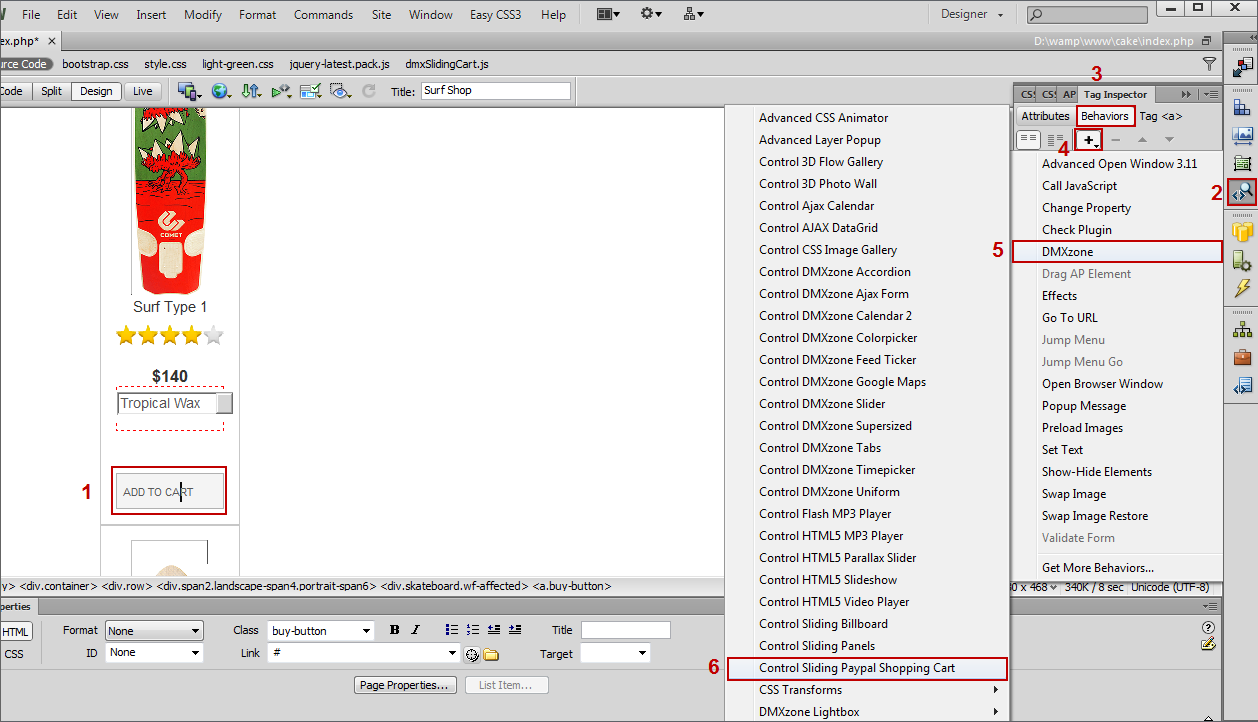
- Select the "Add to cart" button (1) and from the tag inspector button (2), click the Behaviors button (3). Click the add behavior button (4) and from the DMXzone menu item (5), choose the control Sliding PayPal Shopping Cart menu item (6).
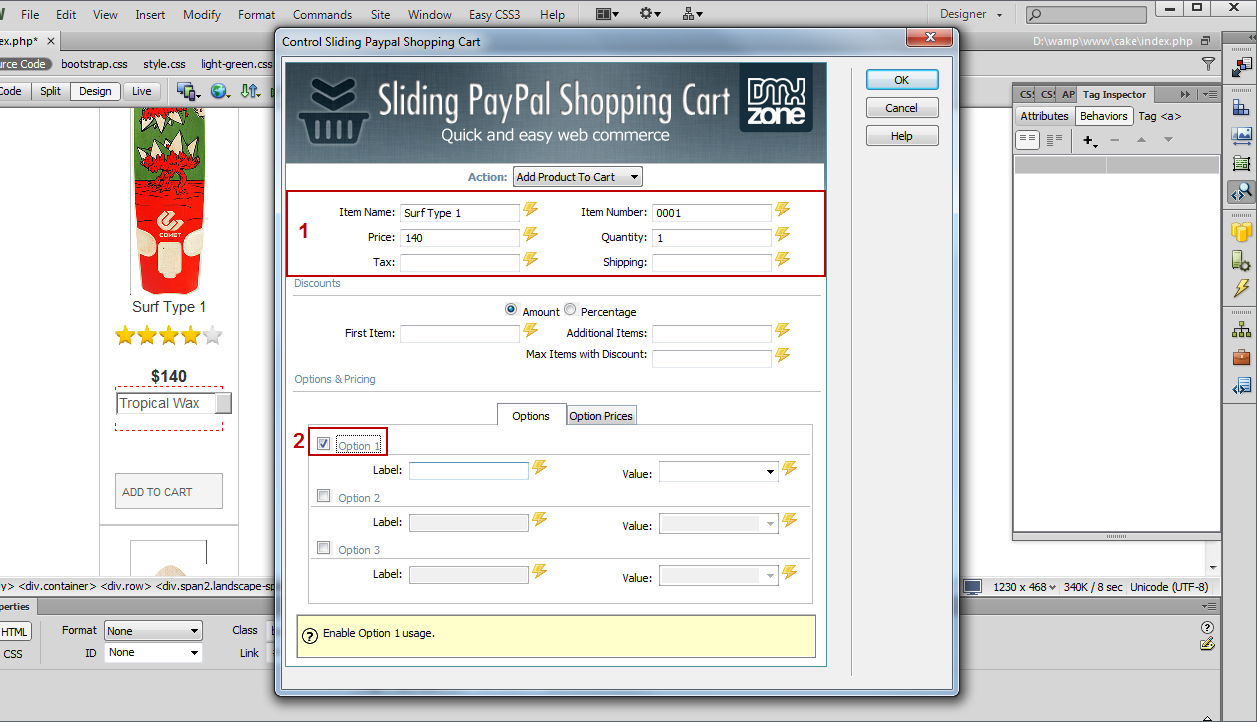
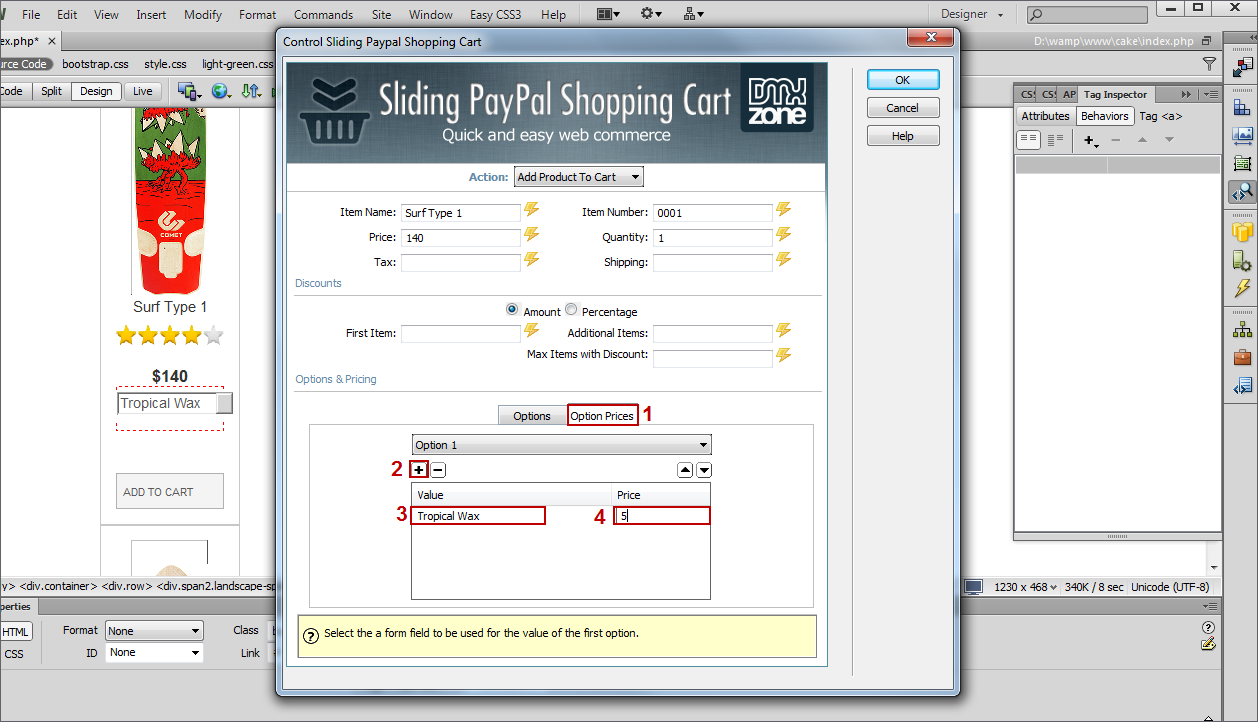
- Add the item info in the control Sliding PayPal Shopping Cart window (1). Note that you can have up to 3 different options with unlimited values for each of your products. Select Option 1 checkbox (2), as we added only one Select Menu with options for our product.
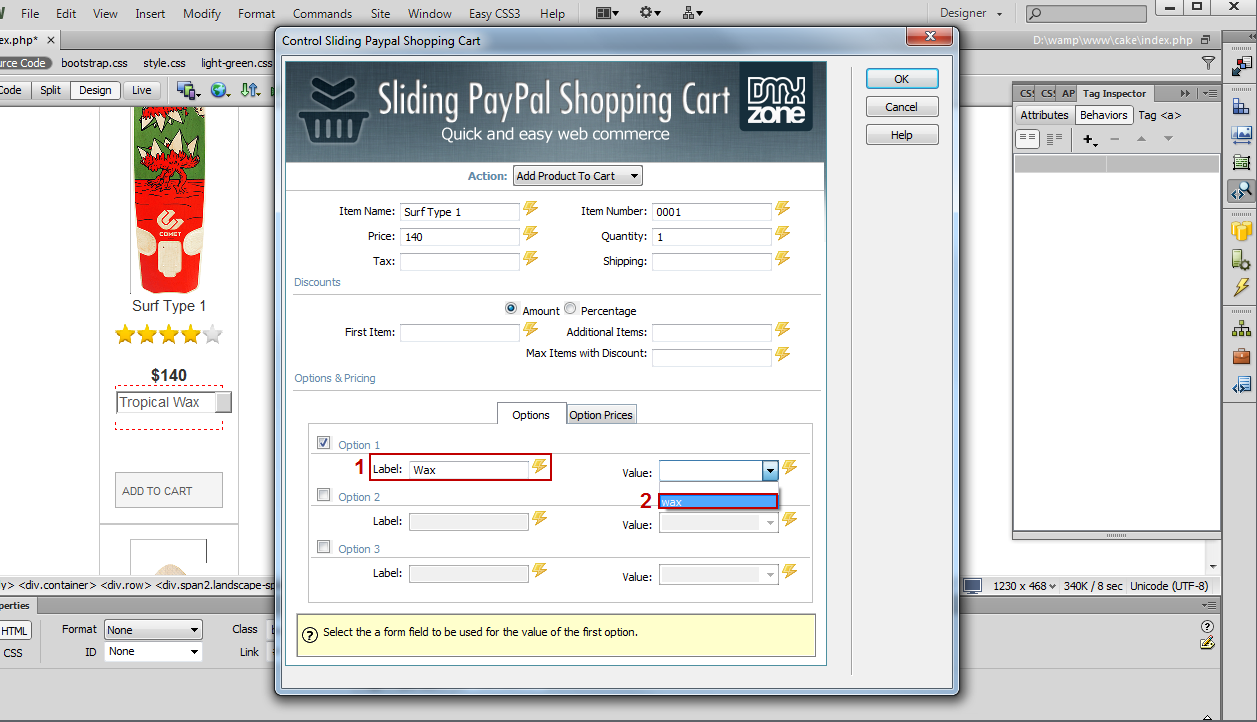
- Add a label for this option (1) and in the value menu, select the name of the select Menu that we added on our page (2).
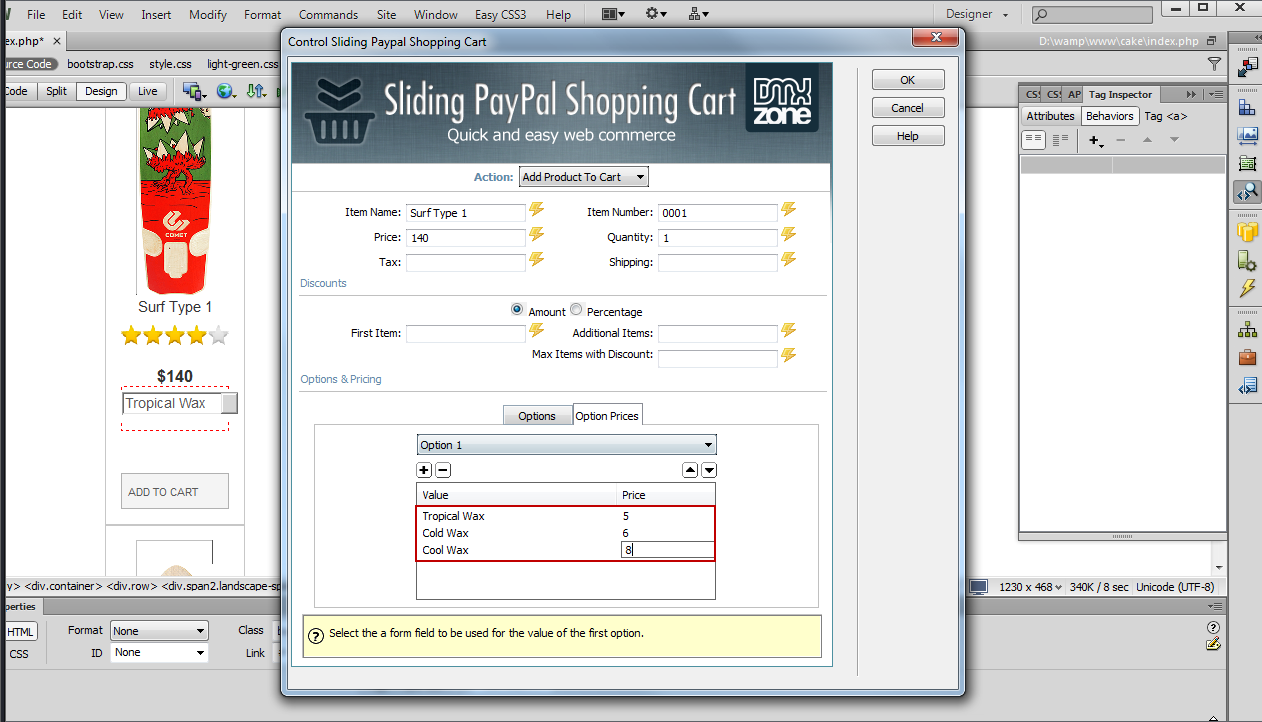
- In the option prices tab (1), we will add the prices for the first option "Option 1". Click the add element button (2), enter the label of any of the select menu items, that you want to add an additional price to (3) and add a price (4) that will be added to the product price if selected, in our case $5USD.
- We do the same for each option that we need to add price to.
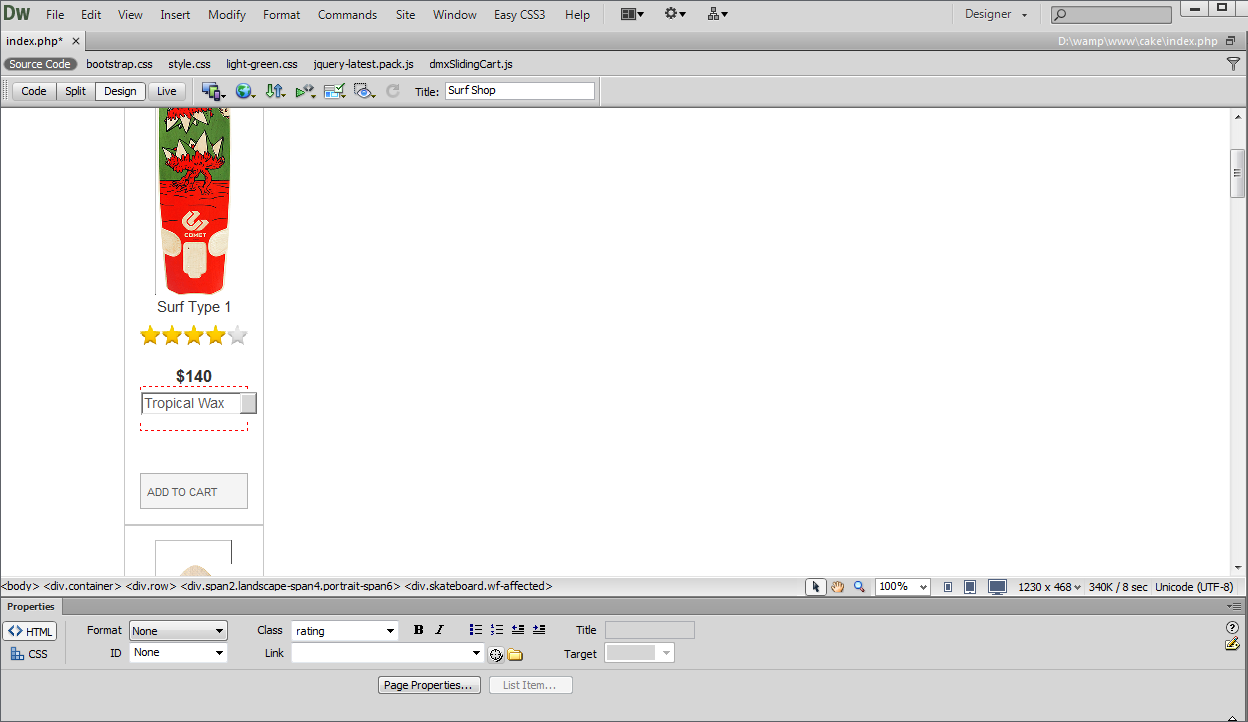
- Now you can save your work and preview the results in your browser.
Lubov Cholakova
 Lubov has been with DMXzone for 8 years now, contributing to the Content and Sales departments. She is bringing high quality content in the form of daily blog updates, reviews, tutorials, news, newsletters,update emails and extensions' manuals. If you have a product that needs publicity or any other questions about the entire DMXzone community, she is the one you can contact.
Comments
Be the first to write a comment
You must me logged in to write a comment.