In this article you'll find all the needed information on how to install and use DMXzone Bootstrap in Dreamweaver. We covered everything from basic grid layouts to nested responsive ones and even how to edit the existing starter pages that come with this extension. All tutorial are also available in video format. If you have any other questions regarding the extension, please contact our support.
DMXzone Bootstrap Manual
Learn how to use DMXzone Bootstrap in Dreamweaver


The Basics: Basic Usage of DMXzone Bootstrap
In this tutorial we will show you the basic features packed in DMXzone Bootstrap and how to use it.
*You can also check out the video.

How to do it
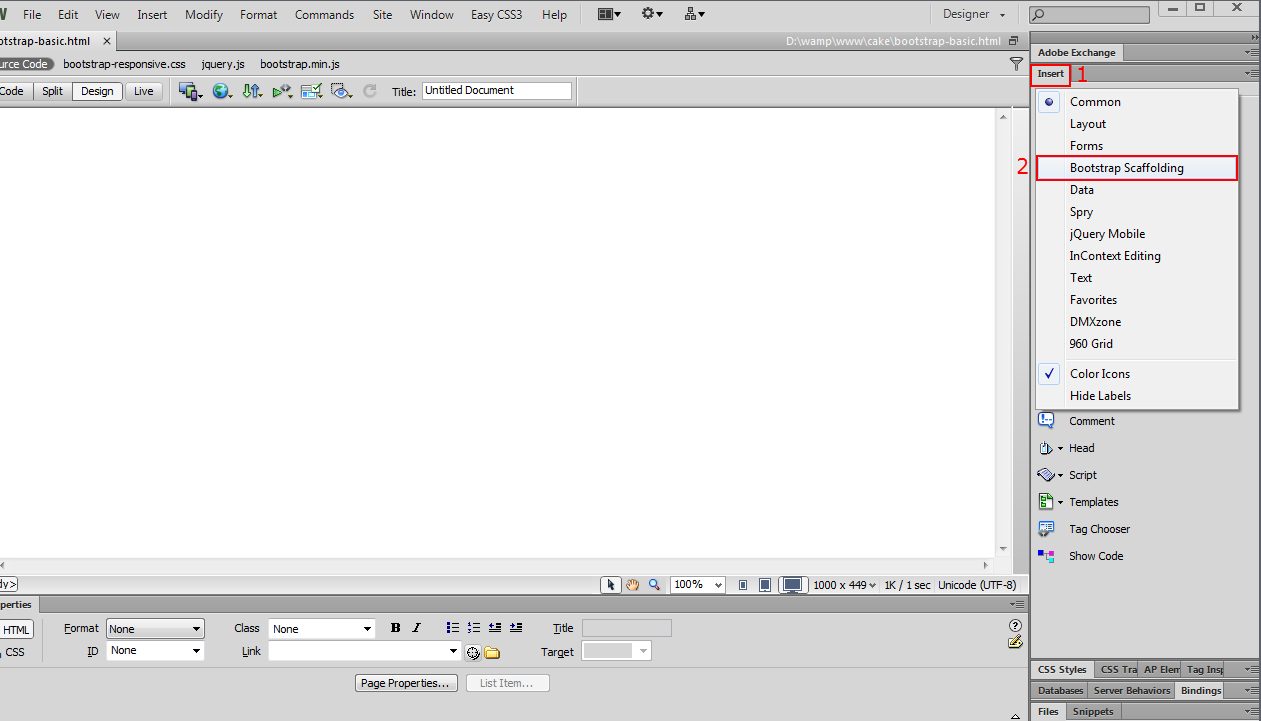
- We're going to build a simple page layout. Open the insert panel dropdown menu (1) and select Bootstrap Scaffolding (2).
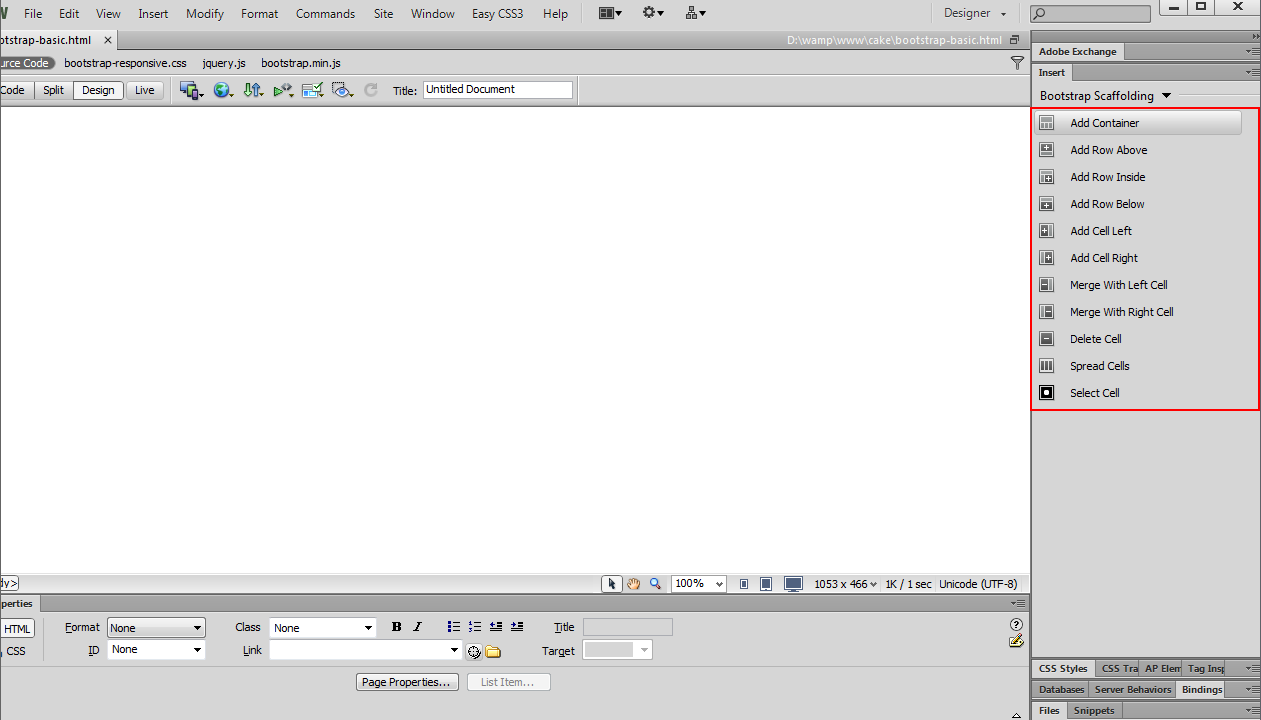
- You can see the available actions under the Bootstrap
Scaffolding menu. You can add, merge and delete cells, add containers
and rows. Also you can make all grid cells in the same row equal in size,
and select any cell and open the property inspector for it.
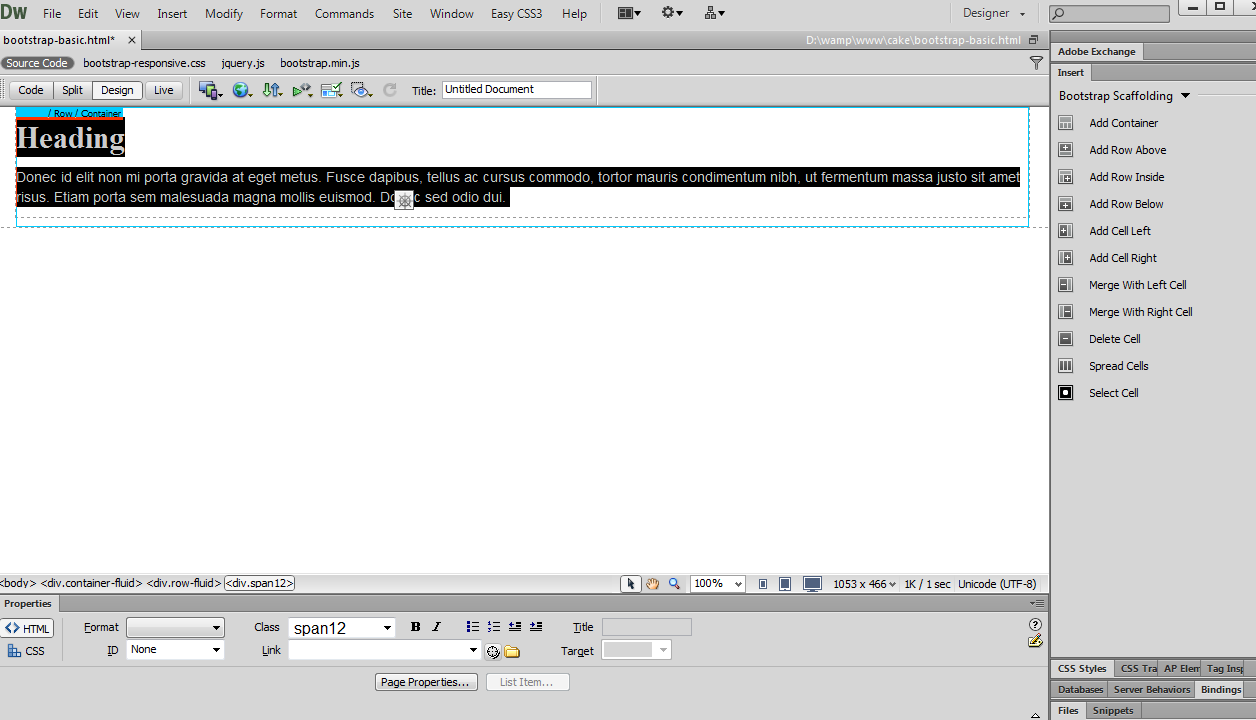
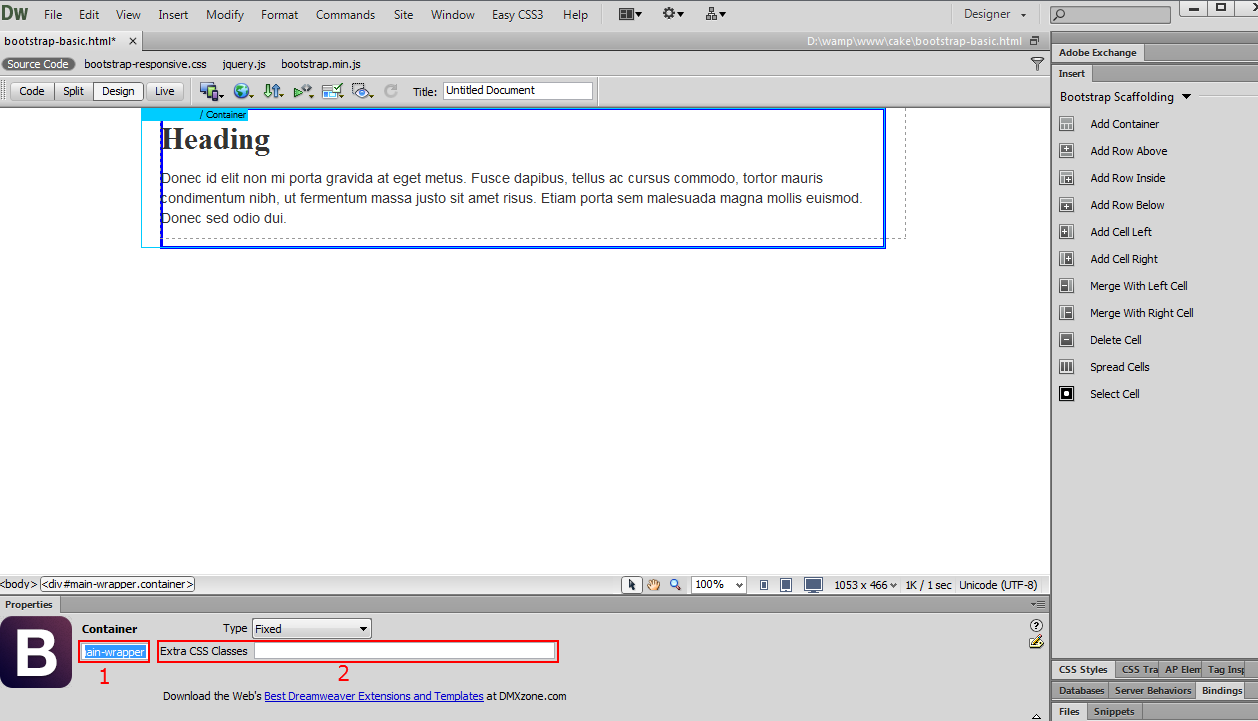
- First, we need to add a container. By default the container includes a row with a 12 columns wide cell.
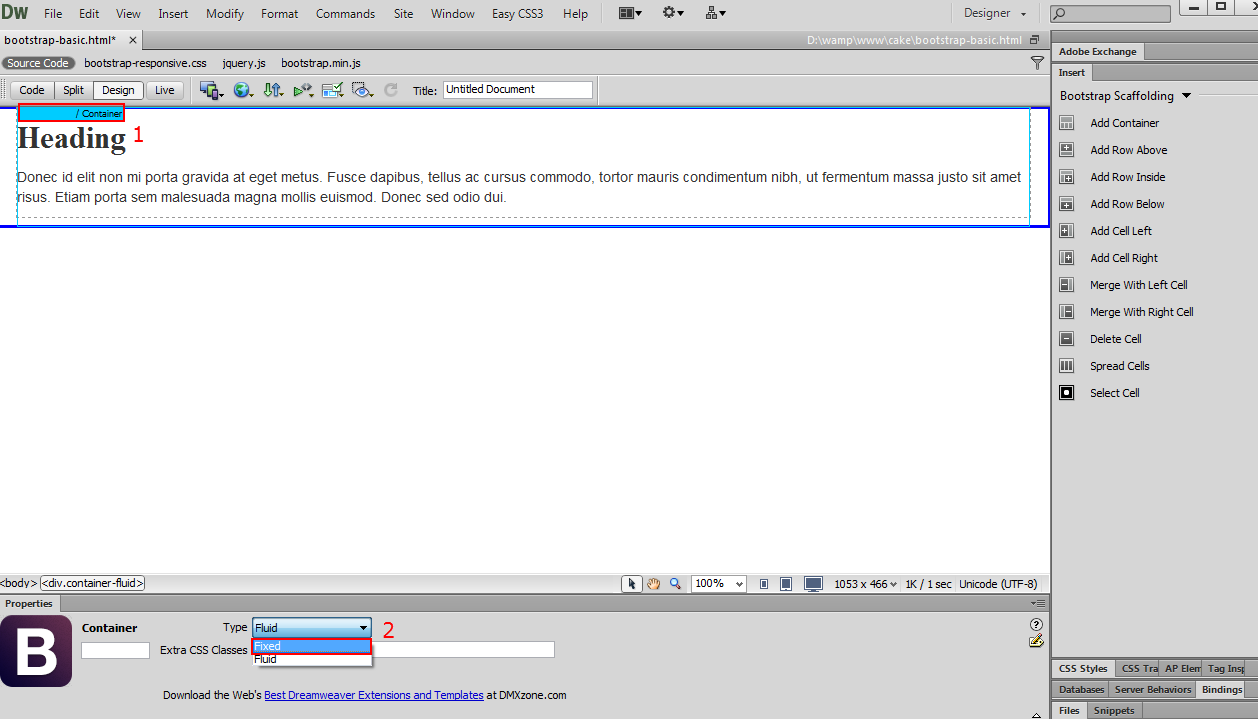
- You can select the container label by clicking it (1) and change the type of the container in the Properties inspector (2). We will use the fixed container type for this tutorial.
Note: There are two types of containers:
- Fixed Container adapts to be 724px, 940px or 1170px wide depending on your viewport size.
- Fluid Container adapts to 100% of your viewport. It has the same responsive capabilities the fixed grid system, ensuring proper proportions for key screen resolutions and devices.
- You can assign an ID (1) to the selected container if you need to and also add Extra CSS Classes to the selected container (2). We leave this field empty as we don't need any extra classes.
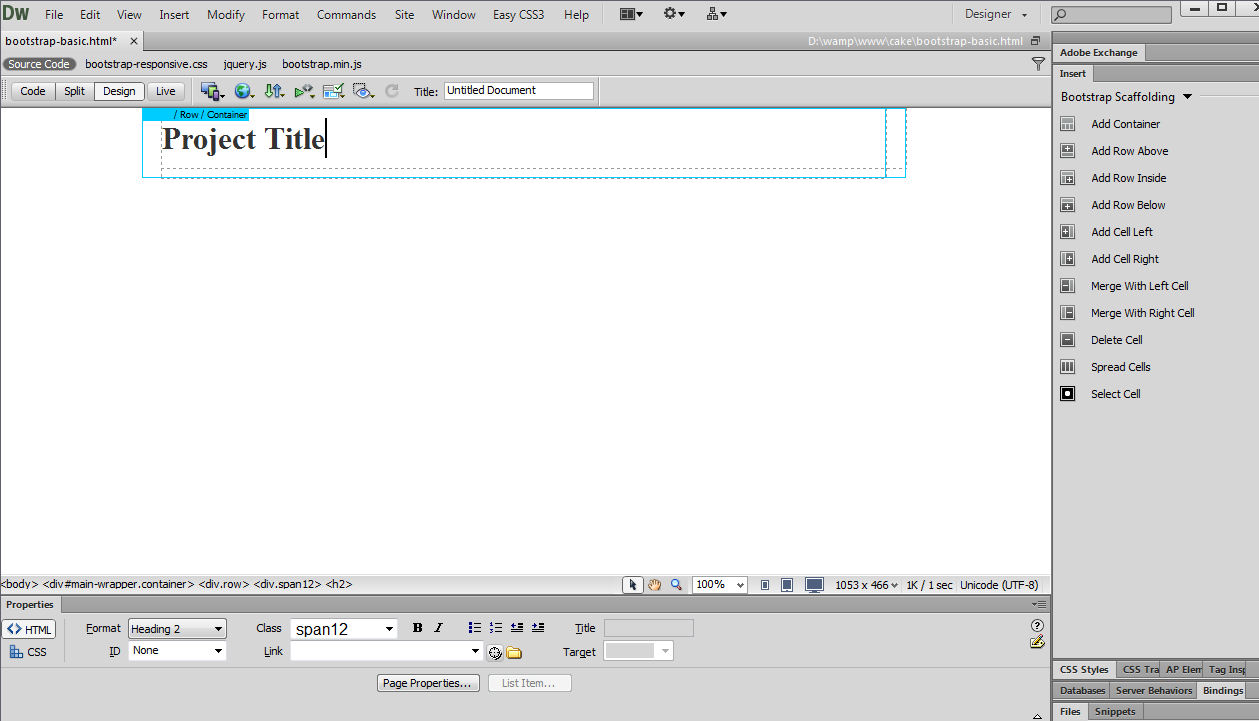
- Delete the default cell content and add a title for your
project.
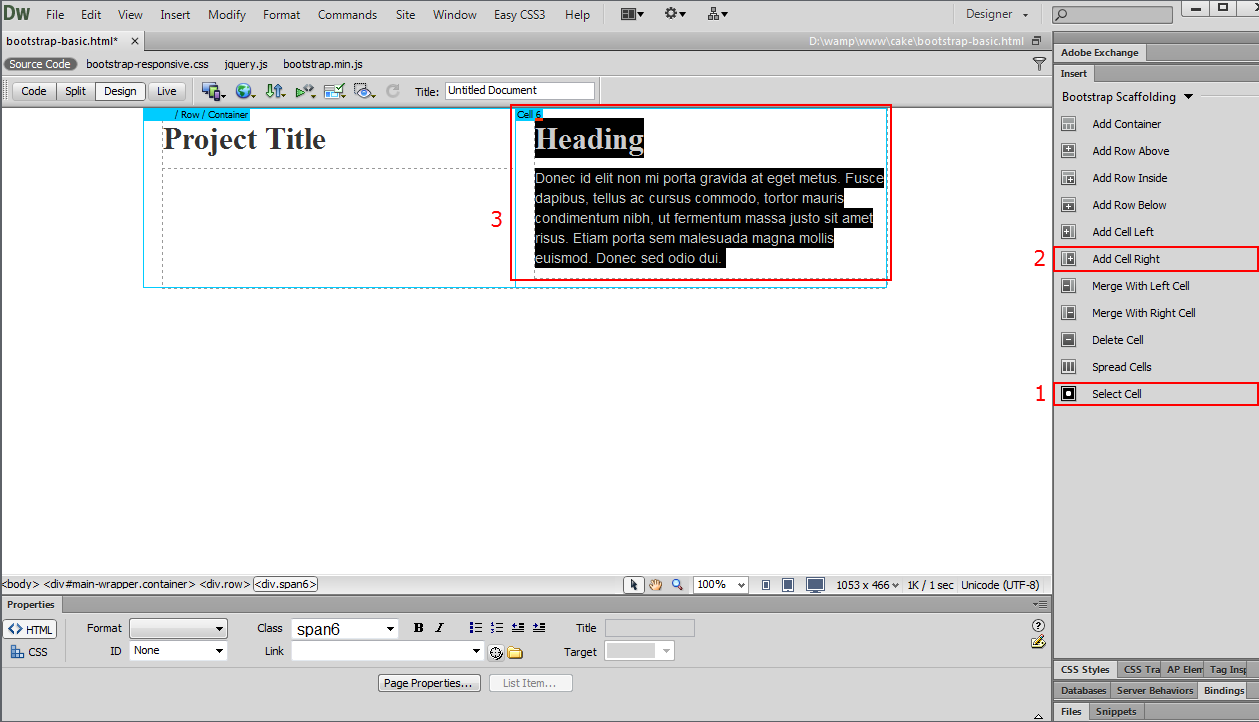
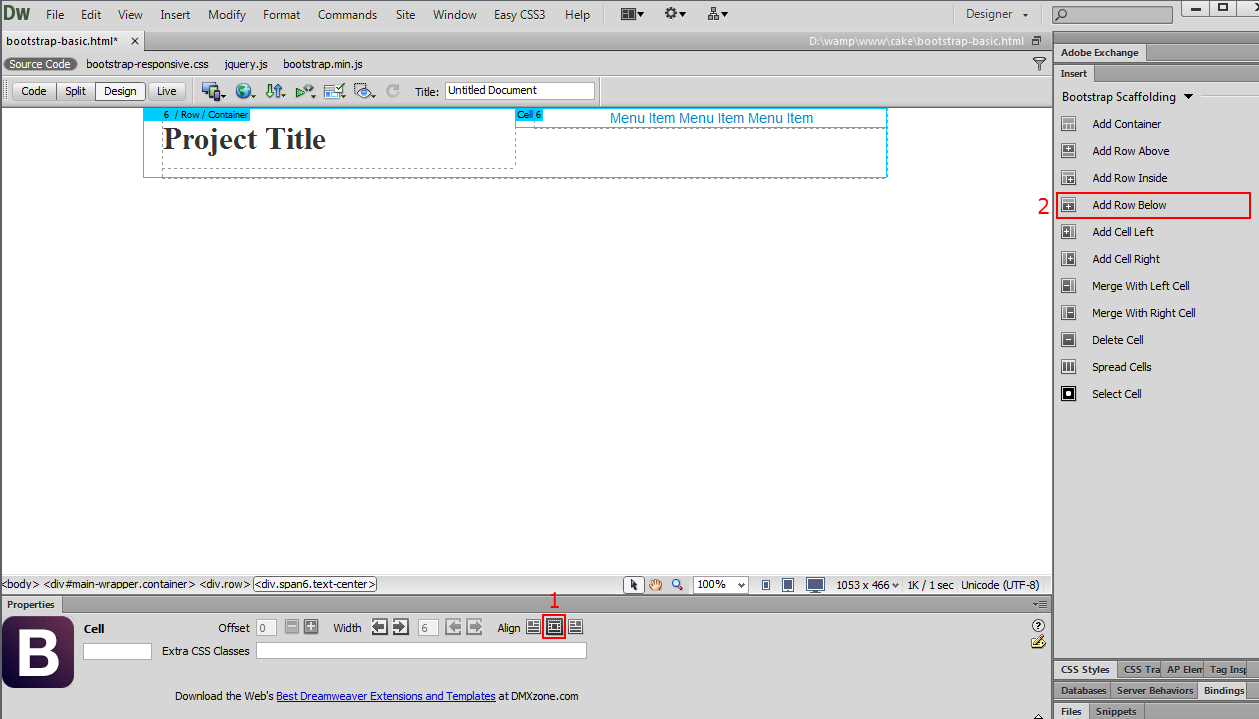
- Click the select cell button (1) in order to select the current cell, add a cell on the right (2) and delete the default cell content (3).
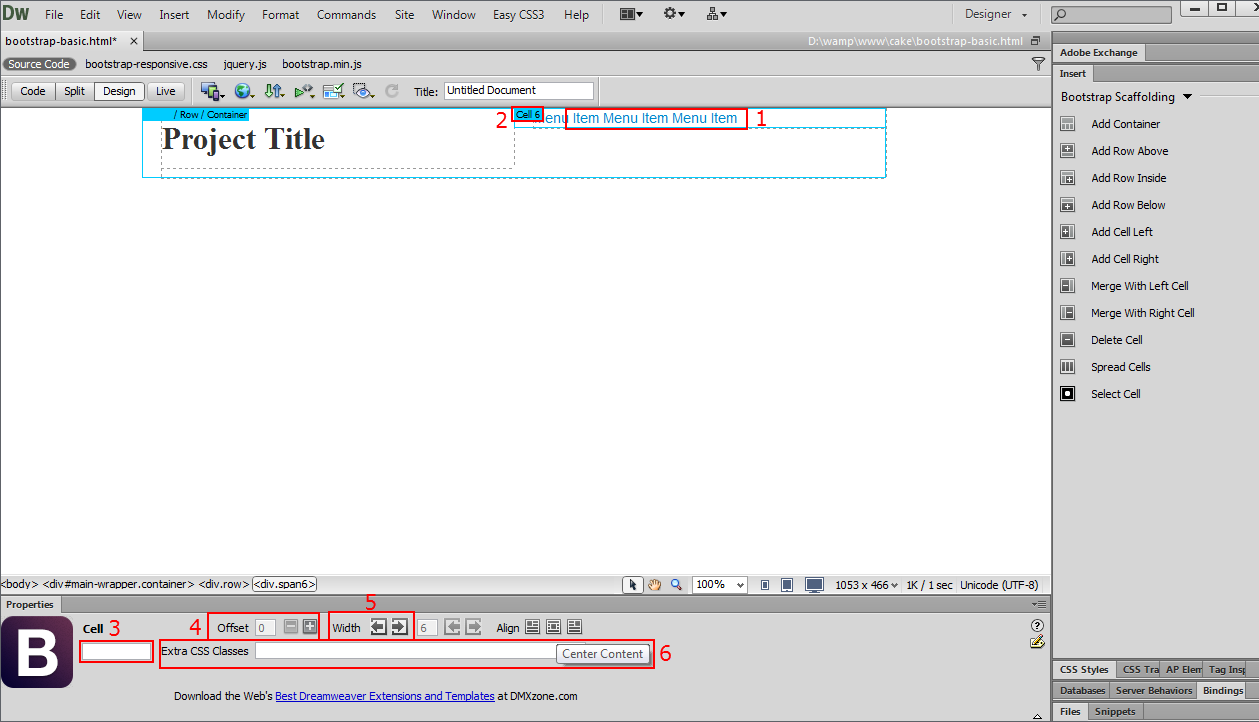
- Add some simple text links inside the cell (1). You can select the cell by clicking on its label (2) and the properties for the selected cell appear in the Properties Inspector. Here you can assign an ID (3) to the cell, add, Increase or decrease offset (4) of the selected cell, change the width of the cell (5), and also assign extra CSS Classes (6) to the selected cell.
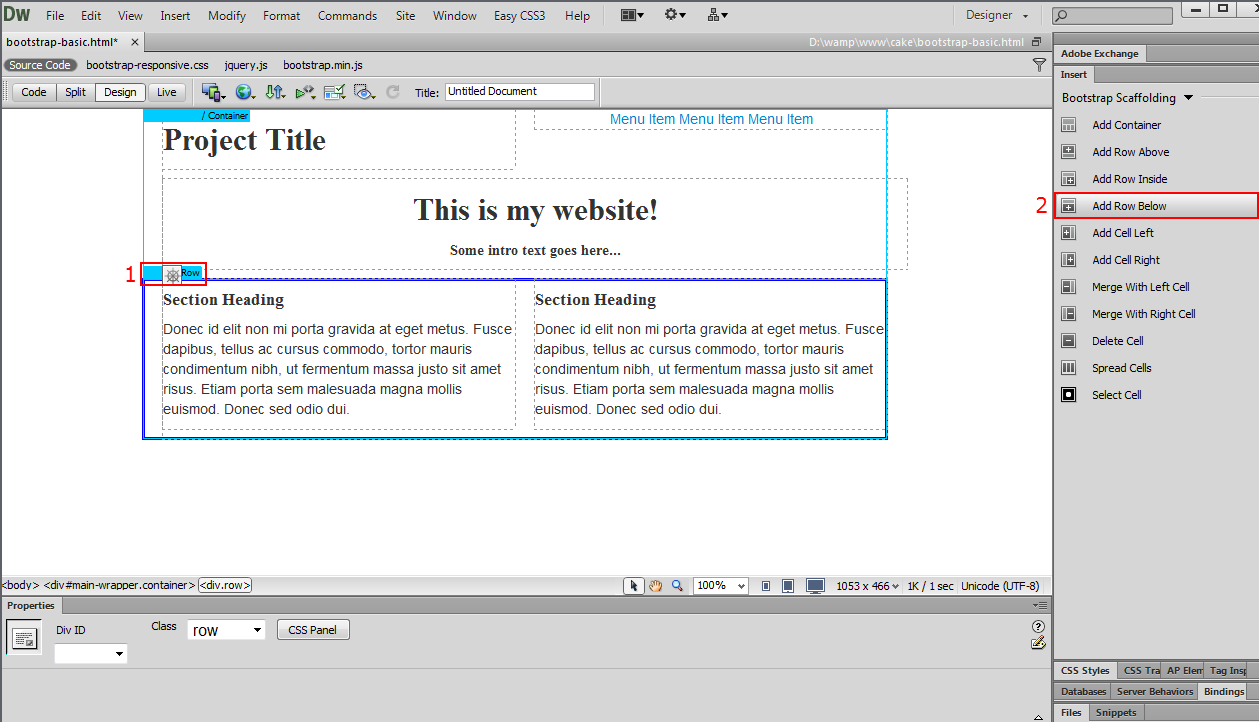
- We align the cell content in the center (1). Now we are going to add another row below. Select add row below (2).
- We change the default content with our own. Click select cell (1) and center the content from the property inspector button (2).
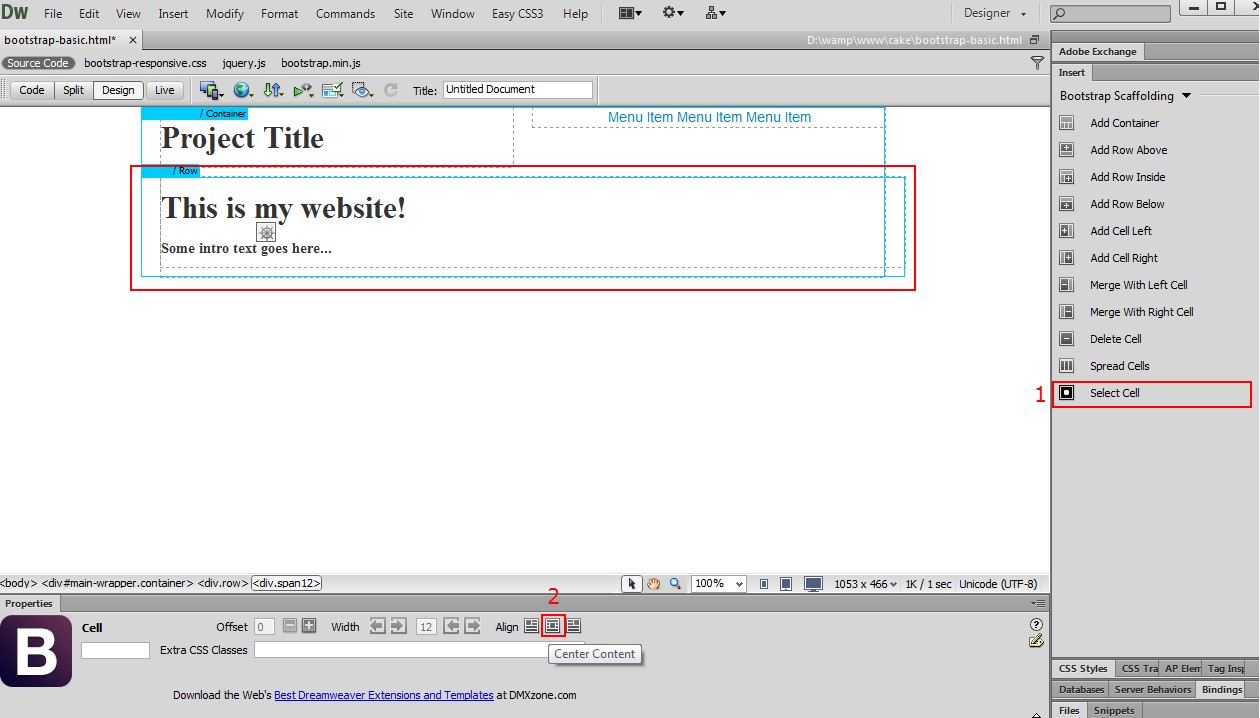
- We add another row from the insert panel.
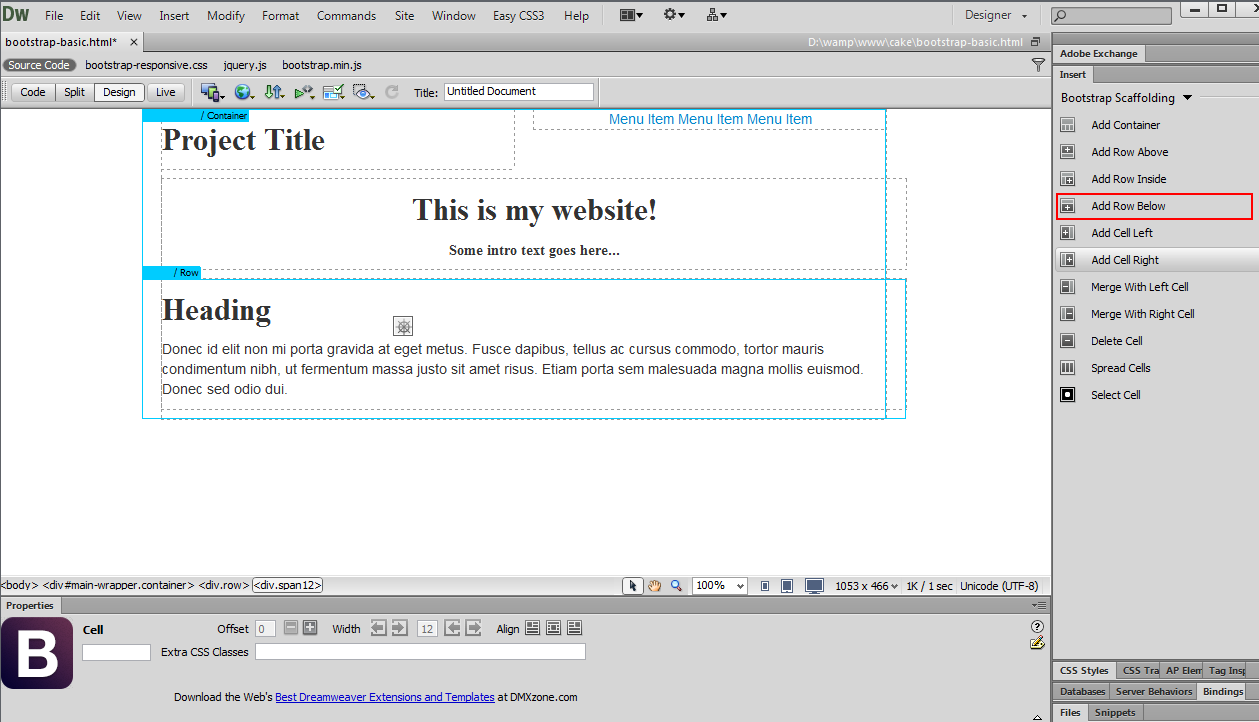
- Also we add a new cell to the right and style the cell content a little bit.
- Select the row label (1) and add another row below (2).
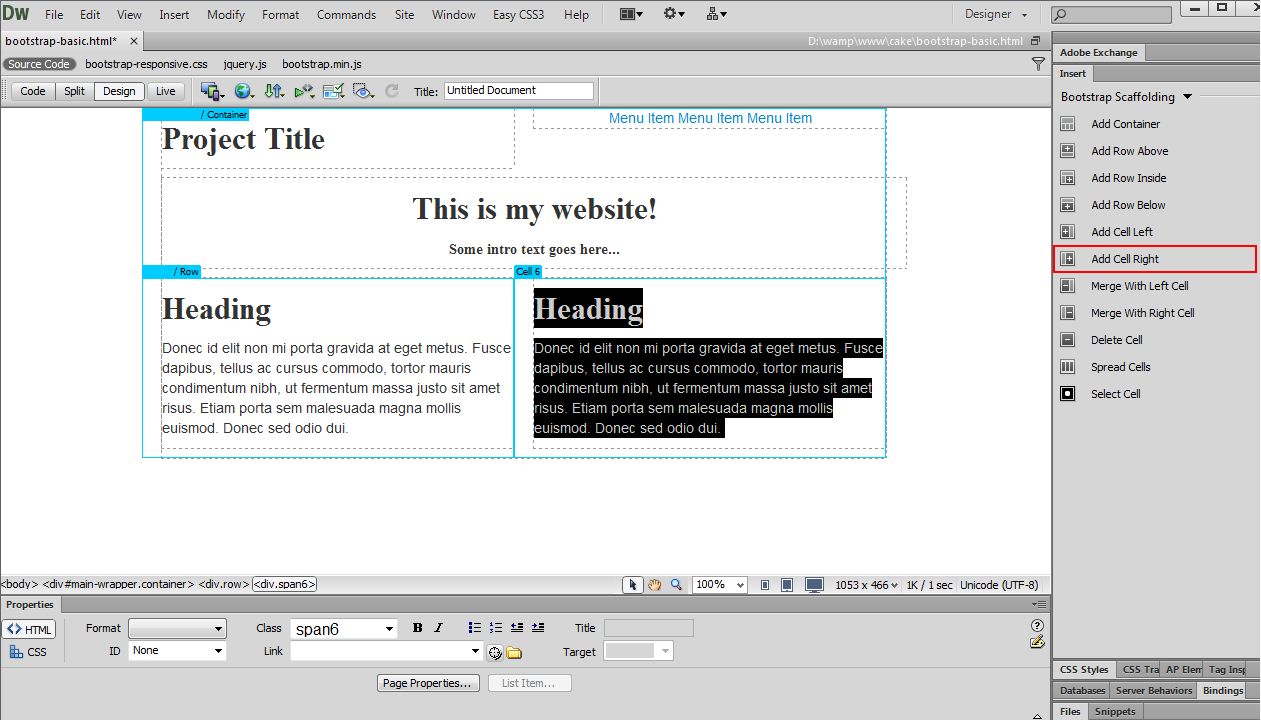
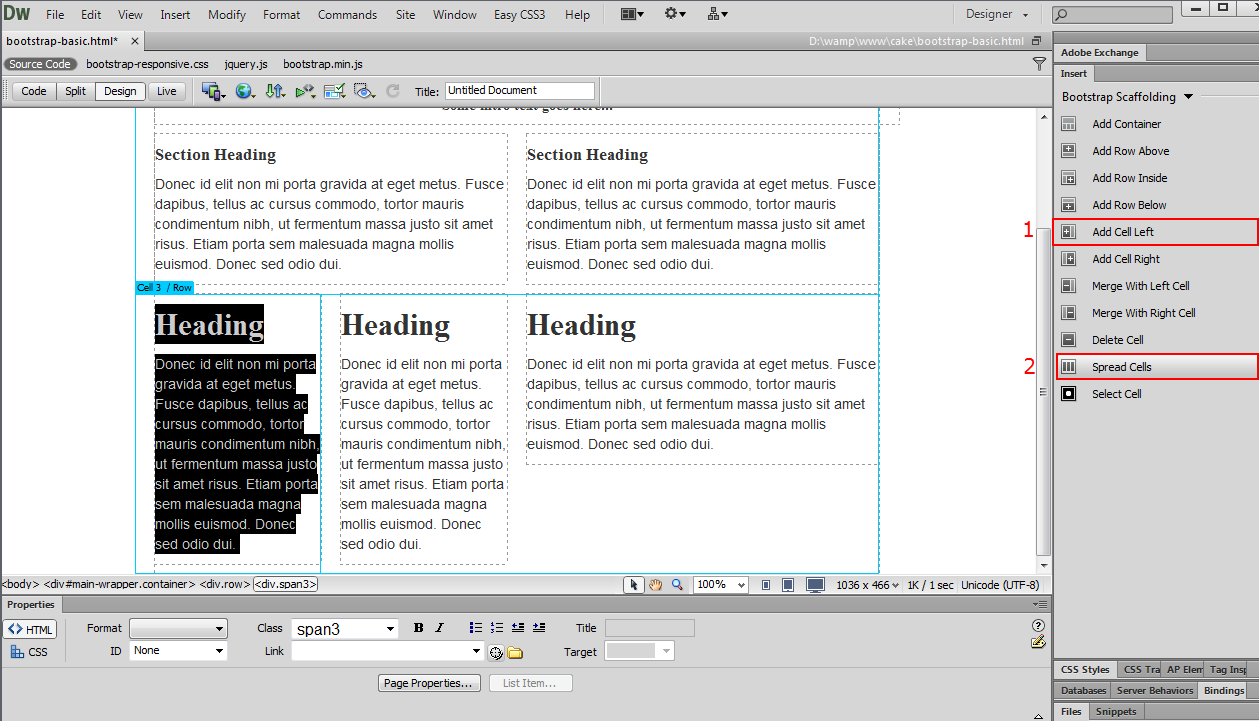
- We add two more cells in this row (1) and spread the cells (2) to become equal in size.
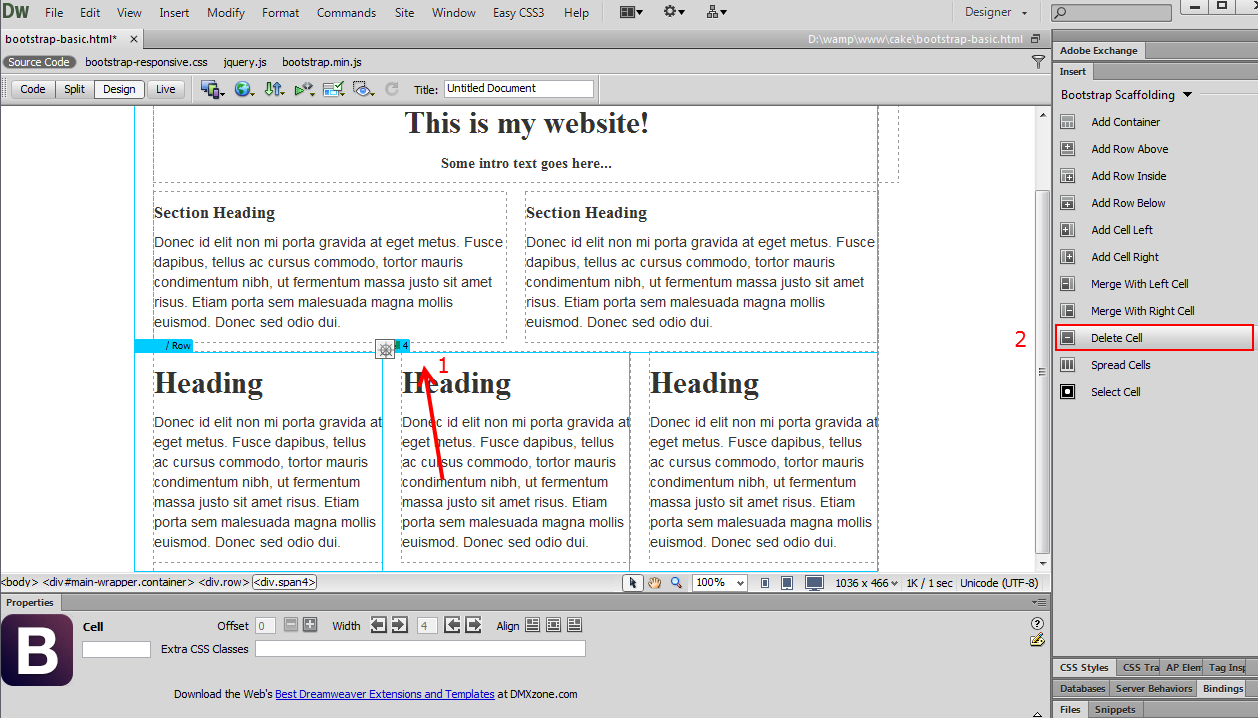
- Now our cells in this row are equal in size. In order to delete any of the cells, select the cell (1) and click the delete cell button (2).
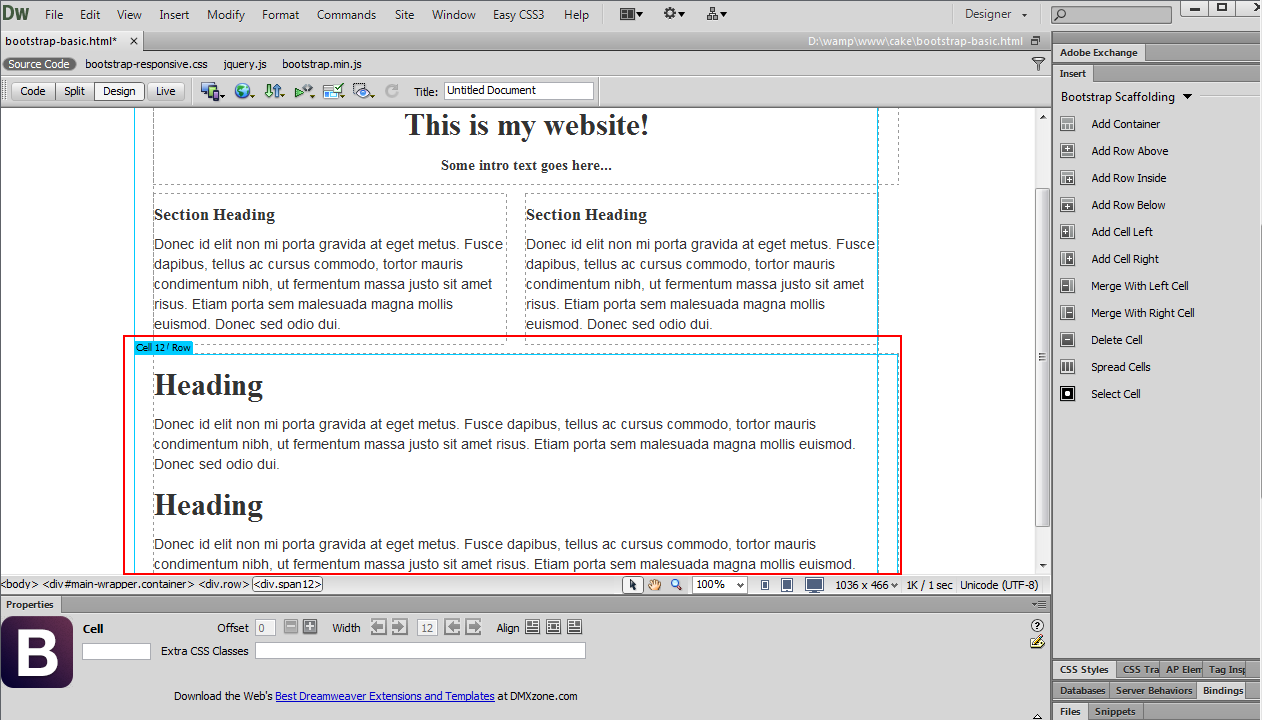
- Now we want to merge the two cells that left in the row. Select the right cell (1) and select merge with left cell (2).
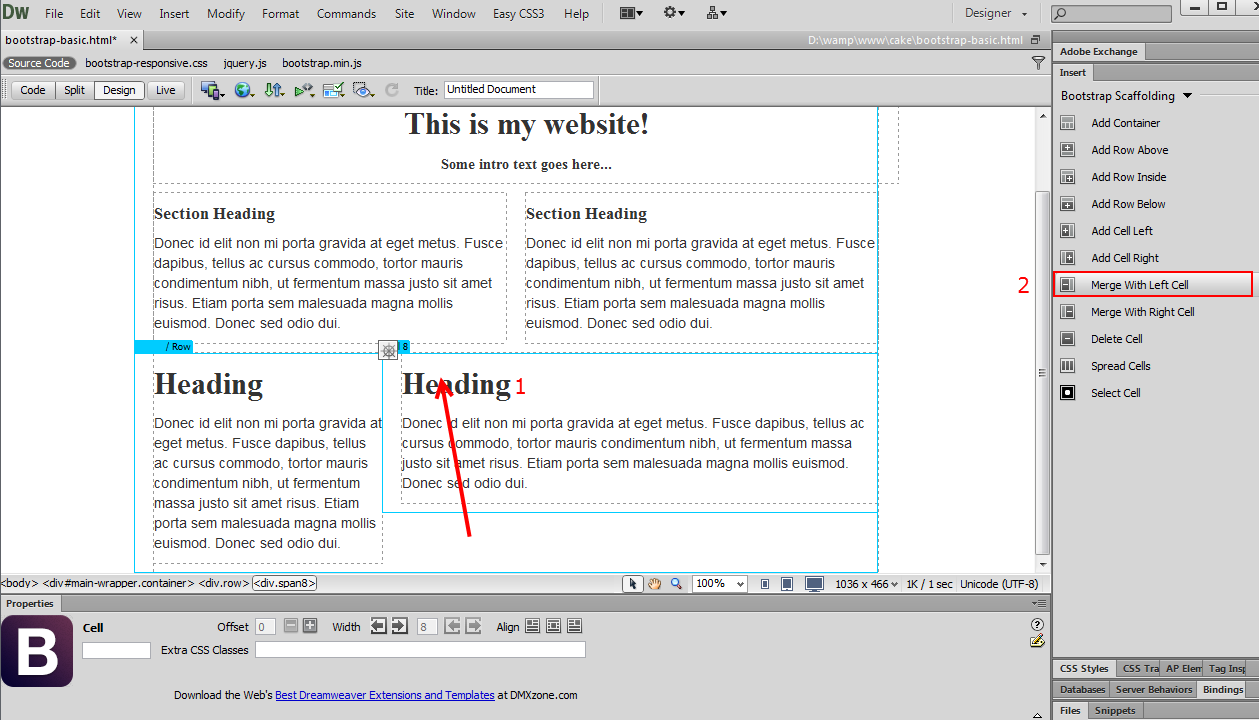
- The two cells content is now merged into one 12 columns wide cell.
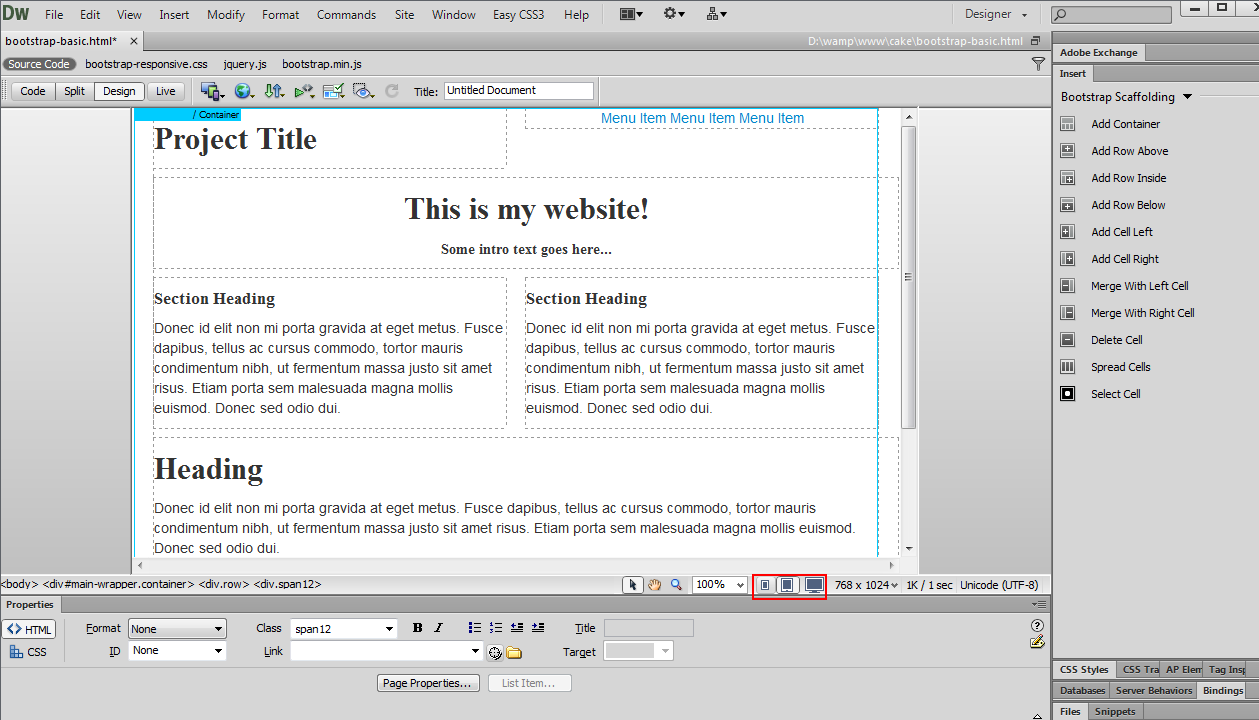
- When you are done with the content you can check how your website looks on different screen sizes.
Lubov Cholakova
 Lubov has been with DMXzone for 8 years now, contributing to the Content and Sales departments. She is bringing high quality content in the form of daily blog updates, reviews, tutorials, news, newsletters,update emails and extensions' manuals. If you have a product that needs publicity or any other questions about the entire DMXzone community, she is the one you can contact.
Comments
Be the first to write a comment
You must me logged in to write a comment.