In this article we'll go through all the 37 elements that are included in DMXzone Bootstrap 3 Elements extension and how to use them. You can simply follow the video tutorials and learn how to access each element in Dreamweaver as well as customize it. If you have any other questions, please use the extension support forums or contact us via Live Support. Note that DMXzone Bootstrap 3 Elements works only with DMXzone Bootstrap 3 extension.
DMXzone Bootstrap 3 Elements Manual
Learn how to use the DMXzone Bootstrap 3 Elements extension


The Basics: Accessing DMXzone Bootstrap 3 Elements
In this tutorial we will show you how to access DMXzone
Bootstrap 3 Elements and Bootstrap Elements Inspector Floating Panel in
Dreamweaver.
*You can also check out the video.
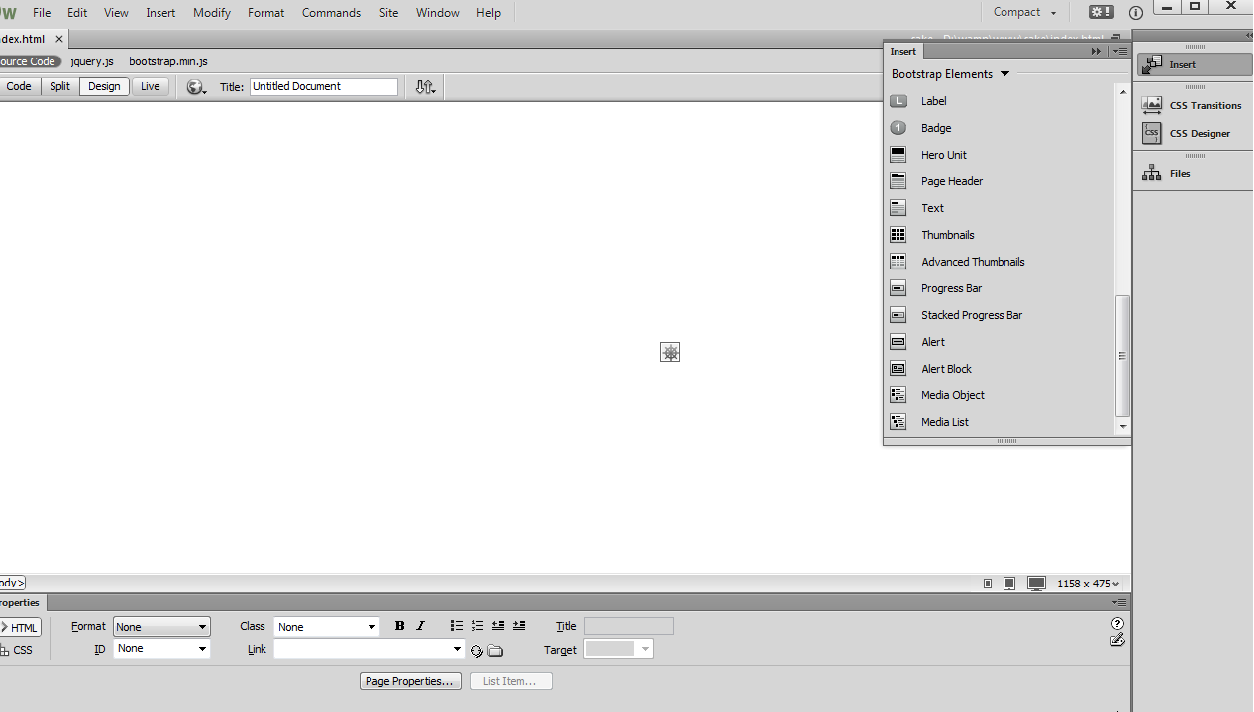
How to do it
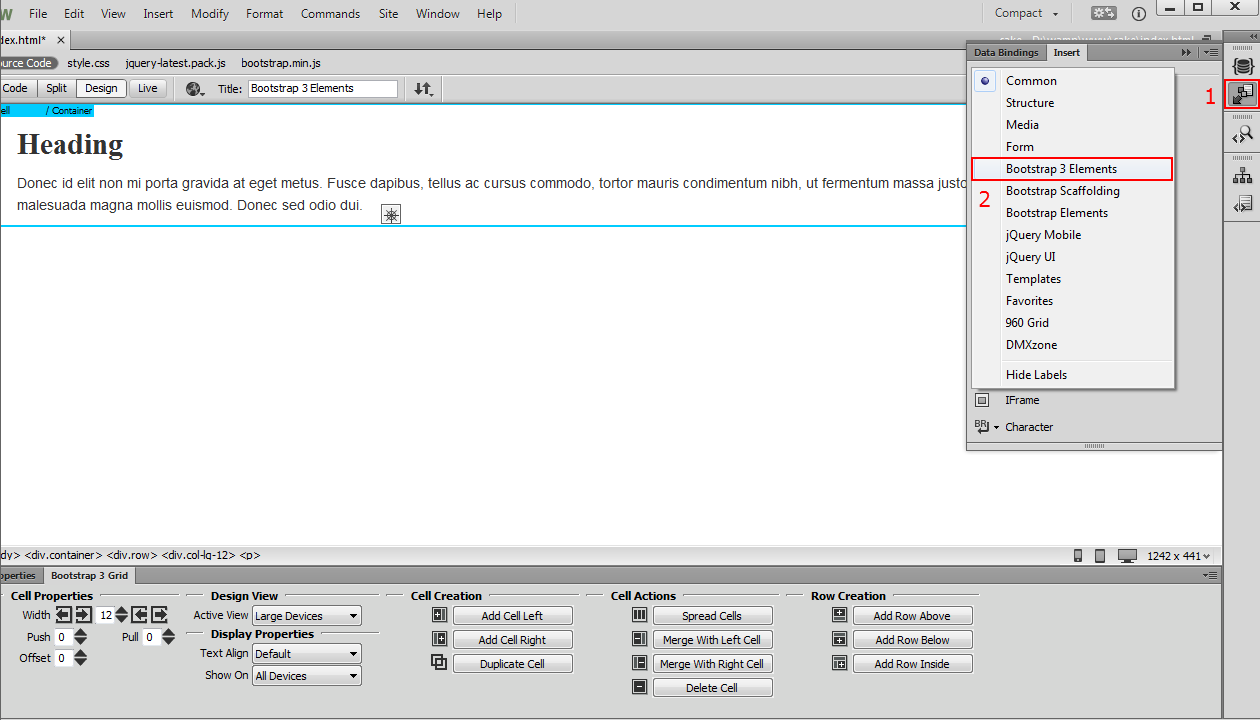
- We already placed a Bootstrap 3 container on our page. Now, click the insert button (1) and from the select menu choose Bootstrap 3 Elements menu item (2).
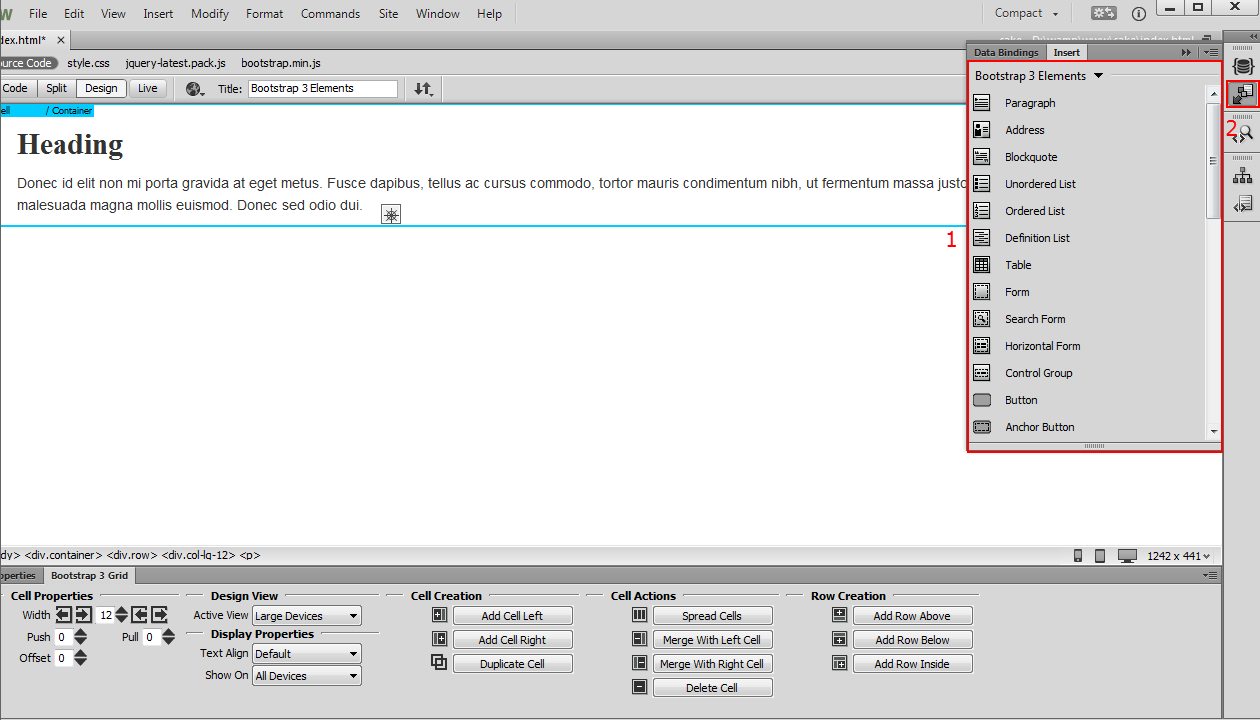
- Here you can access and insert on your page all of the 37 Bootstrap
3 Elements (1). You can insert any of the elements on your page by
clicking it. We close the insert panel (2).
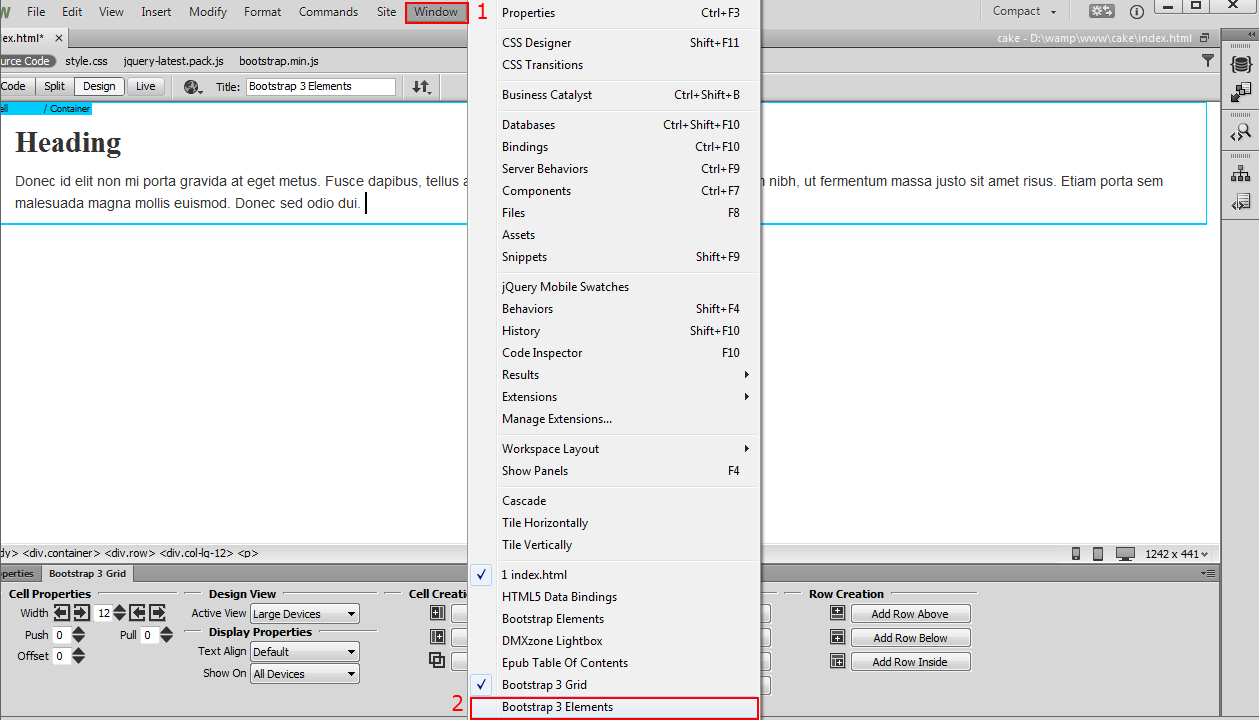
- Each element has its own properties that can be accessed through the Bootstrap 3 Elements Inspector Floating Panel. To access it, select Window top menu (1) and click the Bootstrap 3 Elements menu item (2).
- The Bootstrap 3 Elements Inspector Floating Panel appears. You can drag and dock the Bootstrap 3 Elements Inspector Floating Panel anywhere in your Dreamweaver window.
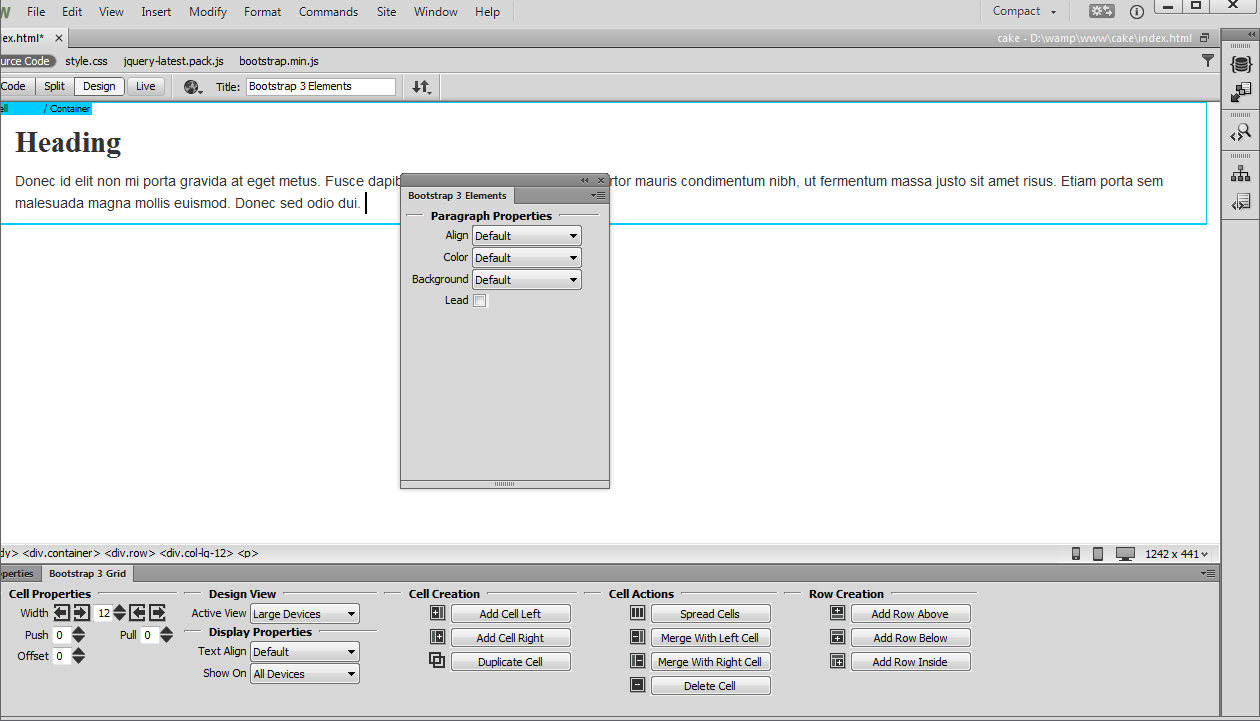
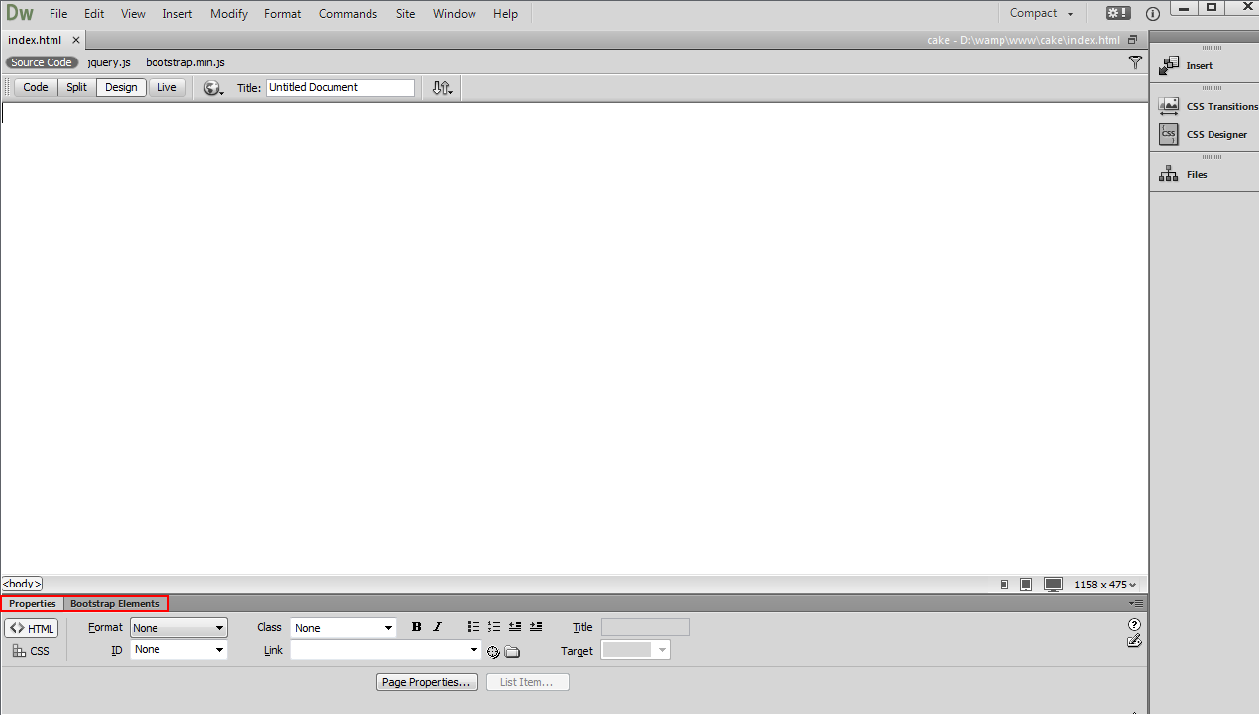
- We drag it behind the Properties Inspector and Bootstrap 3 Grid for easier access, where you can easily switch between the panels. This is how you can access DMXzone Bootstrap 3 Elements and Bootstrap 3 Elements Inspector Floating Panel.
Comments
Be the first to write a comment
You must me logged in to write a comment.