In this article you'll find all the information you need in order to install and work with Animated Thumbnail Gallery 2 extension. We covered basic as well as advanced usage of the tool, which contains easy insert on your pages and also creating gallery from a dynamic source. The tutorial are also available in video format. If you experience any troubles, while using the extensions, call us on the Live support or write in the extension forums.
Animated Thumbnail Gallery 2 Manual
Learn how to use Animated Thumbnail Gallery 2
The Basics: Insert Animated Thumbnail Gallery 2 on your Page
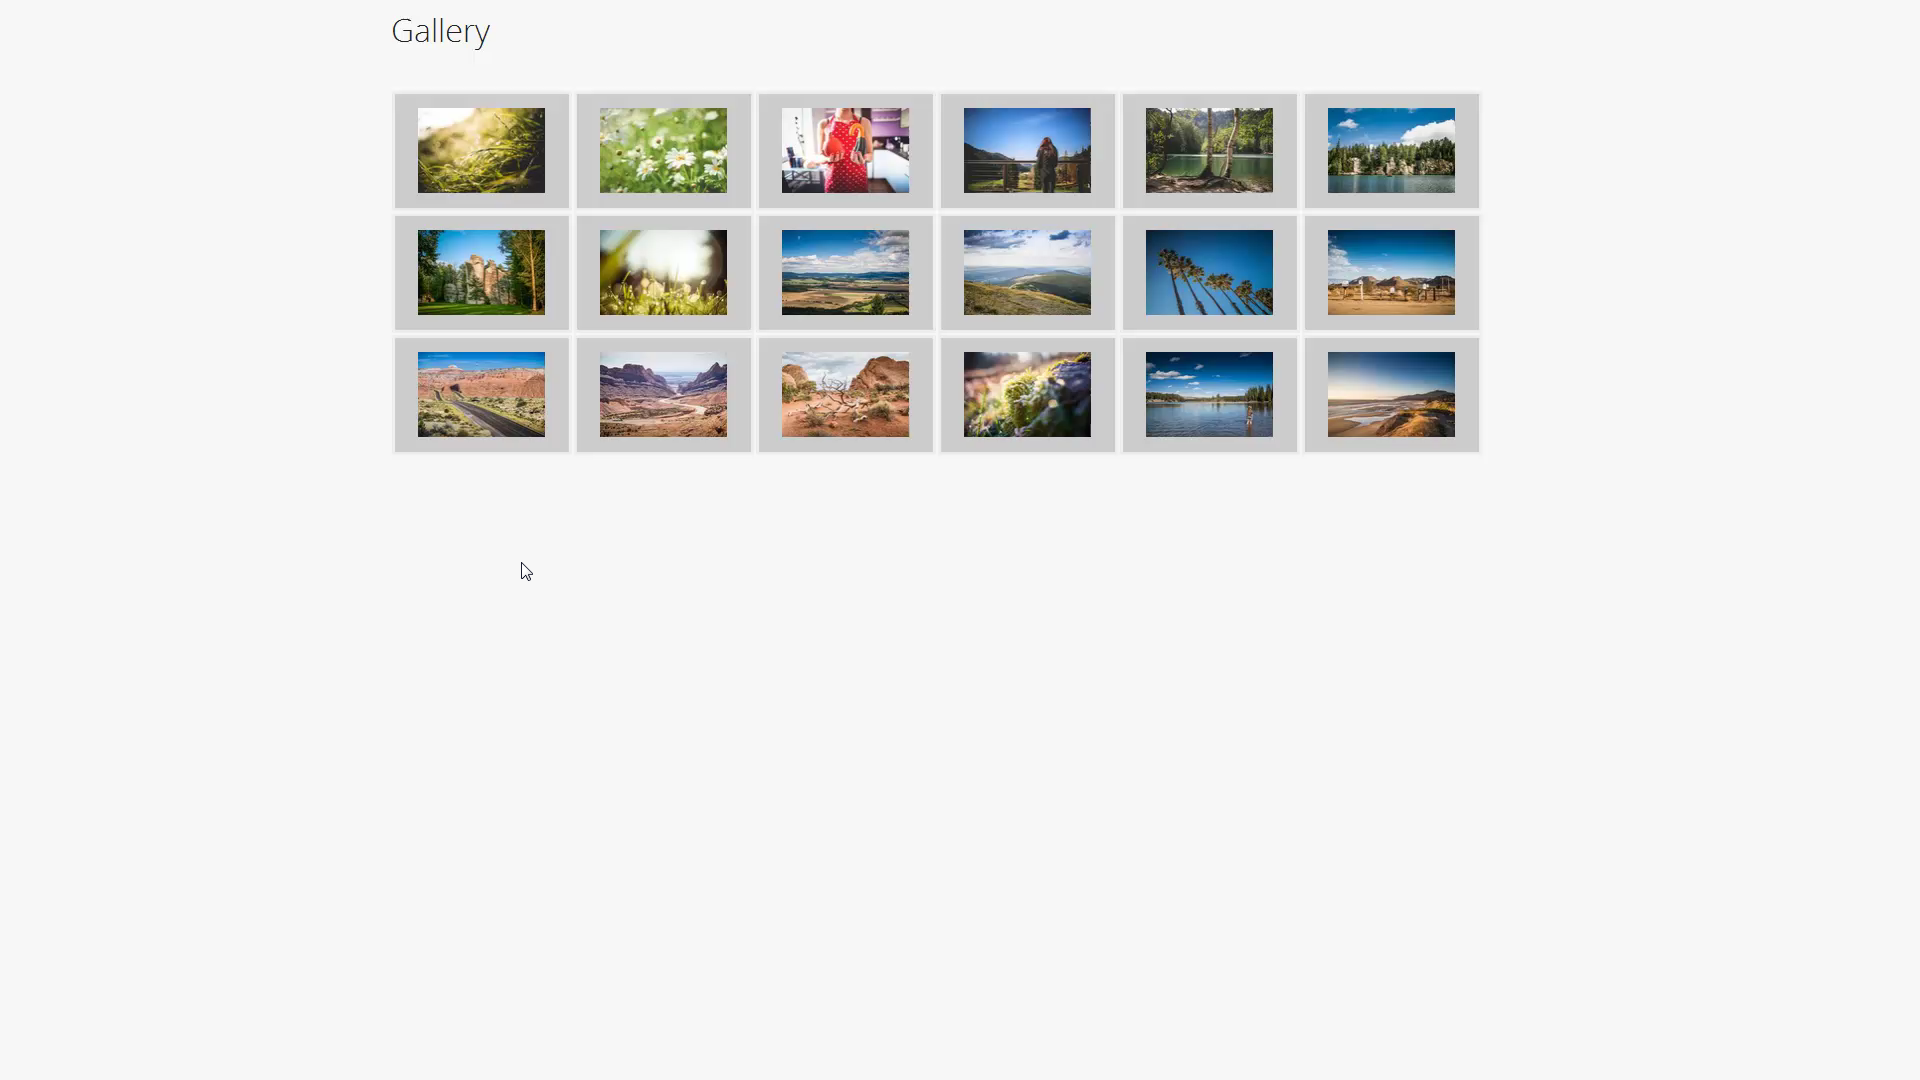
In this tutorial we will show you how to insert Animated
Thumbnail Gallery on your page.
*You can also check out the video.
How to do it
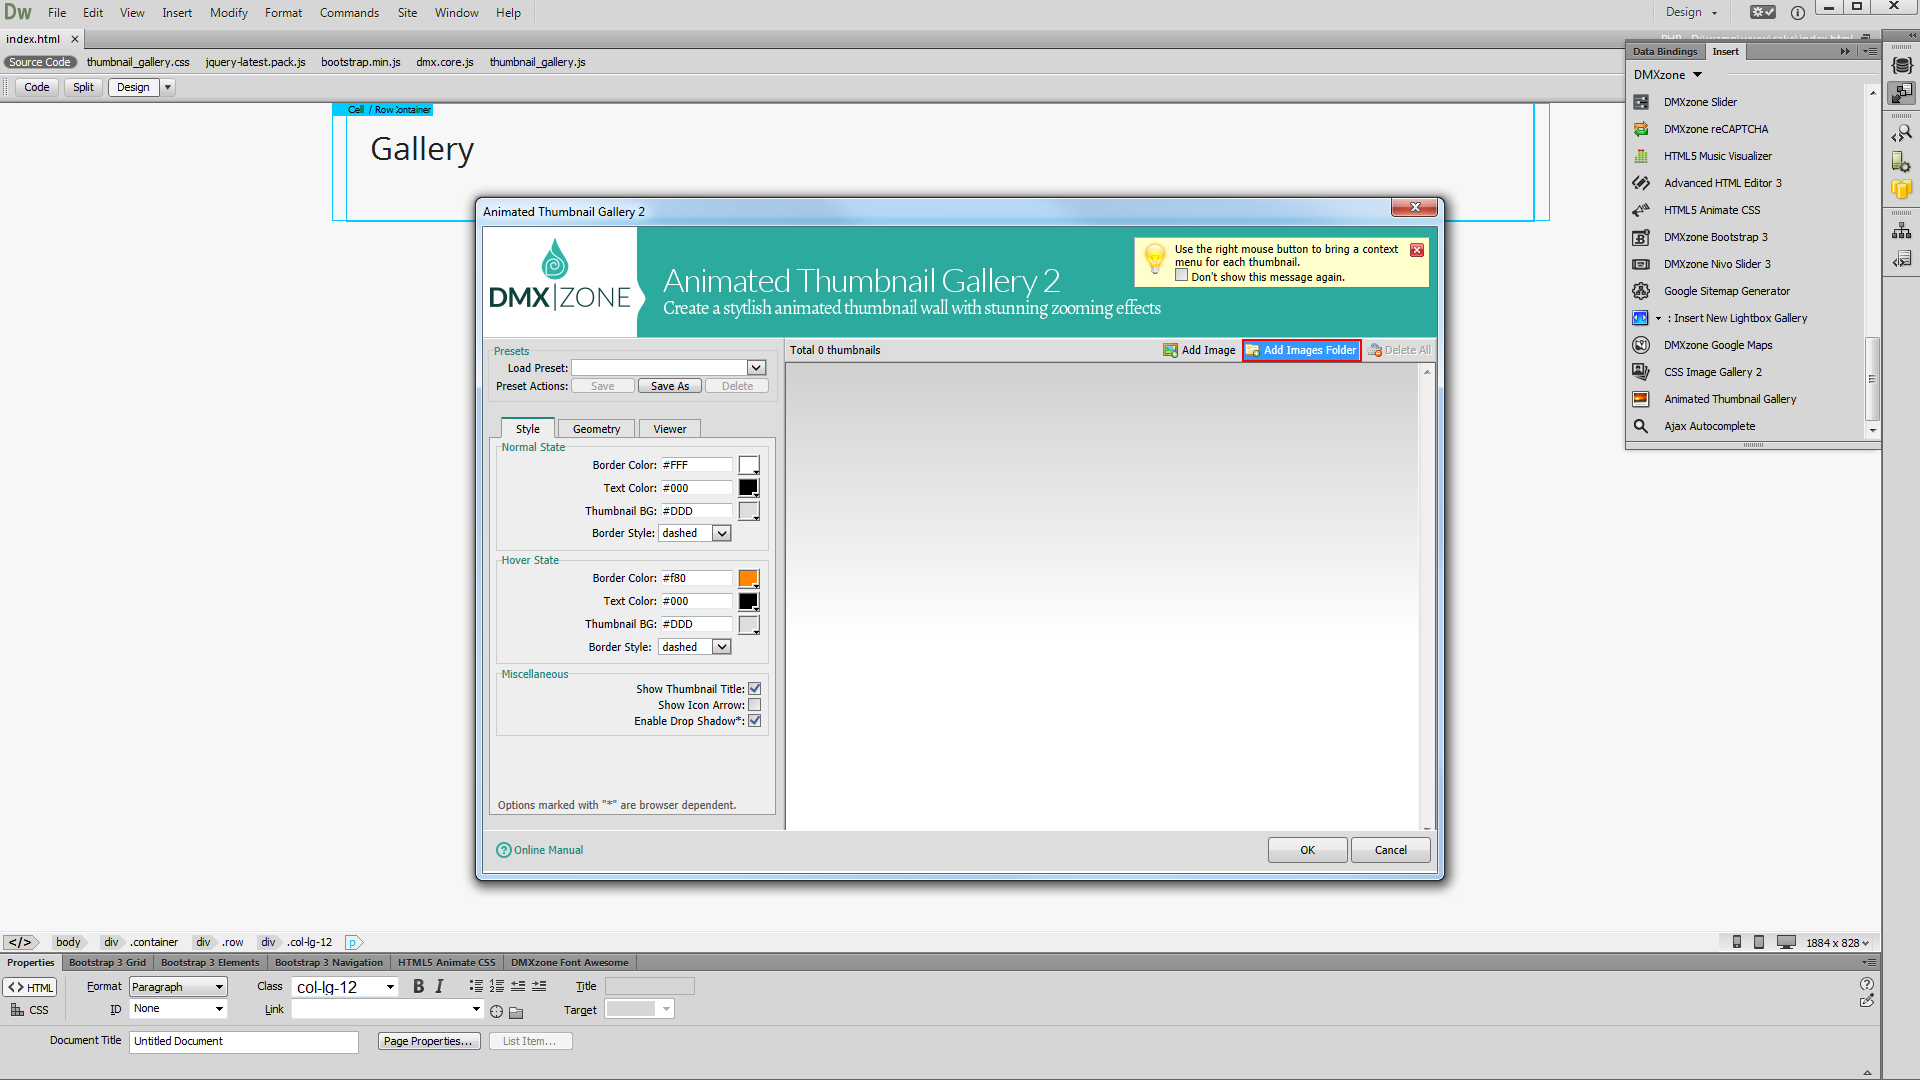
- We created a really basic page layout. Our page contains a responsive Bootstrap 3 container. Inside the container we want to place the Animated Thumbnail Gallery. Click inside the container (1) and from the insert panel (2) select Animated Thumbnail Gallery (3).

- For this tutorial we are going to use a static image source. That means that we will select the images manually from some location, on our hard drive. You can choose whether to use the DMXzone Image Resizer 2 when importing the images into the gallery. If you already resized your images with some image-editing software, like Photoshop you can turn this option off. You can import a single image or a folder of images. We'll add a folder of images.
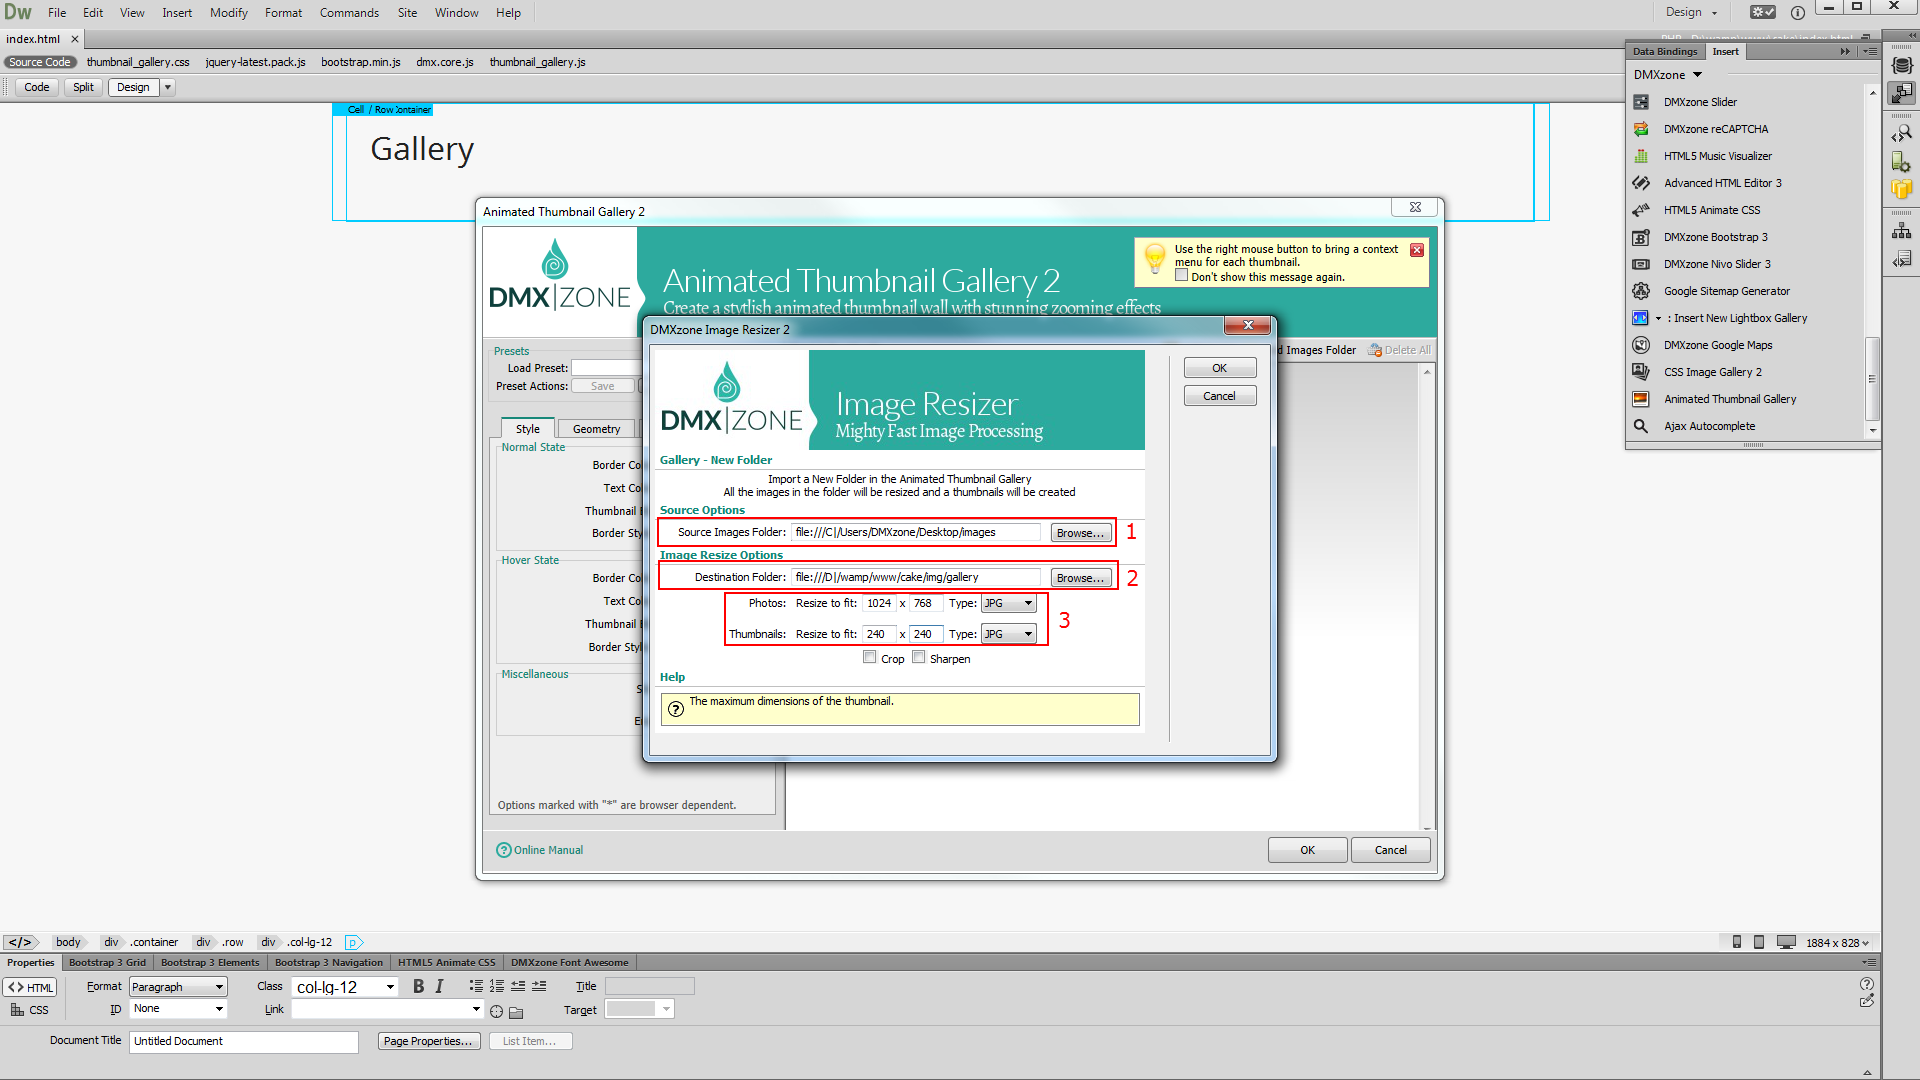
- The DMXzone Image resizer 2 dialog appears as we enabled it. Select the source images folder (1) and select the destination folder (2). Note, that the destination folder should be located inside your site root. Adjust the images resize options. Enter the width and height (3) that the big Images and thumbnails should be. When you're done, click OK.
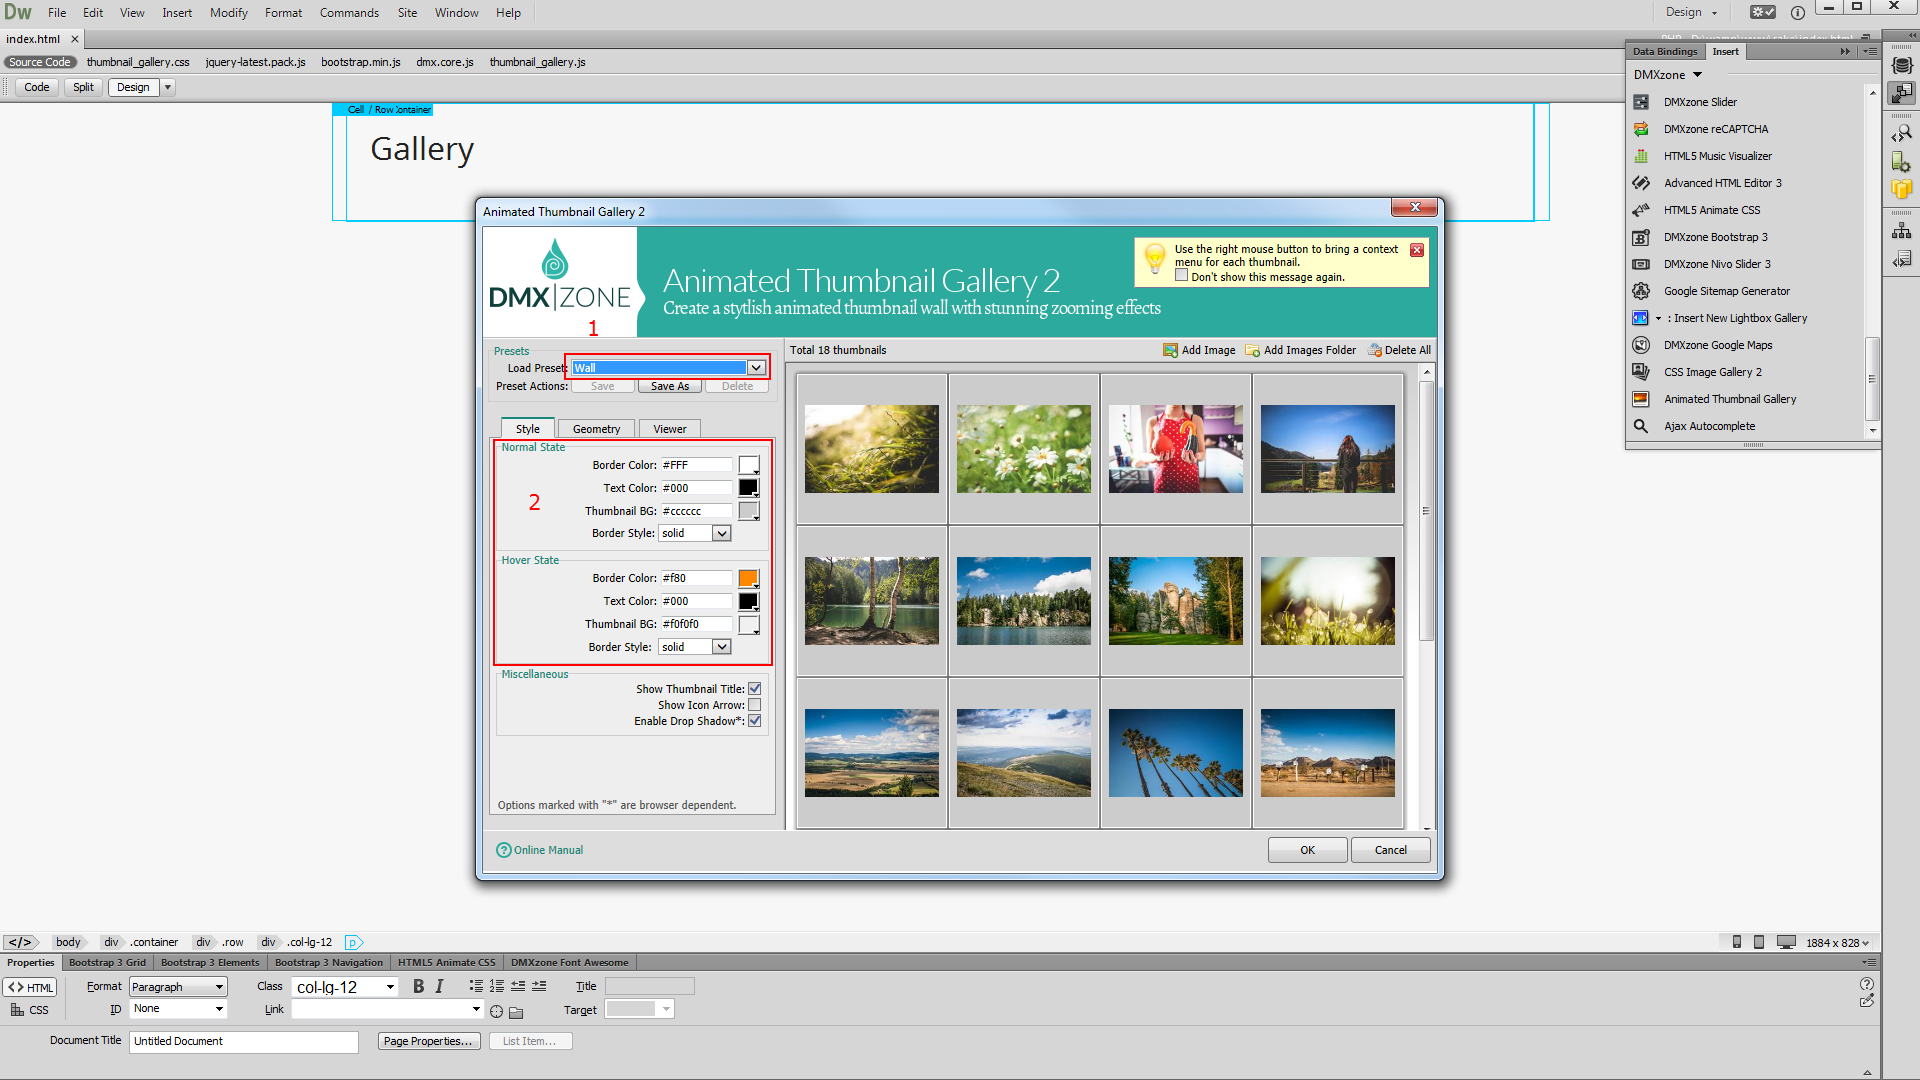
- All of our images have been resized and imported into our gallery. You can select one of the predefined design presets or you can edit the default style of the gallery. We select the one named wall (1). You can edit (2) the style of the selected preset. You can see all of the changes in the Live preview panel immediately.
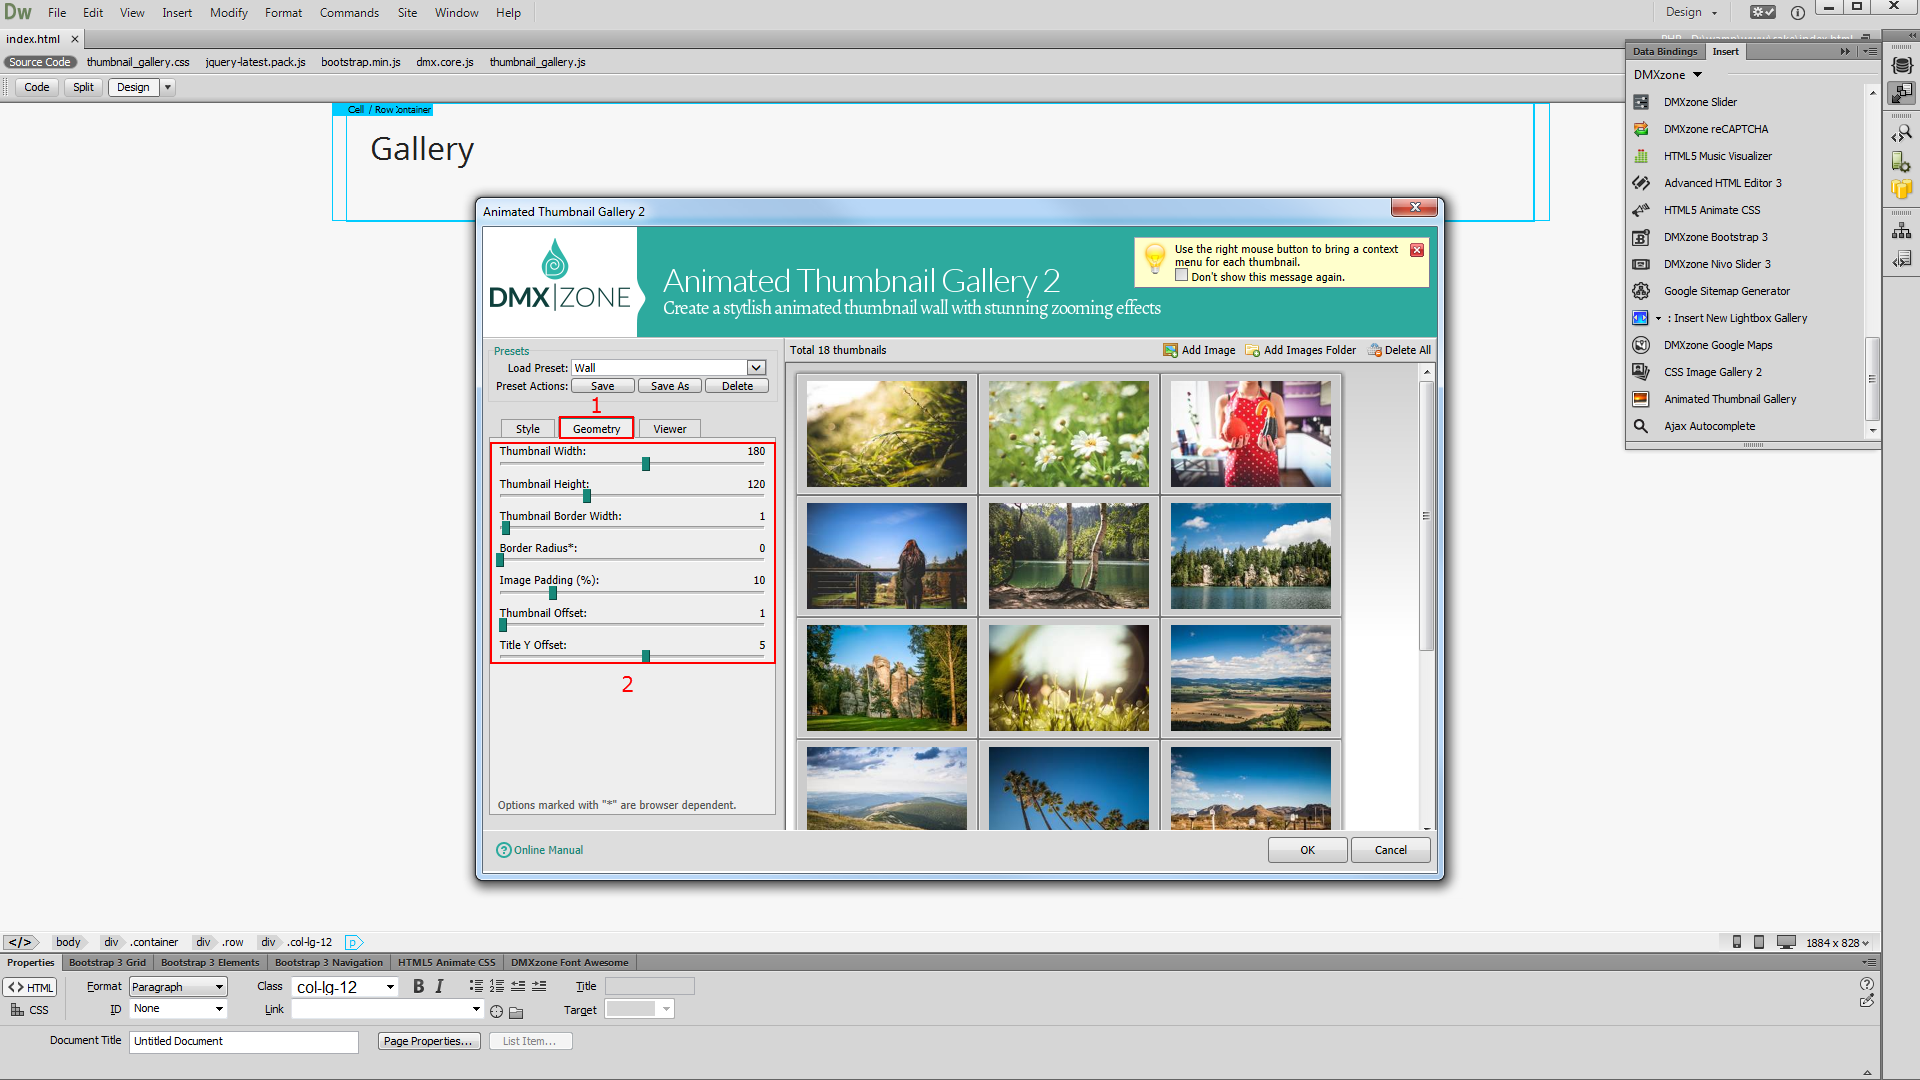
- Switch to geometry tab (1) when you are done editing the gallery style. Here you can adjust the thumbnails width, height, offsets and border options (2).
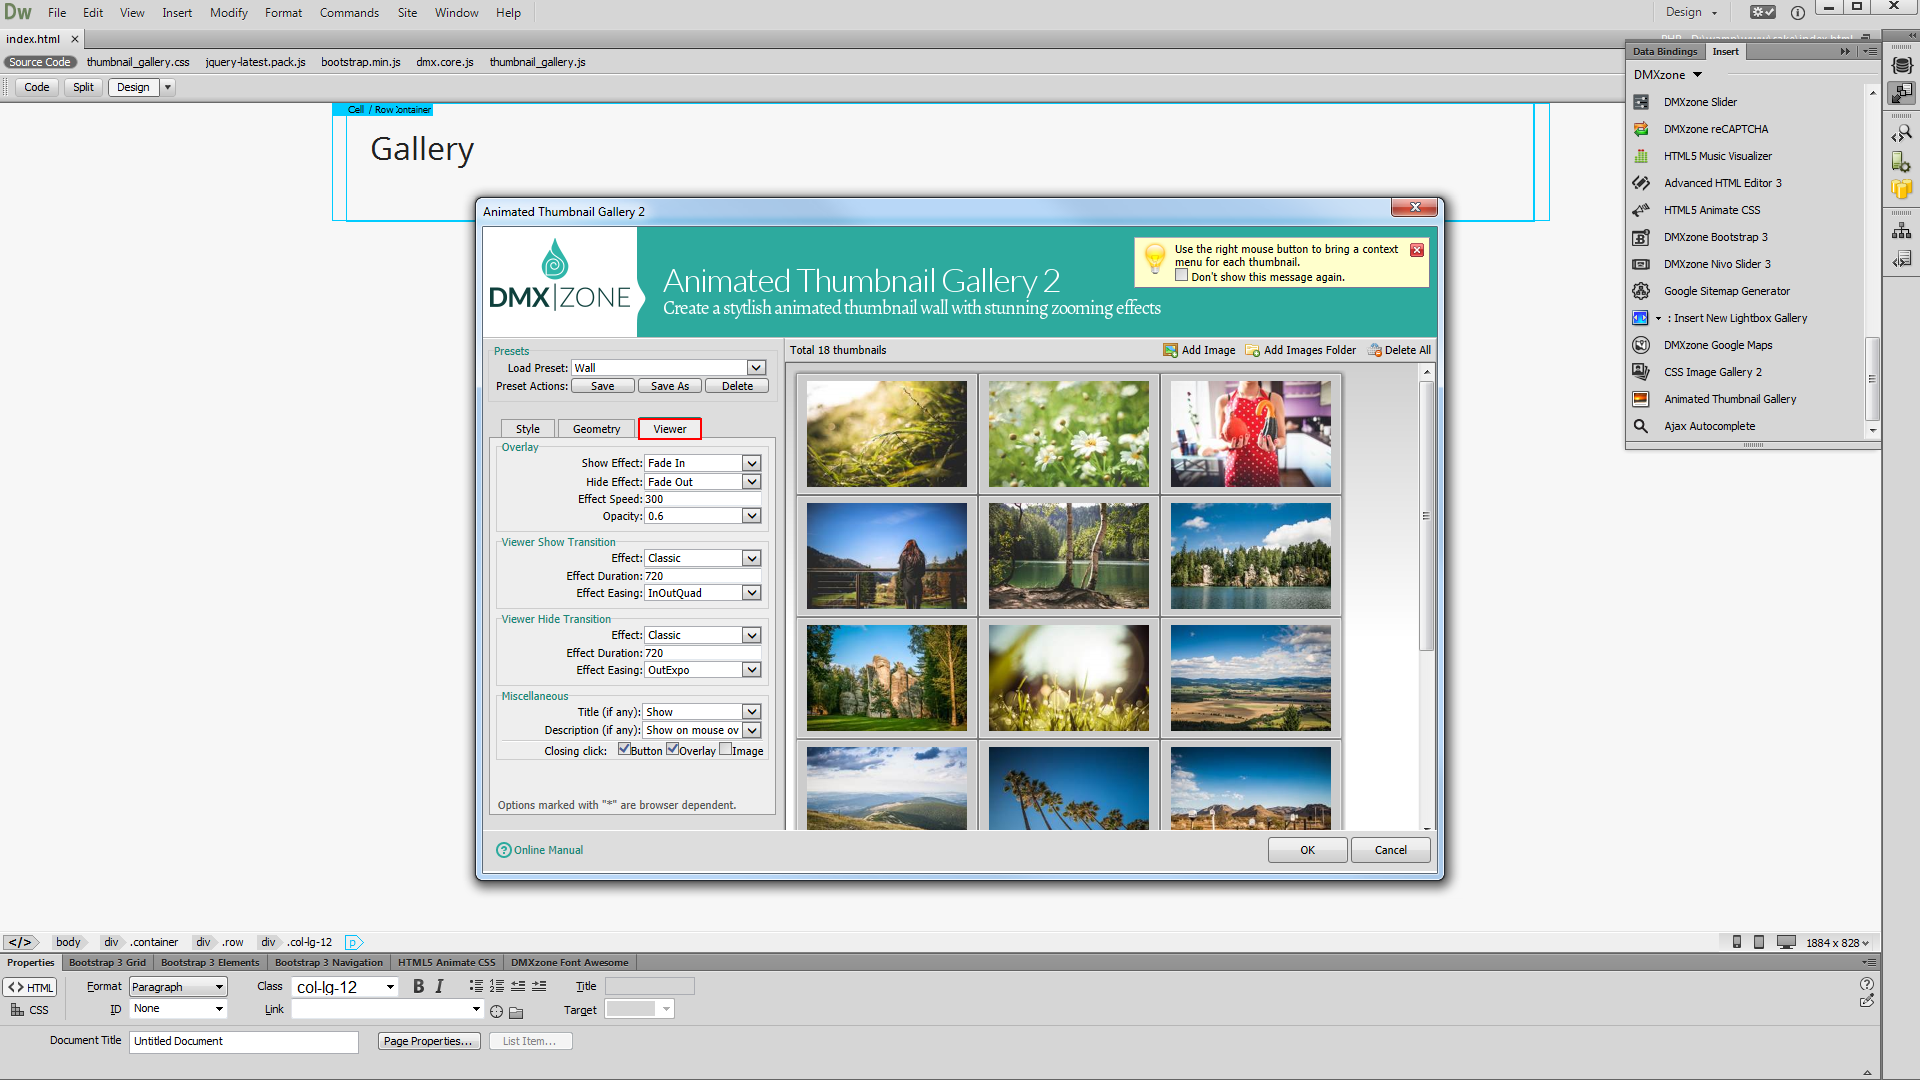
- In the viewer tab you can adjust the overlay options, as well as the show and hide Transitions settings. We leave these settings to their default values.
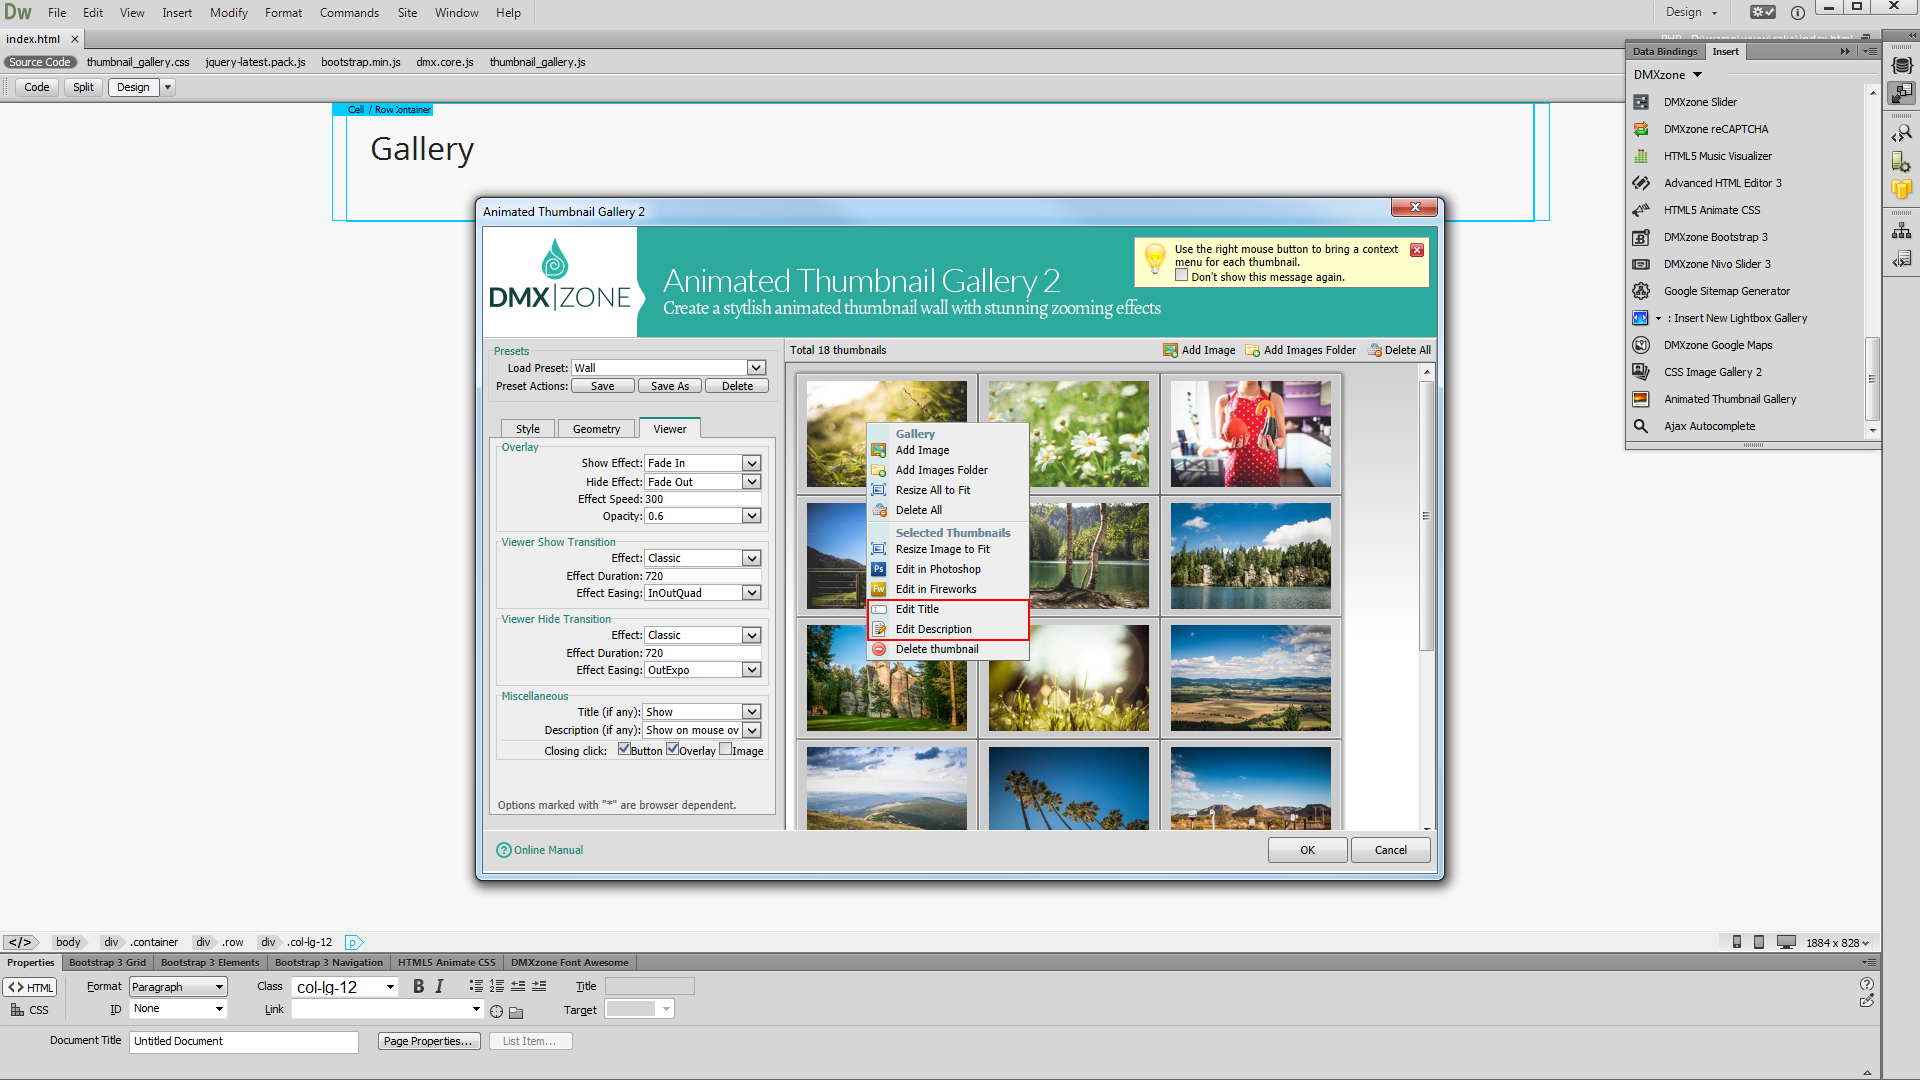
- You can use the right mouse button to bring a context menu for each of the images and use the various options including edit title and description for each thumbnail.
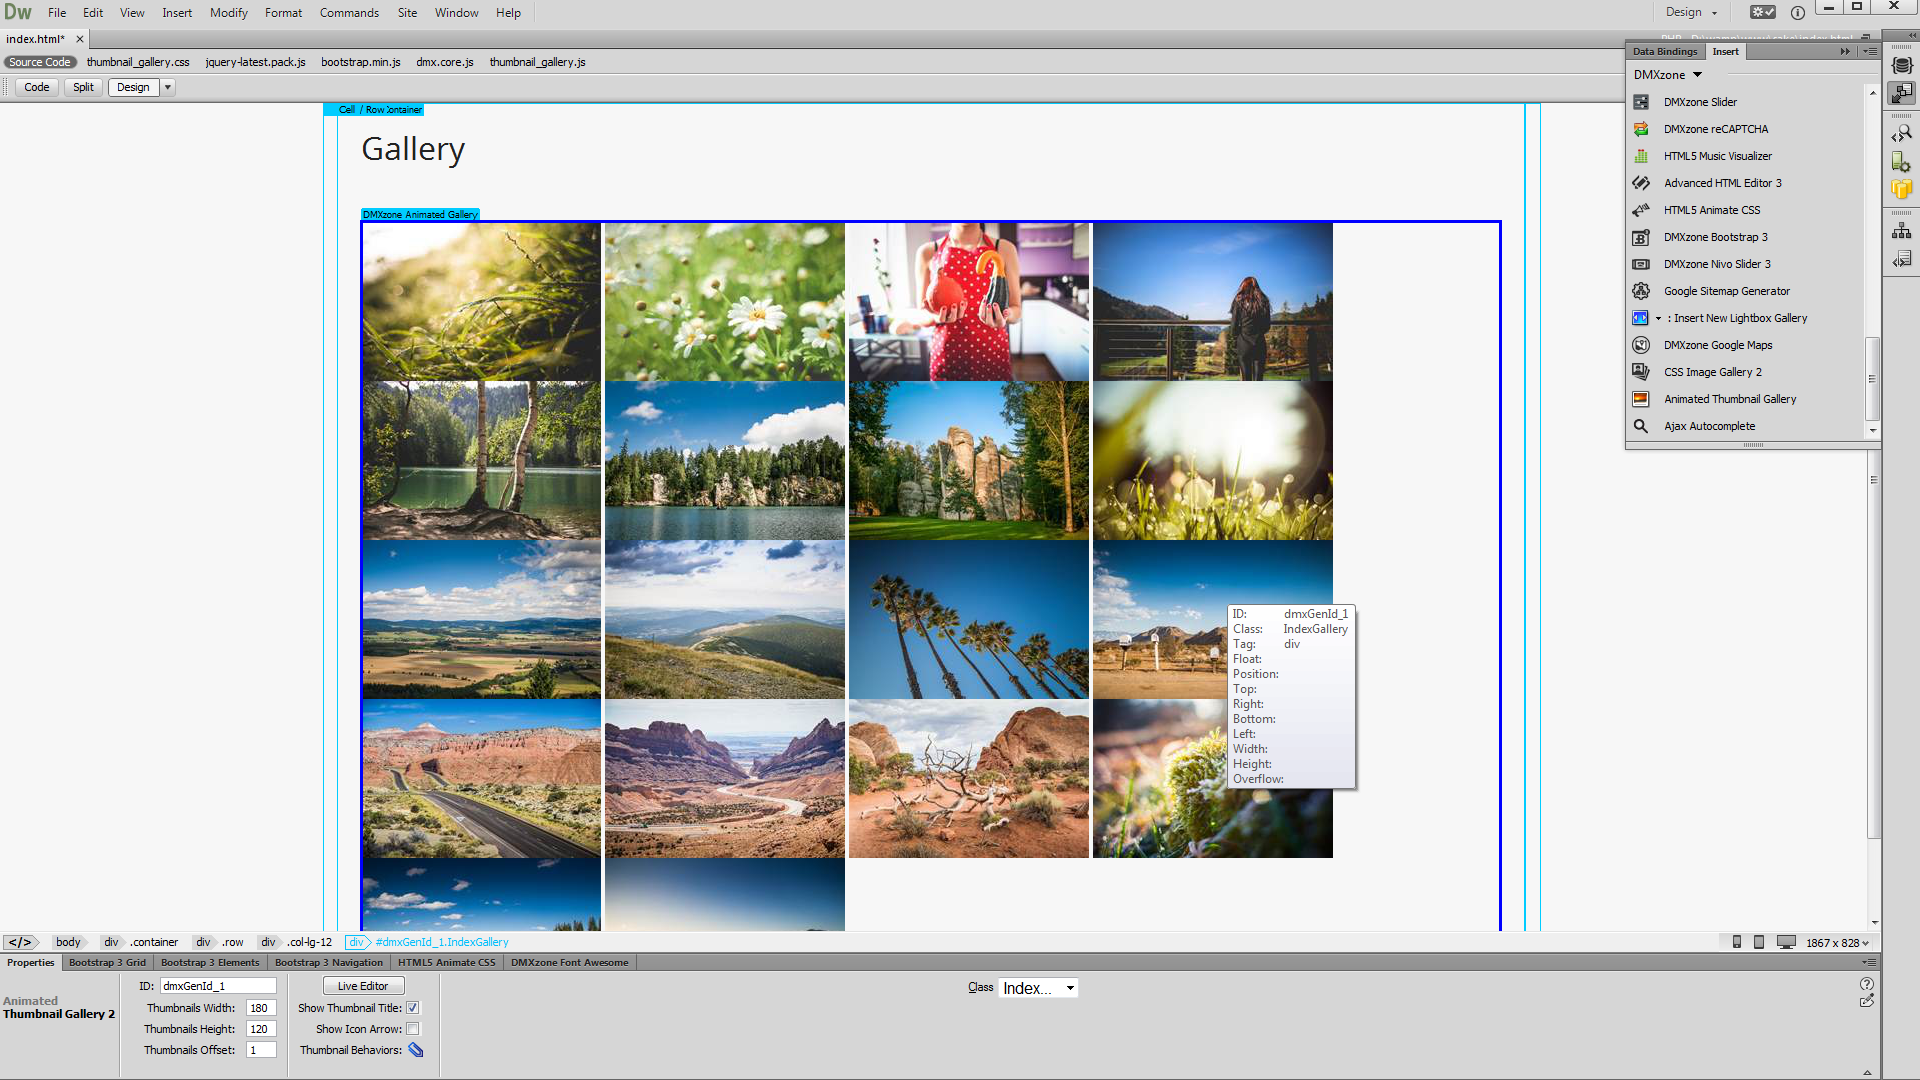
- Now you can save your project and preview the result.
Lubov Cholakova
 Lubov has been with DMXzone for 8 years now, contributing to the Content and Sales departments. She is bringing high quality content in the form of daily blog updates, reviews, tutorials, news, newsletters,update emails and extensions' manuals. If you have a product that needs publicity or any other questions about the entire DMXzone community, she is the one you can contact.
Comments
Be the first to write a comment
You must me logged in to write a comment.