In this article we have nine extremely useful tutorials to teach you how to work with DMXzone Cordova Builder Dreamweaver extension. We covered everything from setting up your system for the extension to building apps for iOS, Android, Firefox OS, BlackBerry 10, Amazon Fire OS and Windows, both phone and desktop. All tutorials are also available in video format. If you experience any troubles with this tool, please write in the support forums or call our Live support during business hours.
DMXzone Cordova Builder Manual
Learn how to work with DMXzone Cordova Builder extension
Advanced: Setting up a Cordova site for Android
In this tutorial e will show you how to setup a Cordova site
for Android.
*You can also check out the video.

How to do it
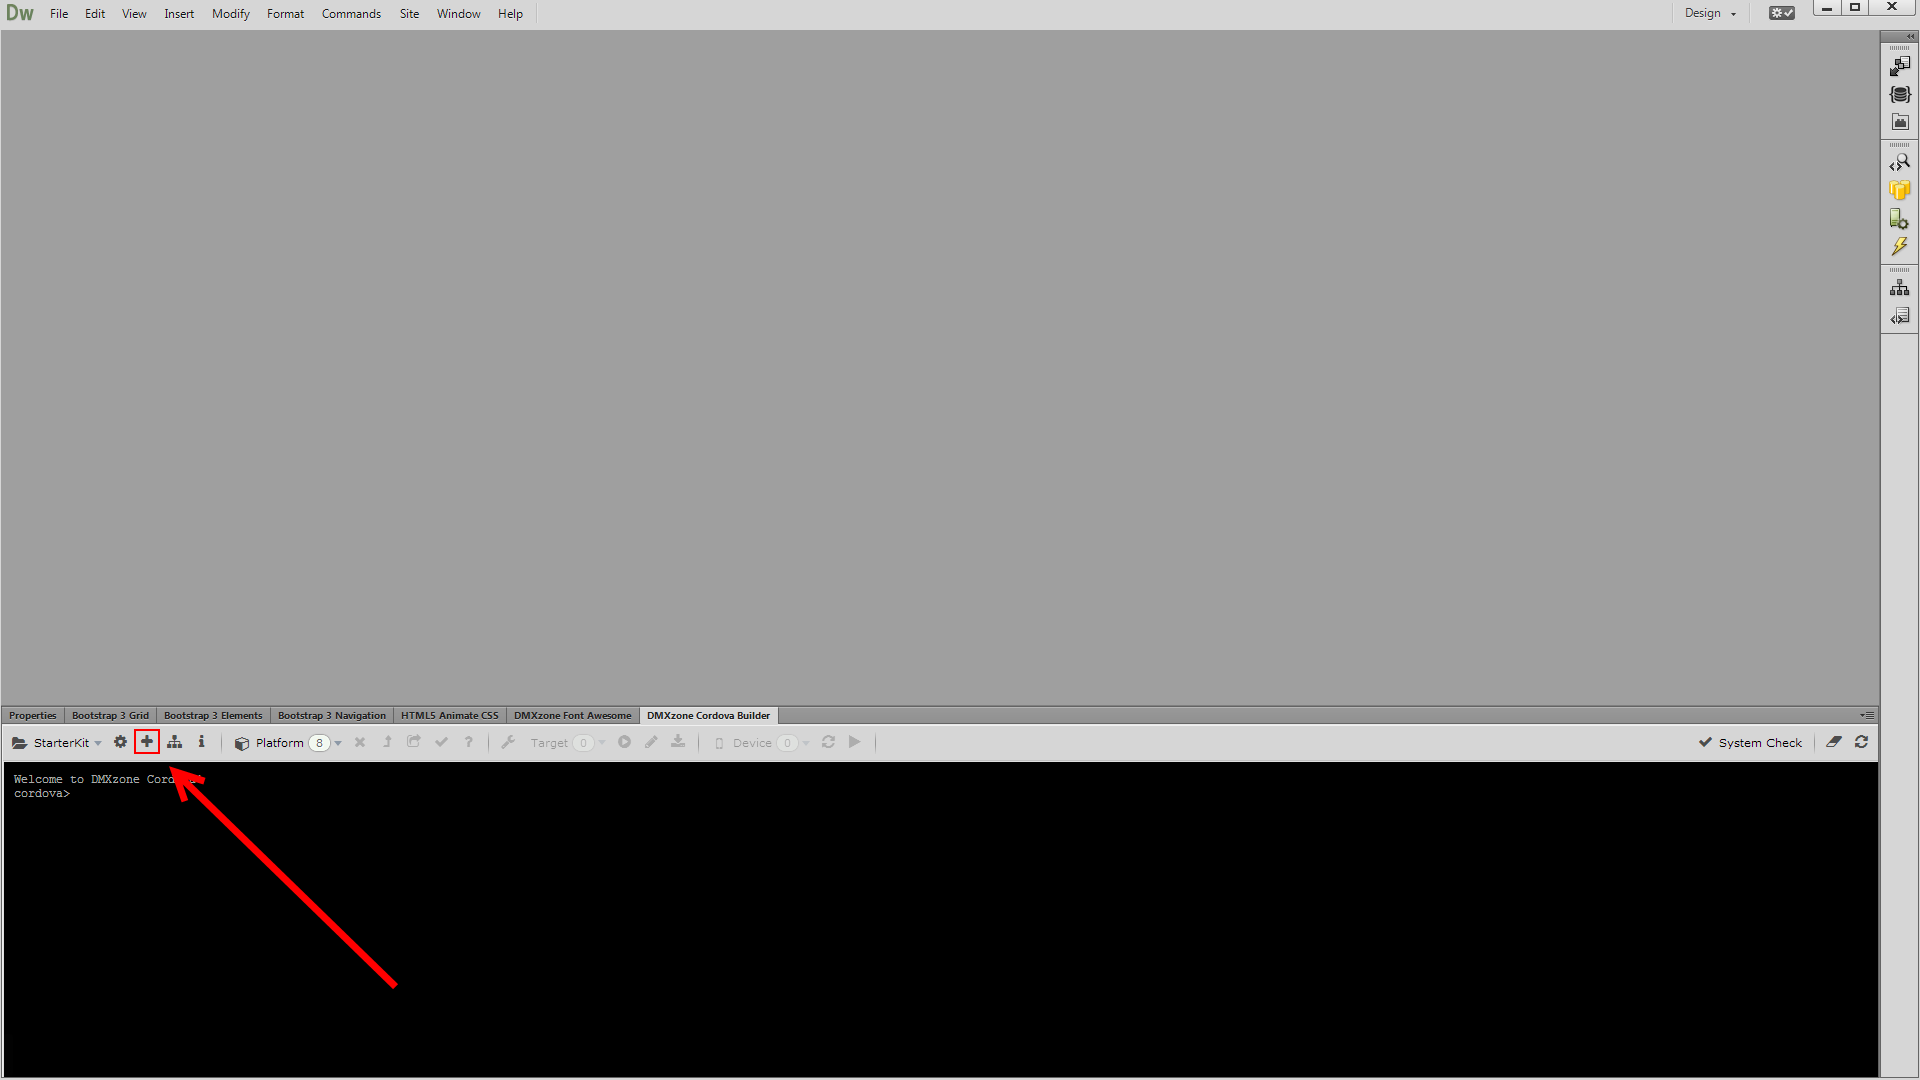
1. First, click "define new Cordova site" button.
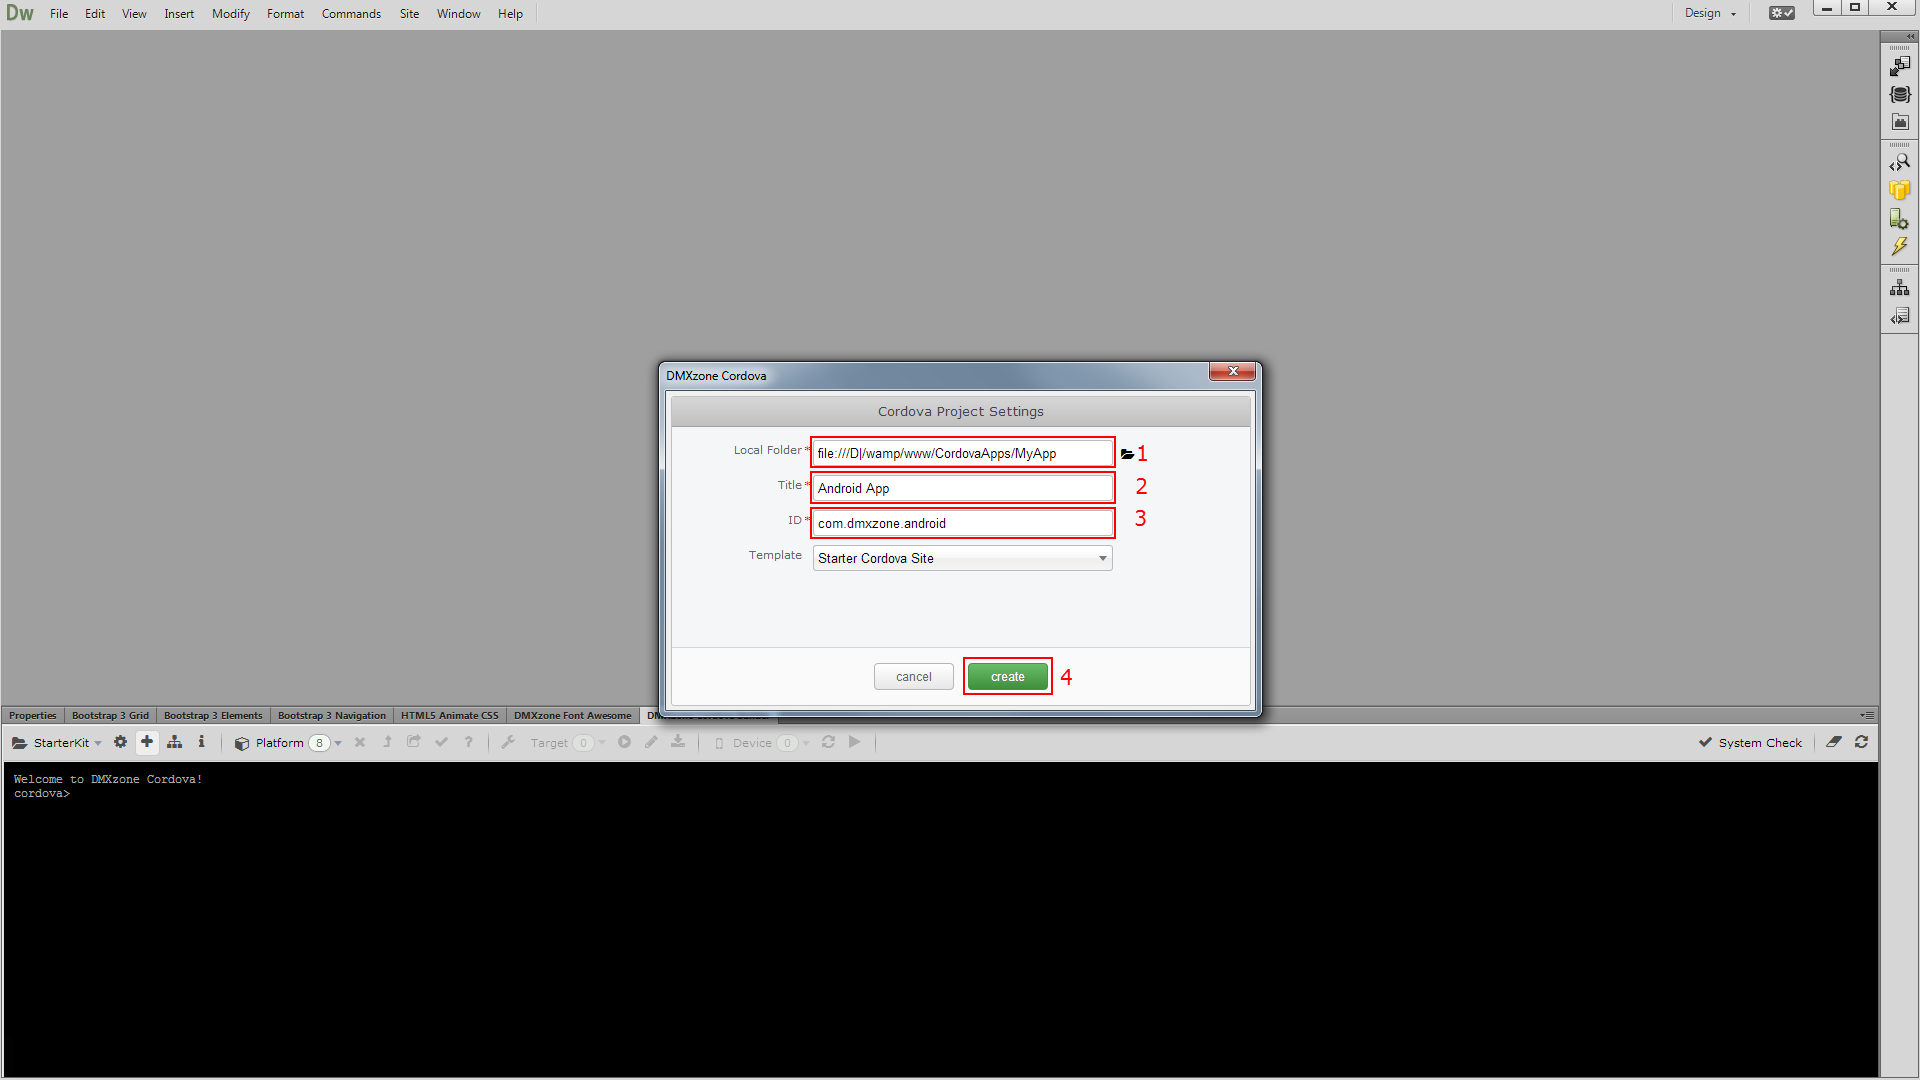
2. Select a local folder for your project (1), enter a title (2), project ID (3) and click the create button (4).
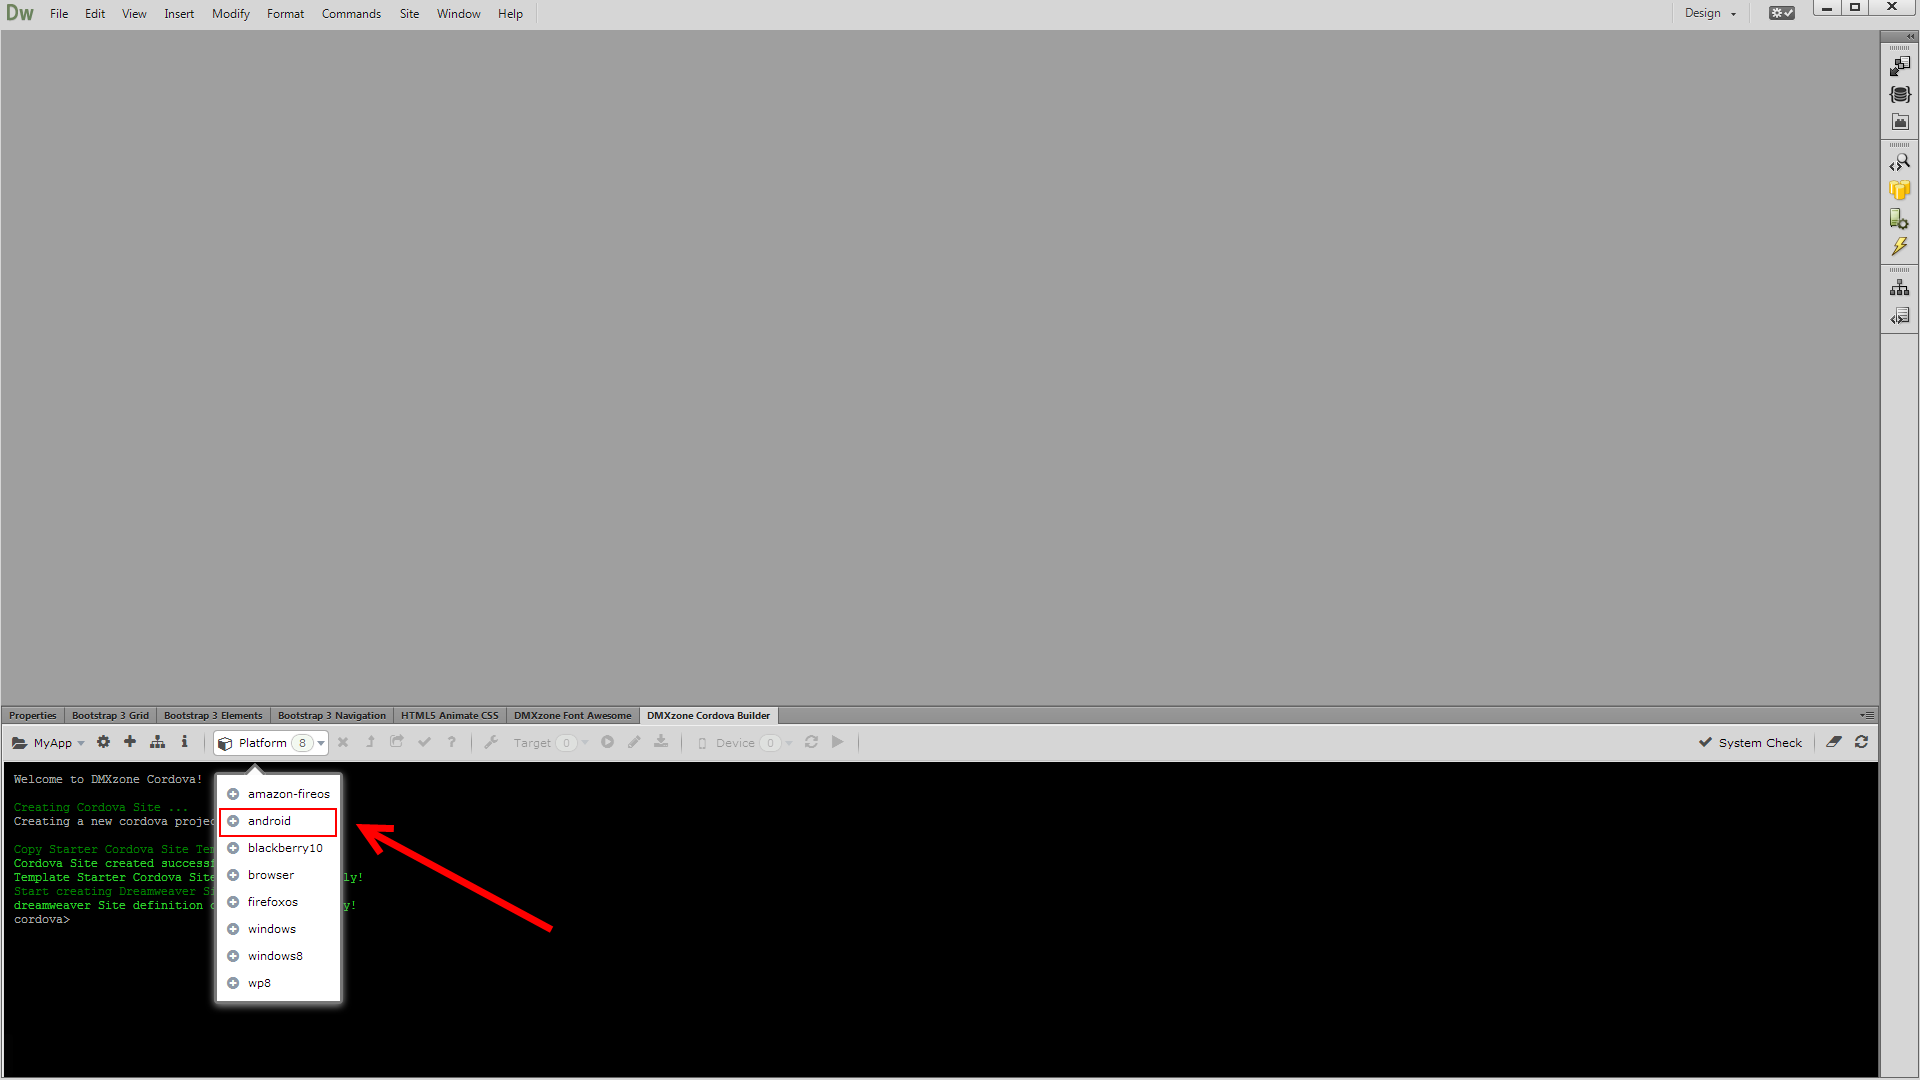
3. You can see in the DMXzone Cordova Builder console that our site definition has been created successfully. From the platform dropdown select Android.
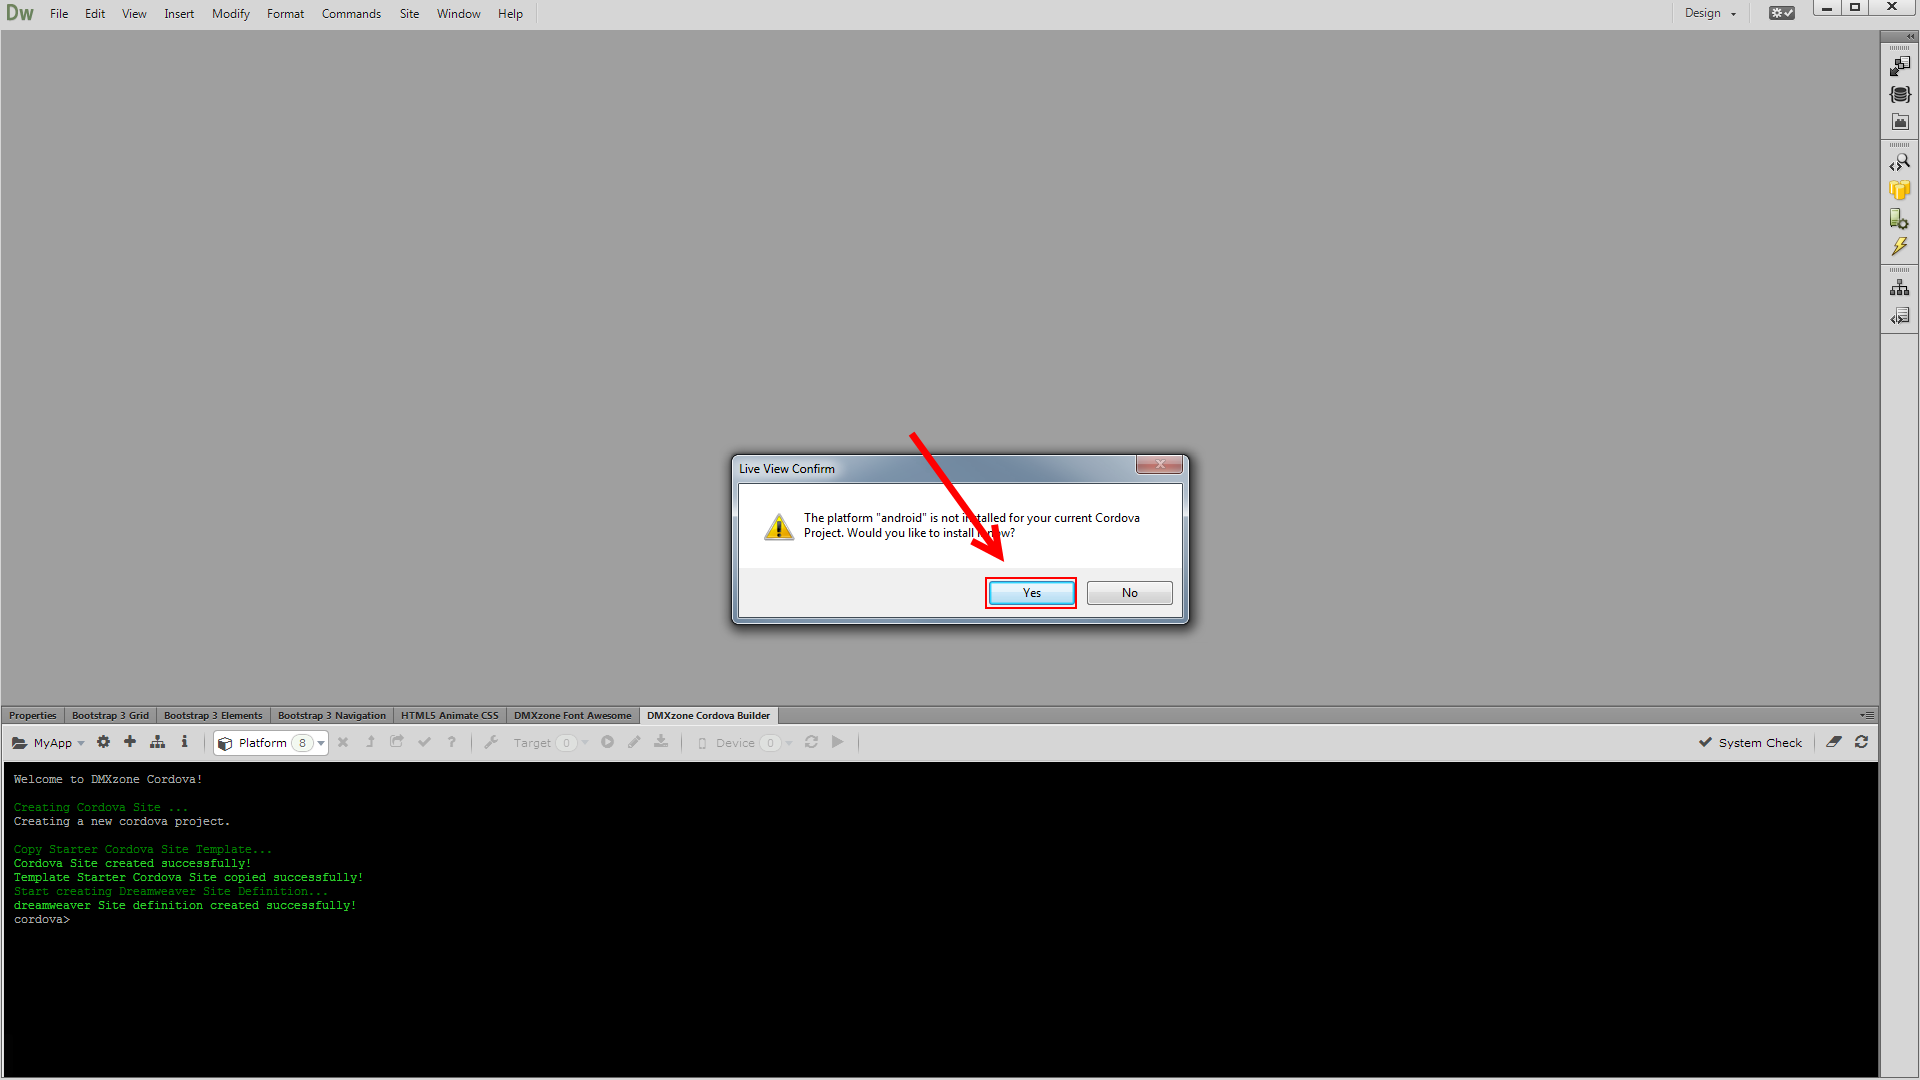
4. A dialog, saying that Android is not installed for the current Cordova Project appears. Click yes.
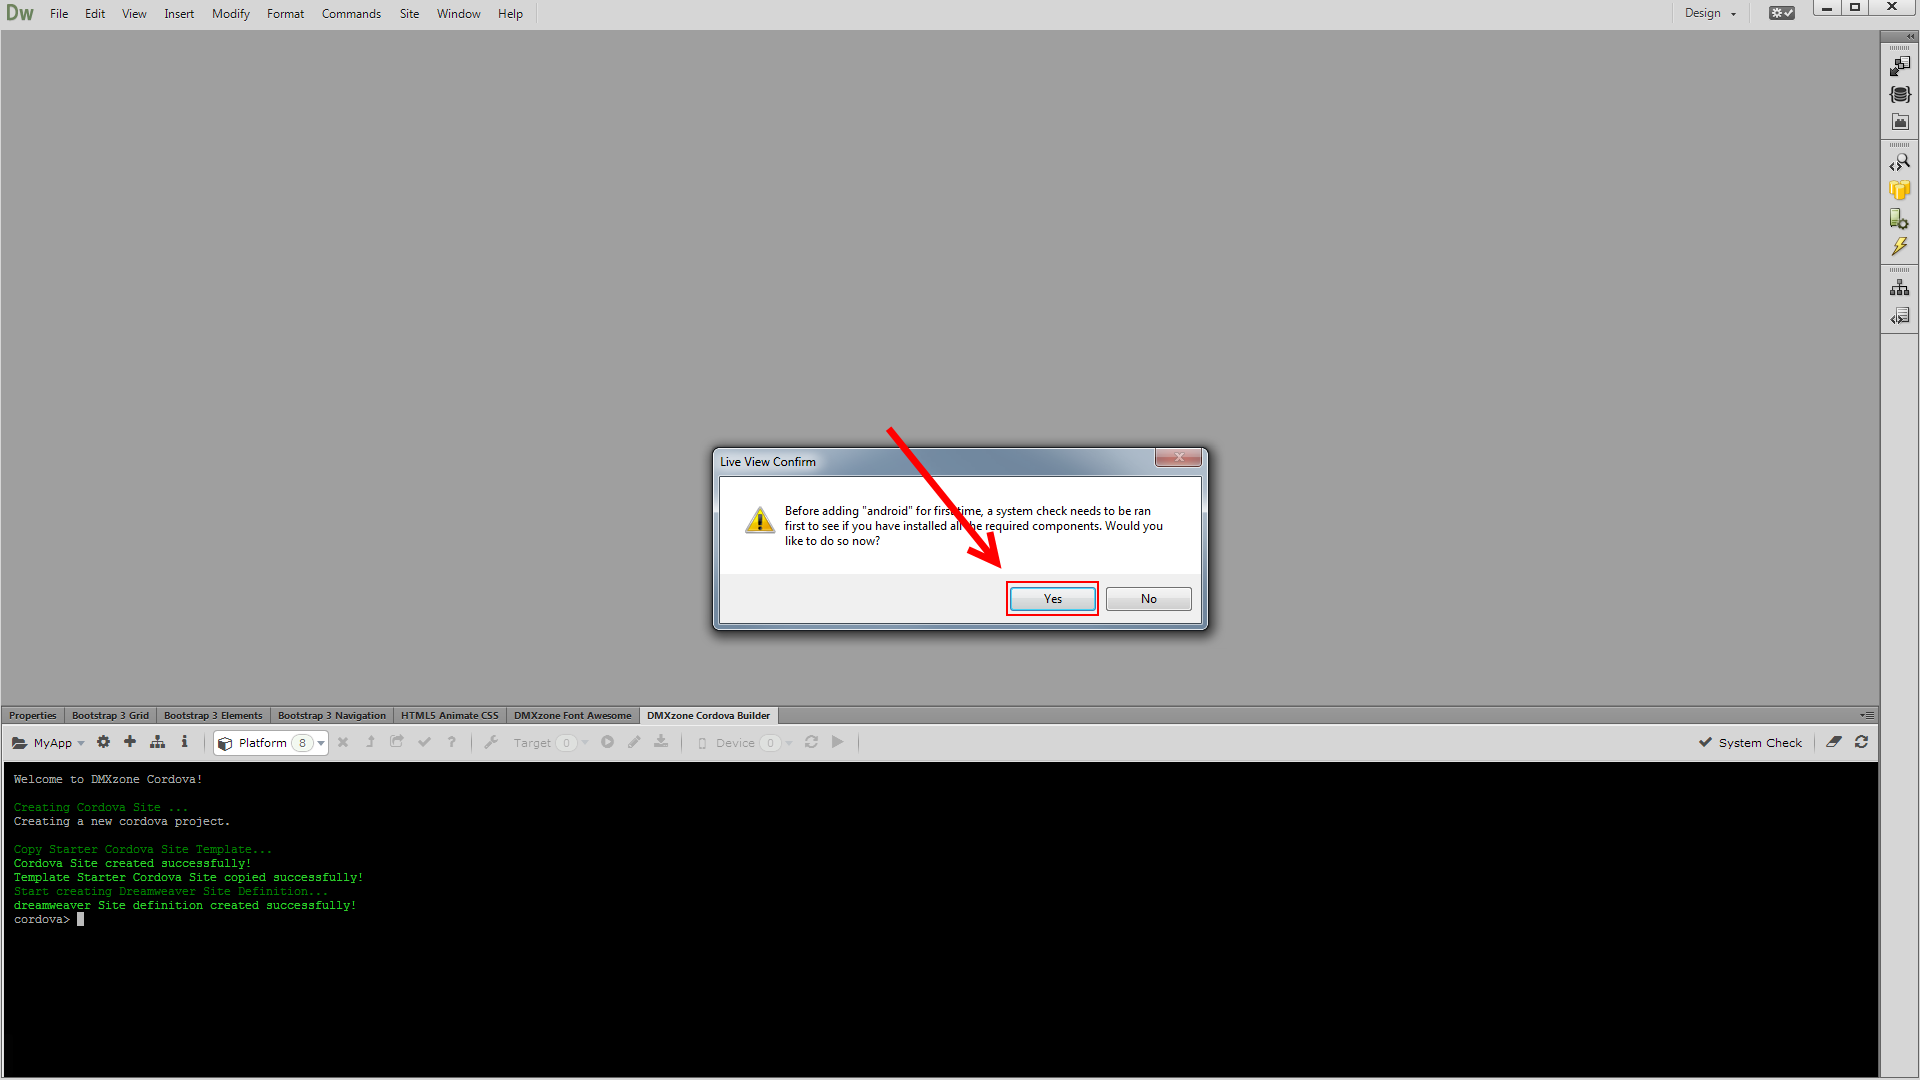
5. A system check needs to be performed. Select yes in order to run it.
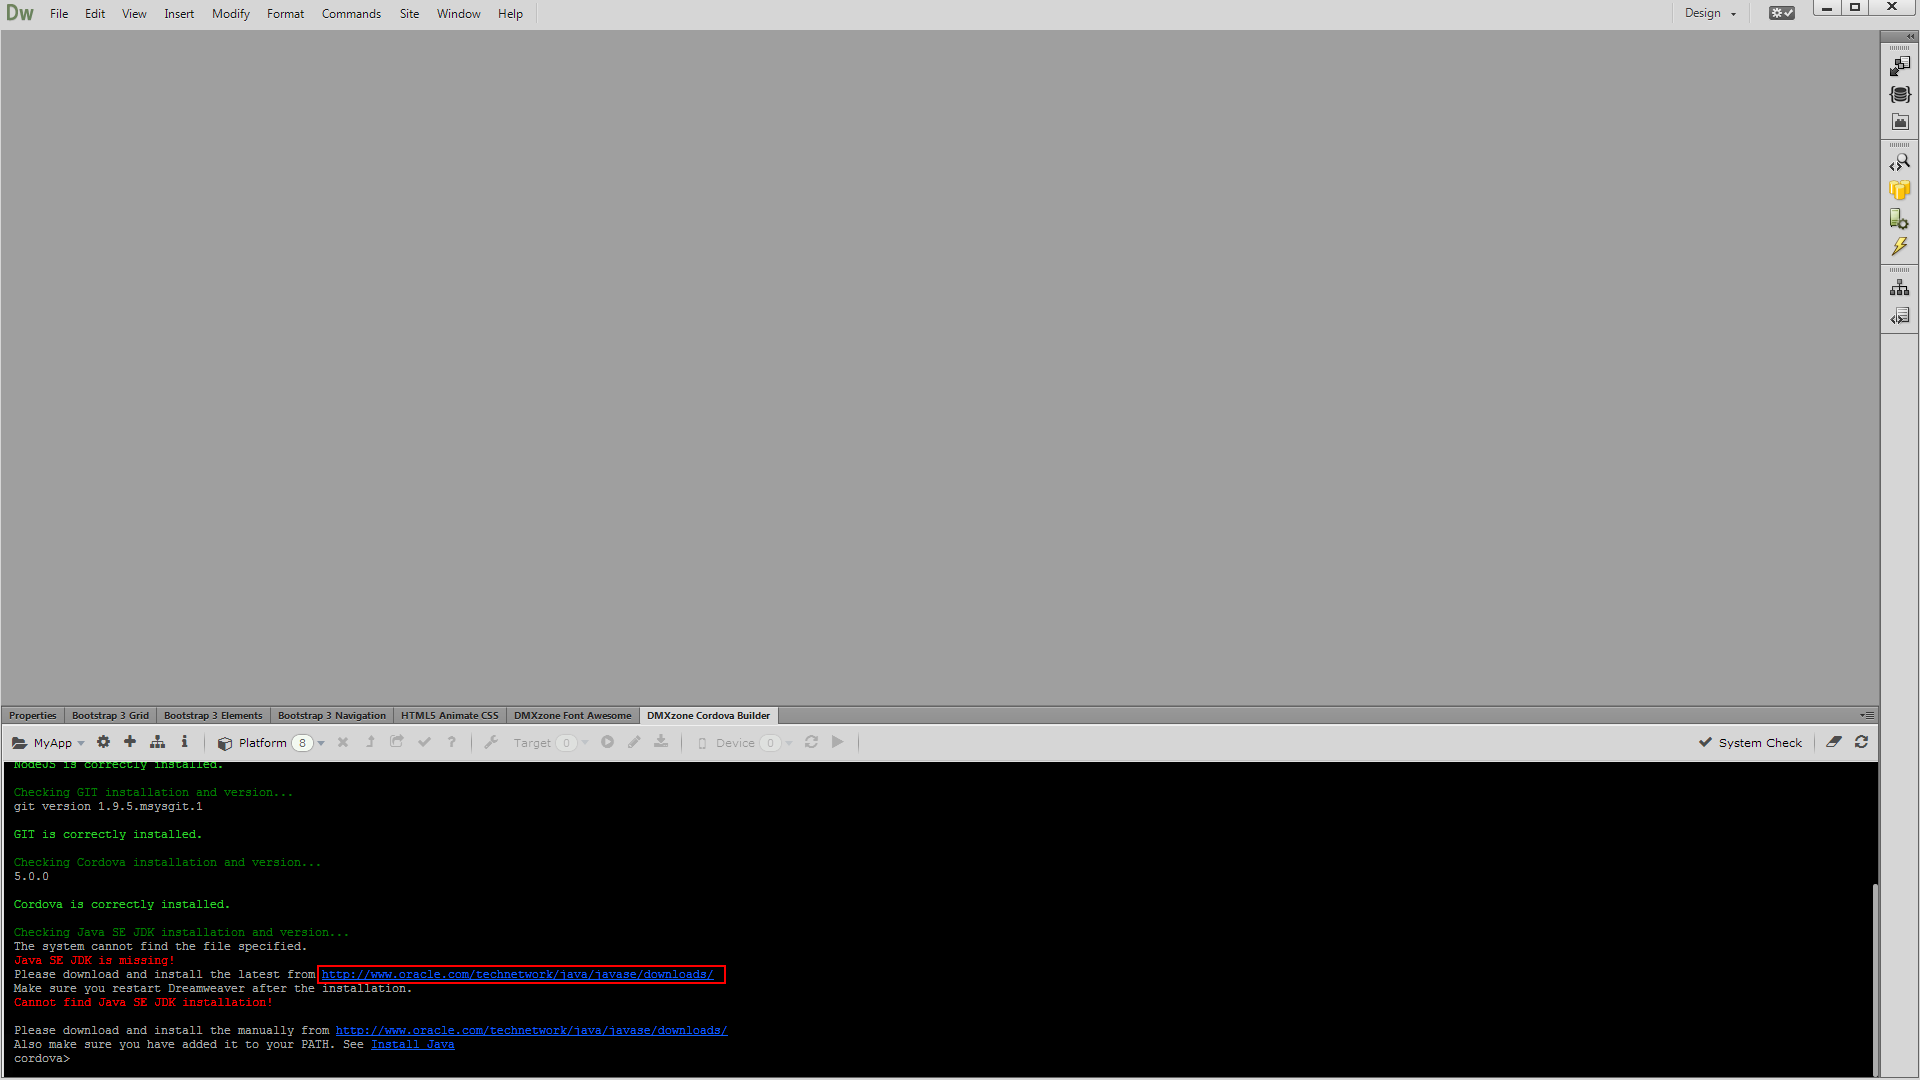
6. The JAVA SE JDK component is not installed. Follow the link in order to download and install it.
7. Click the Java Platform JDK download button and download the proper version for your operating system.

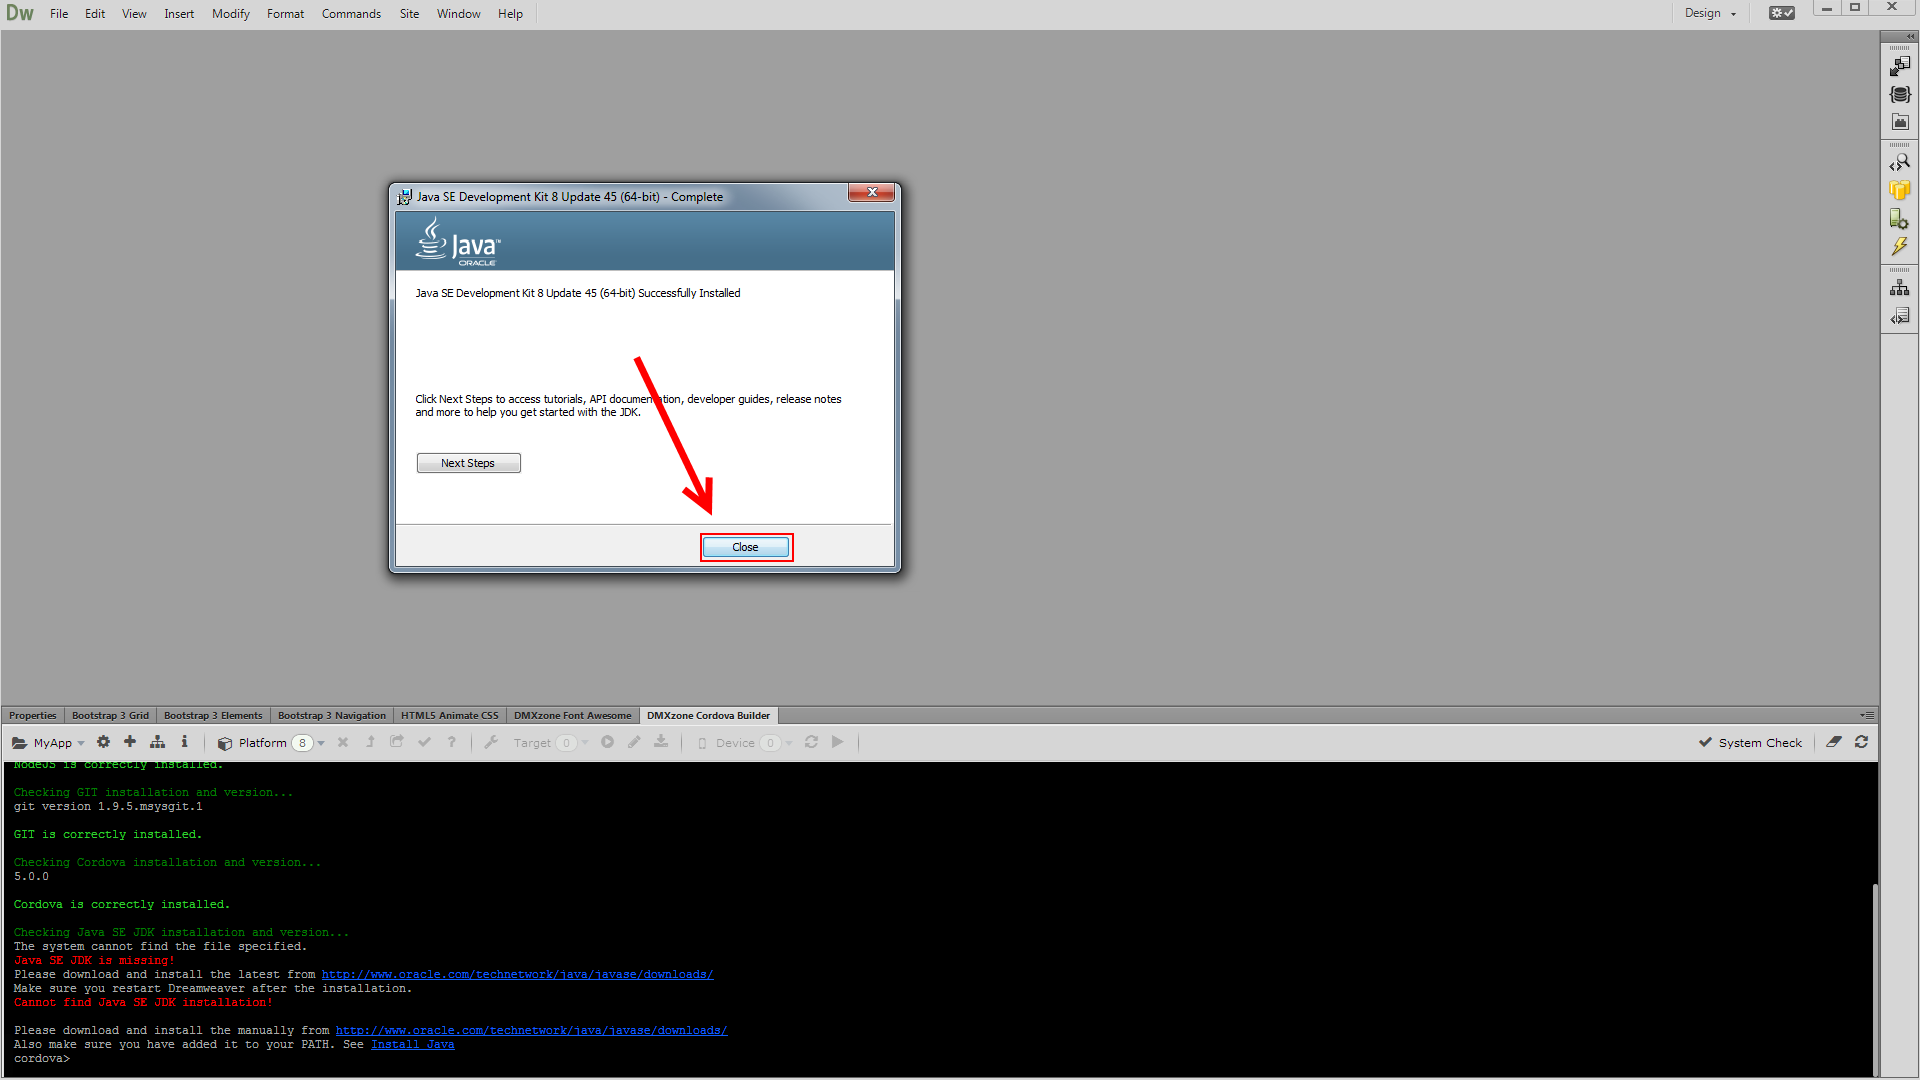
8. Run the installer when the download finishes. We leave the default settings and the default installation folder. Close the installed when the installation ends and restart Dreamweaver.
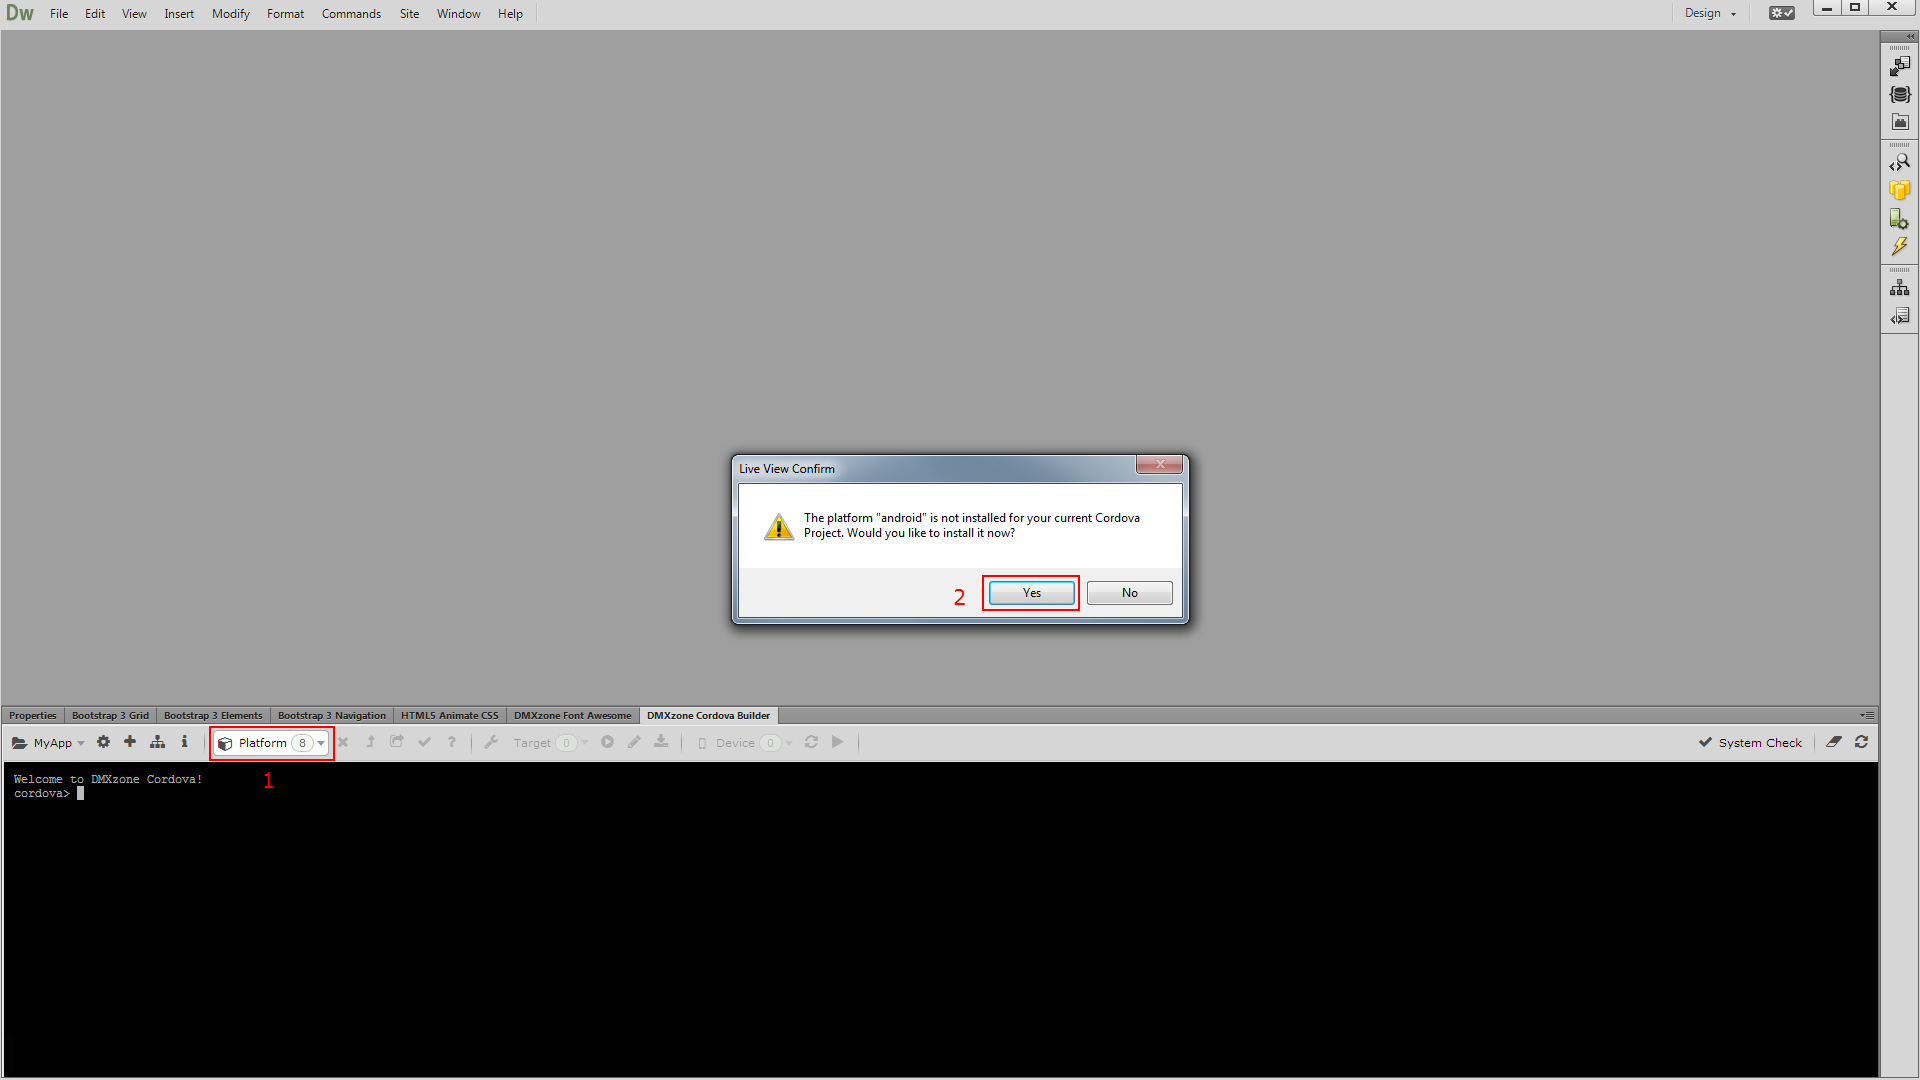
9. When you restart Dreamweaver select android in the platform dropdown (1). The same dialogs, asking if you want to install the android platform and if you want to perform a system check appears. Select yes for both of them (2).
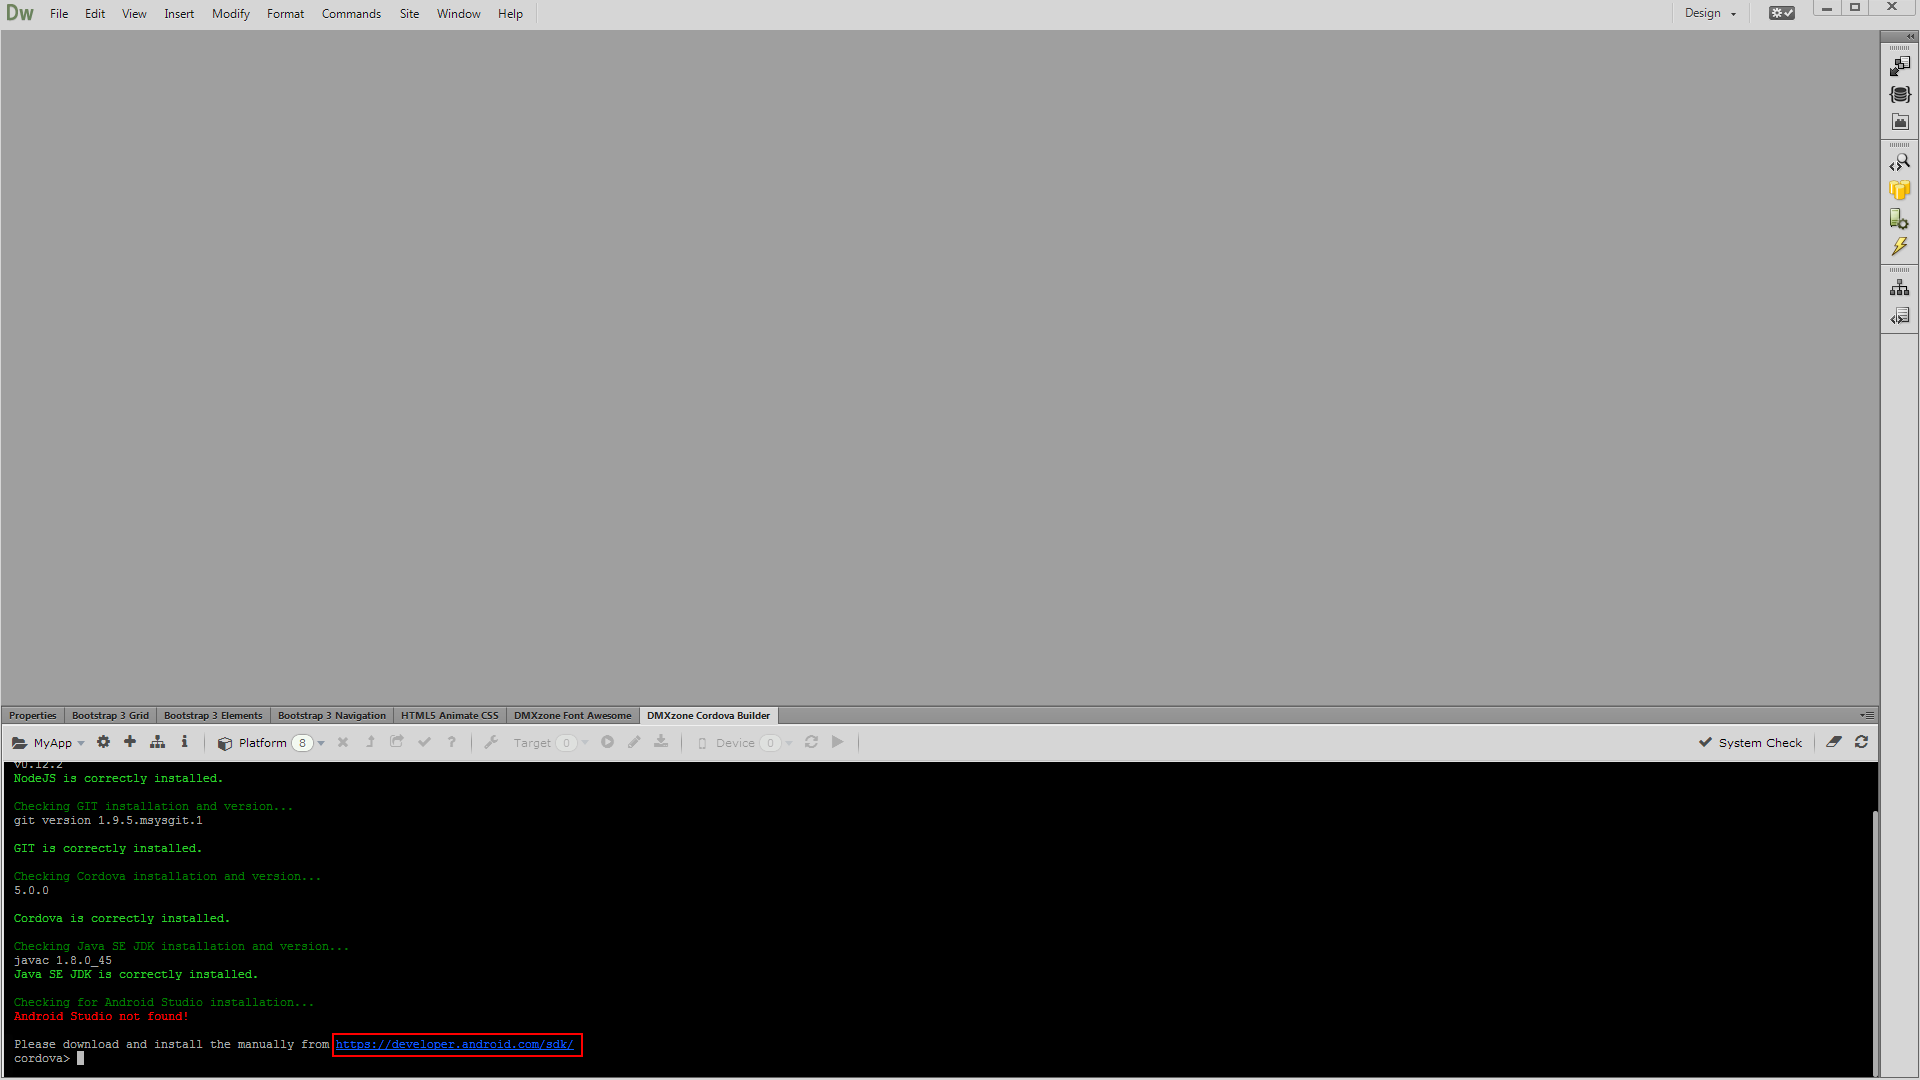
0. You can see that the JAVA SE JDK is now correctly installed but the Android Studio is missing. Follow the link in order to install it.
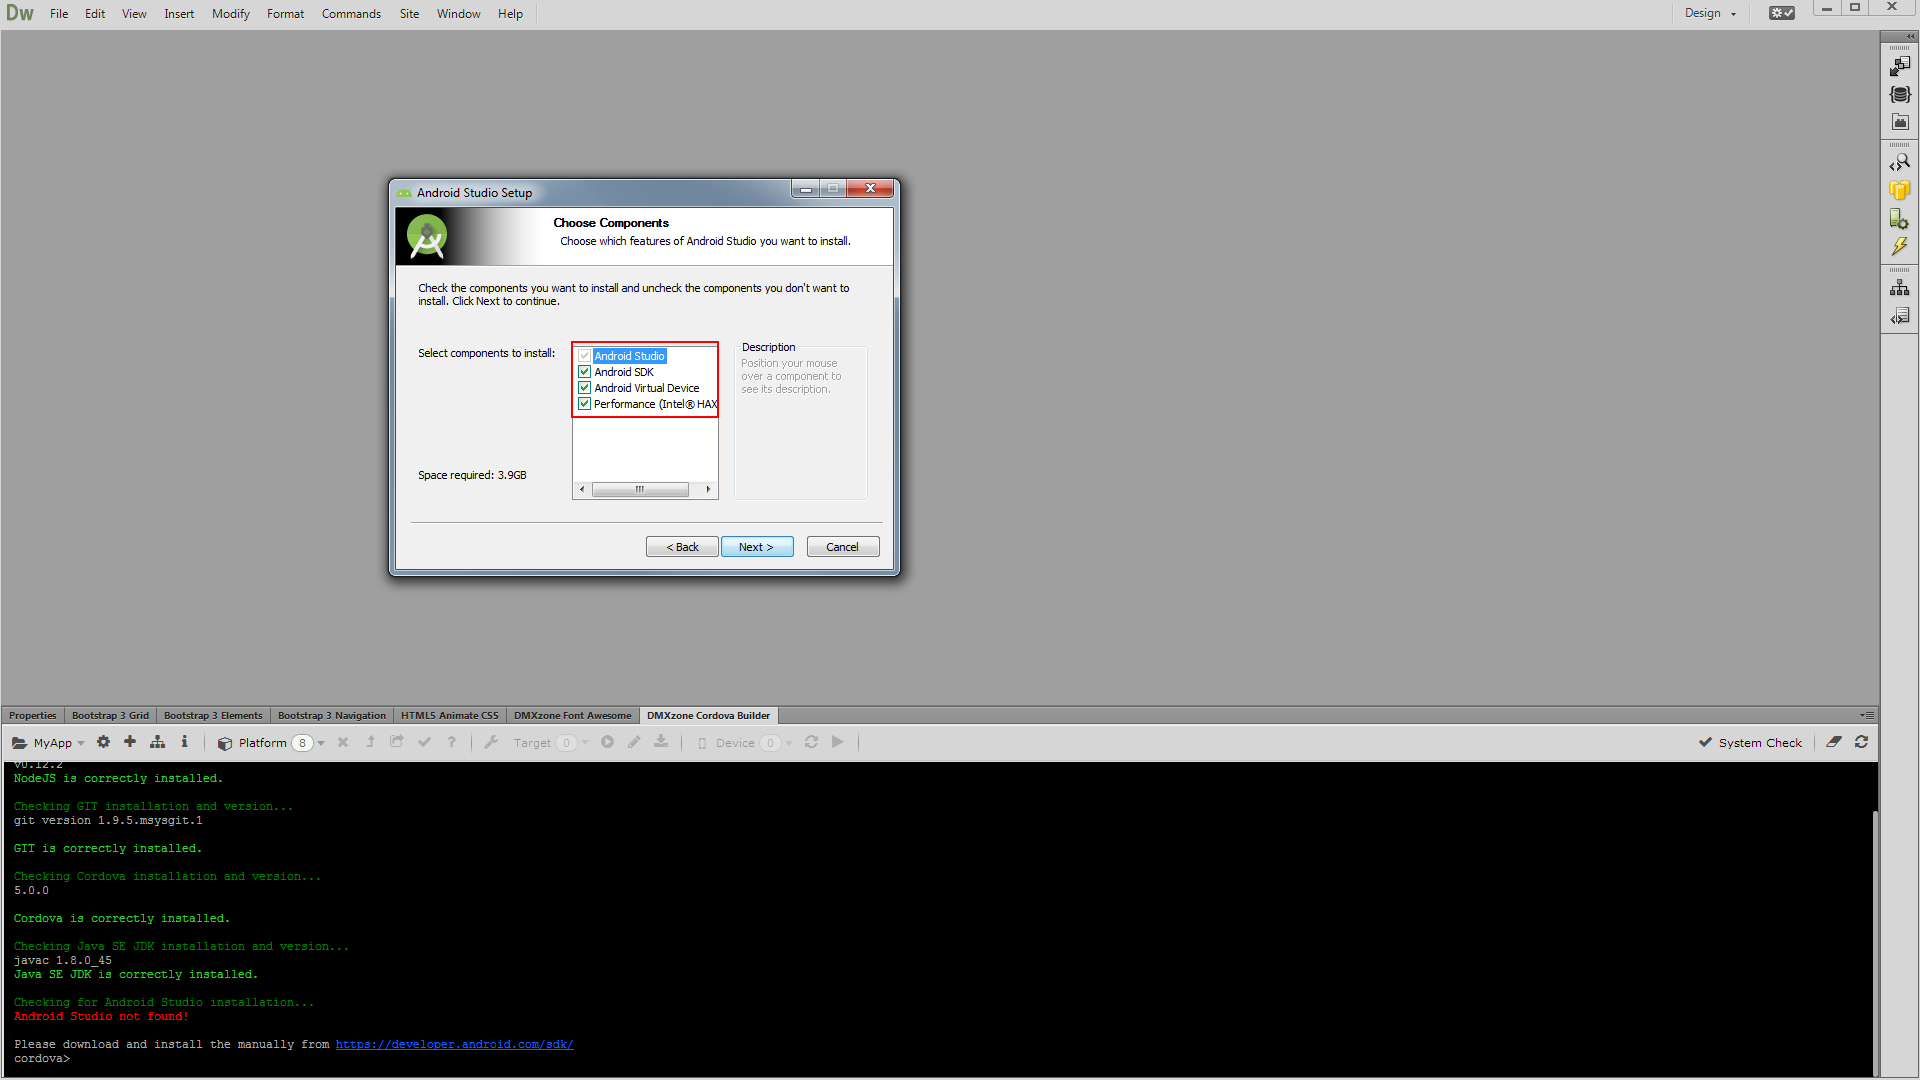
1. In the installation wizard, make sure that all components are selected.
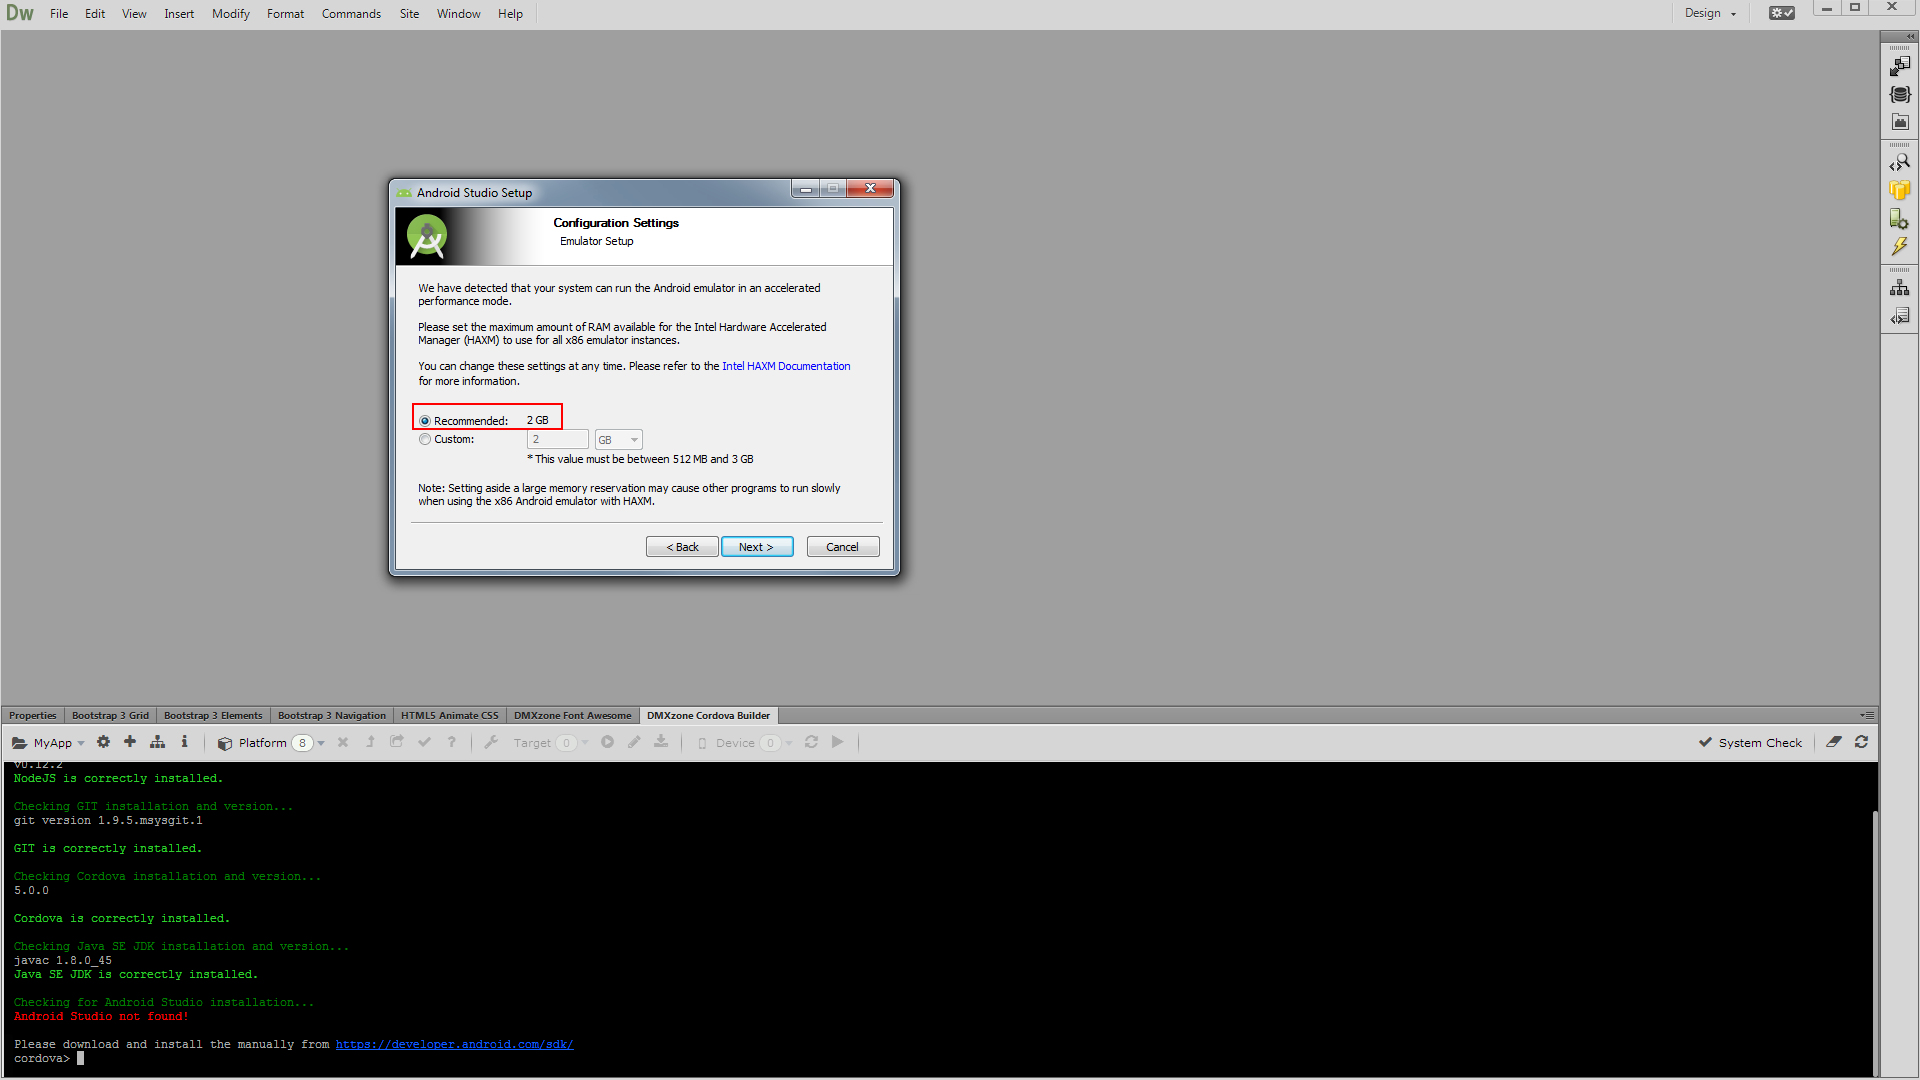
2. We use the default installation locations and the recommended RAM amount settings for the Android emulator.
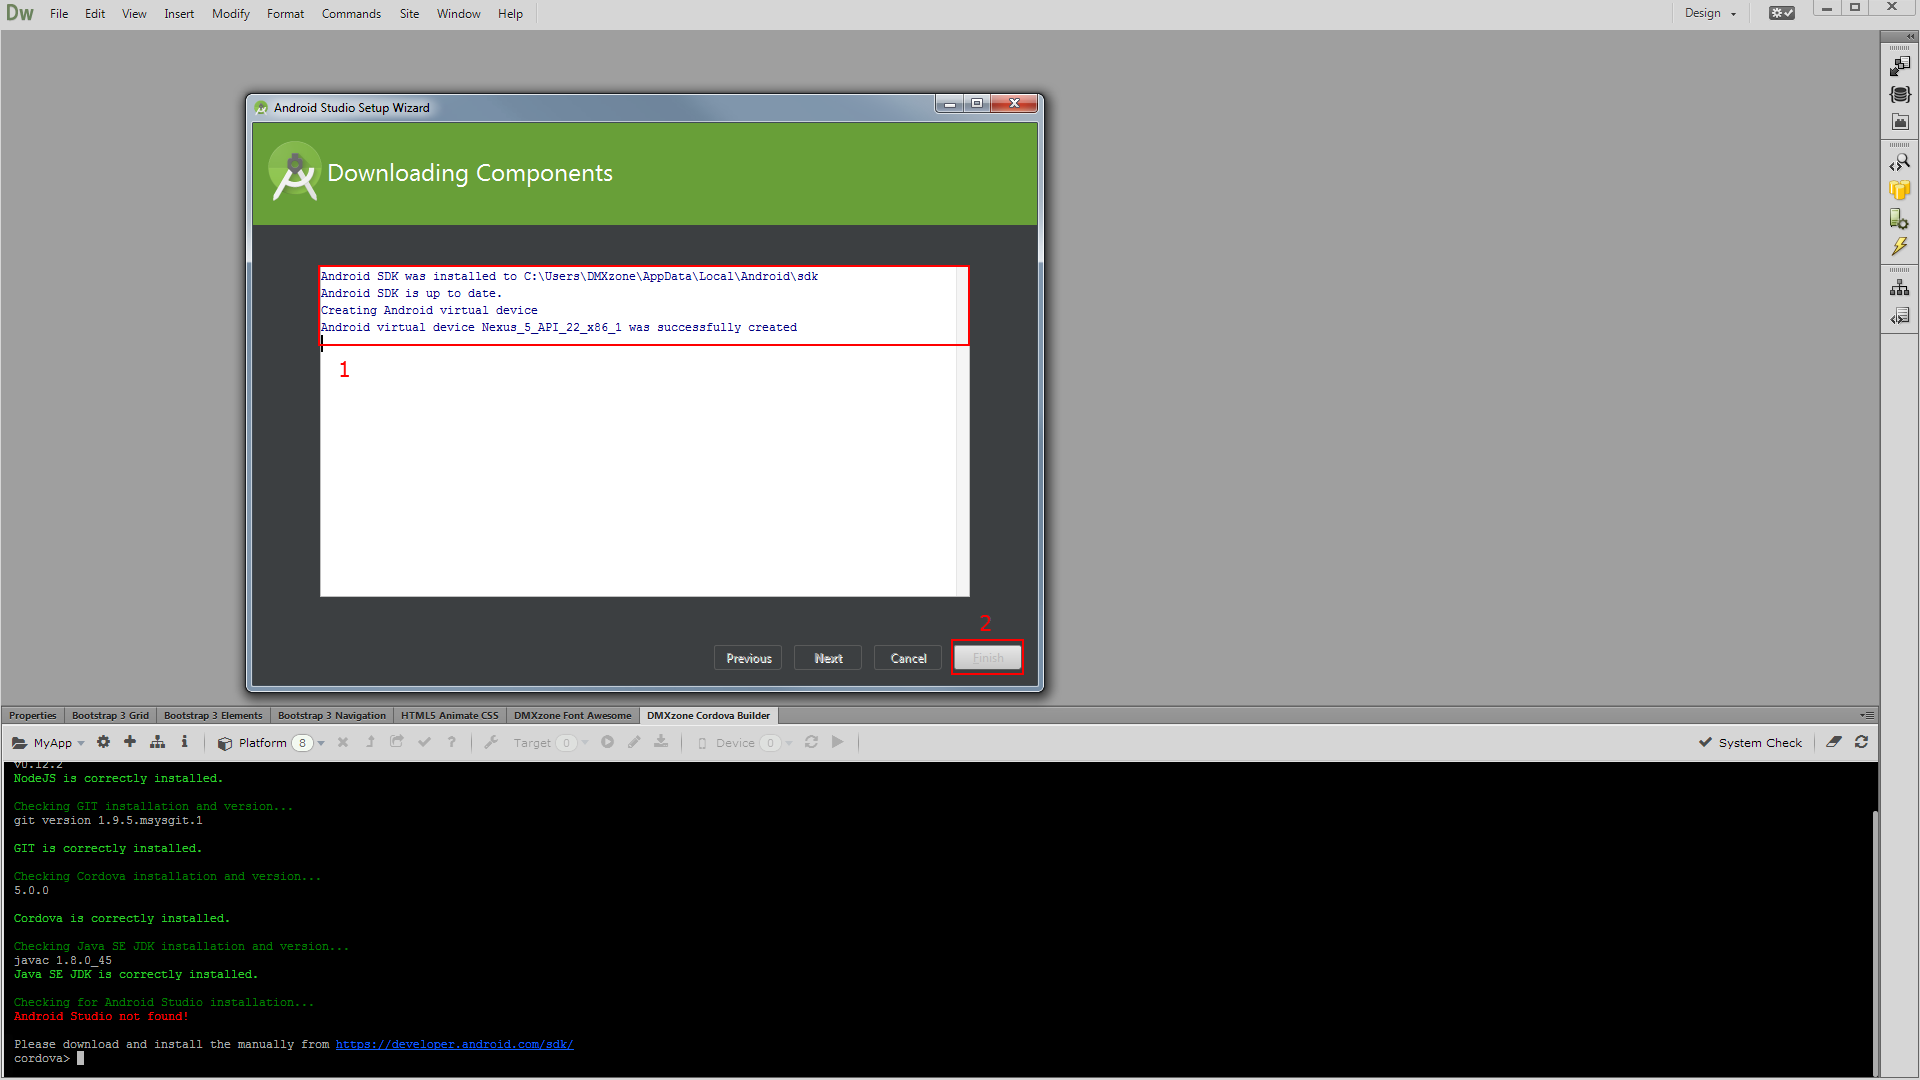
3. You will see some additional components that were installed (1). Click finish (2).
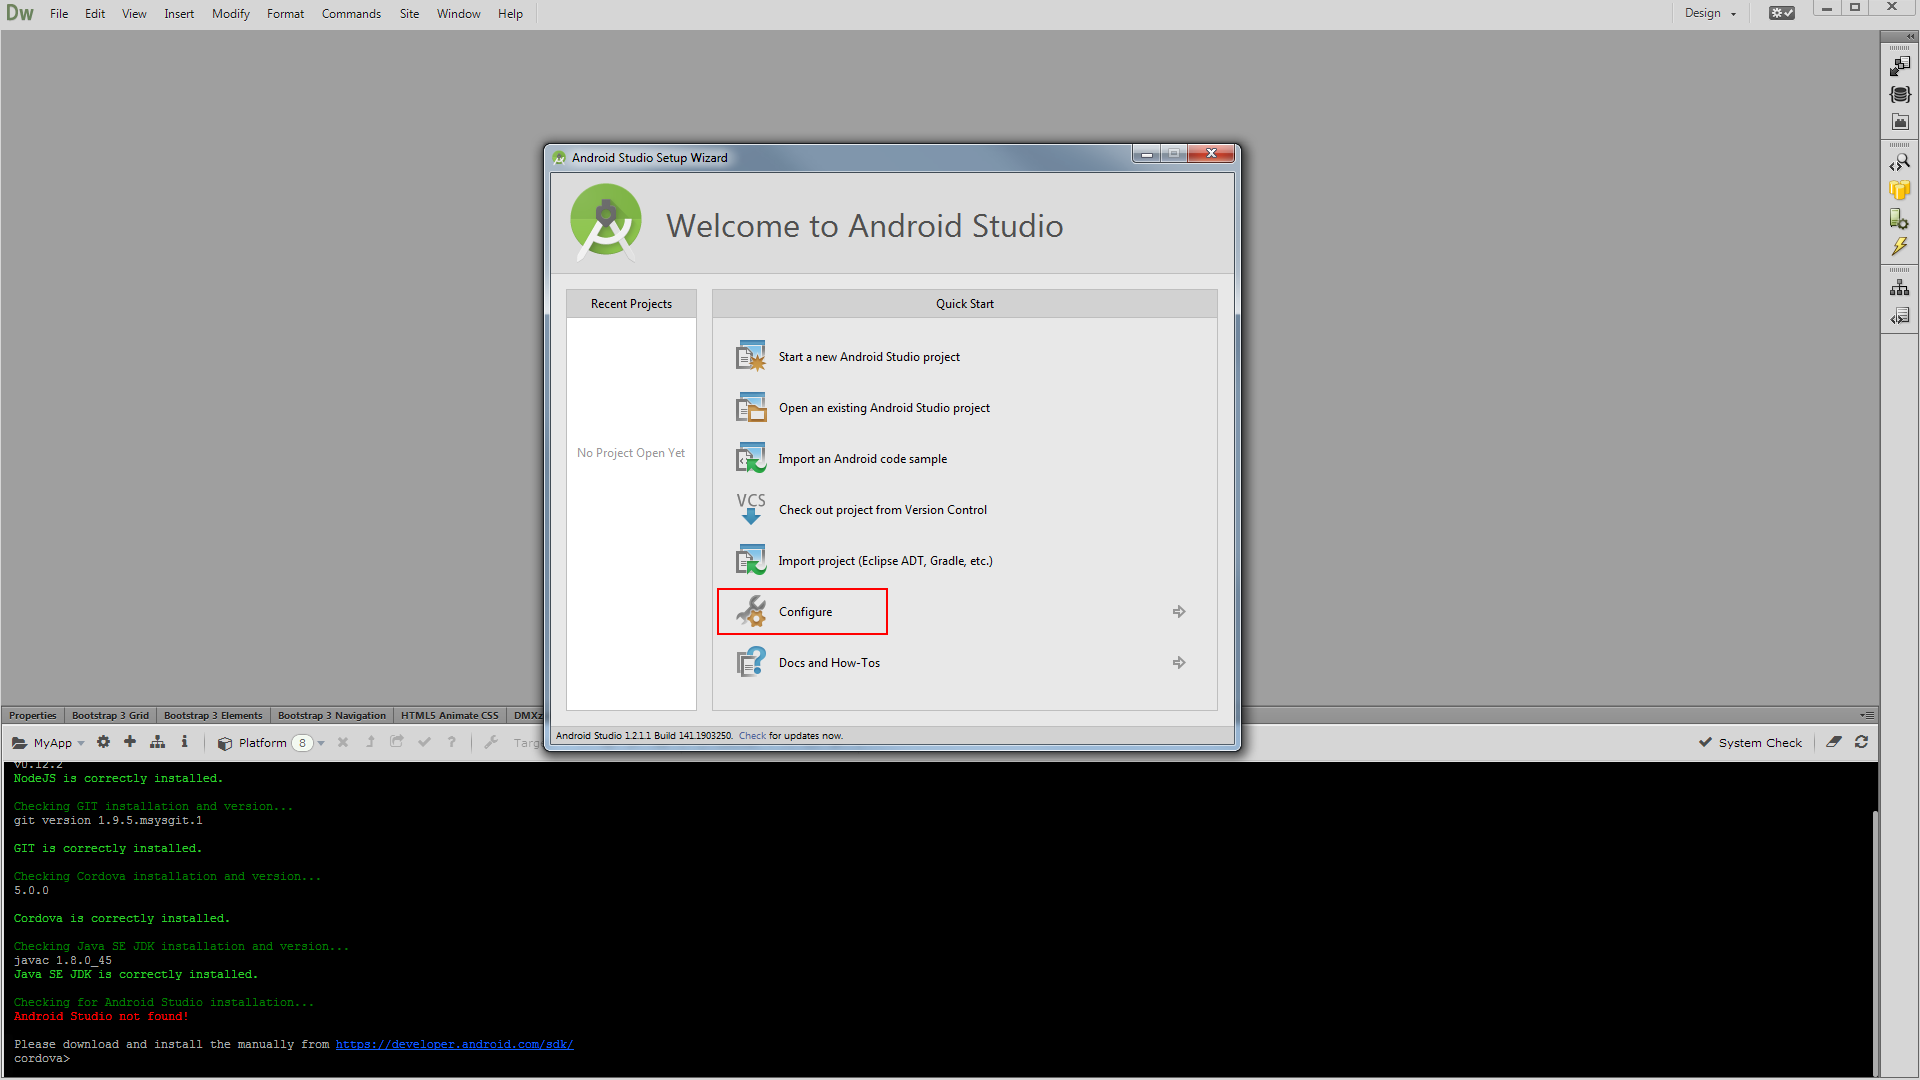
4. In Android Studio, select configure.
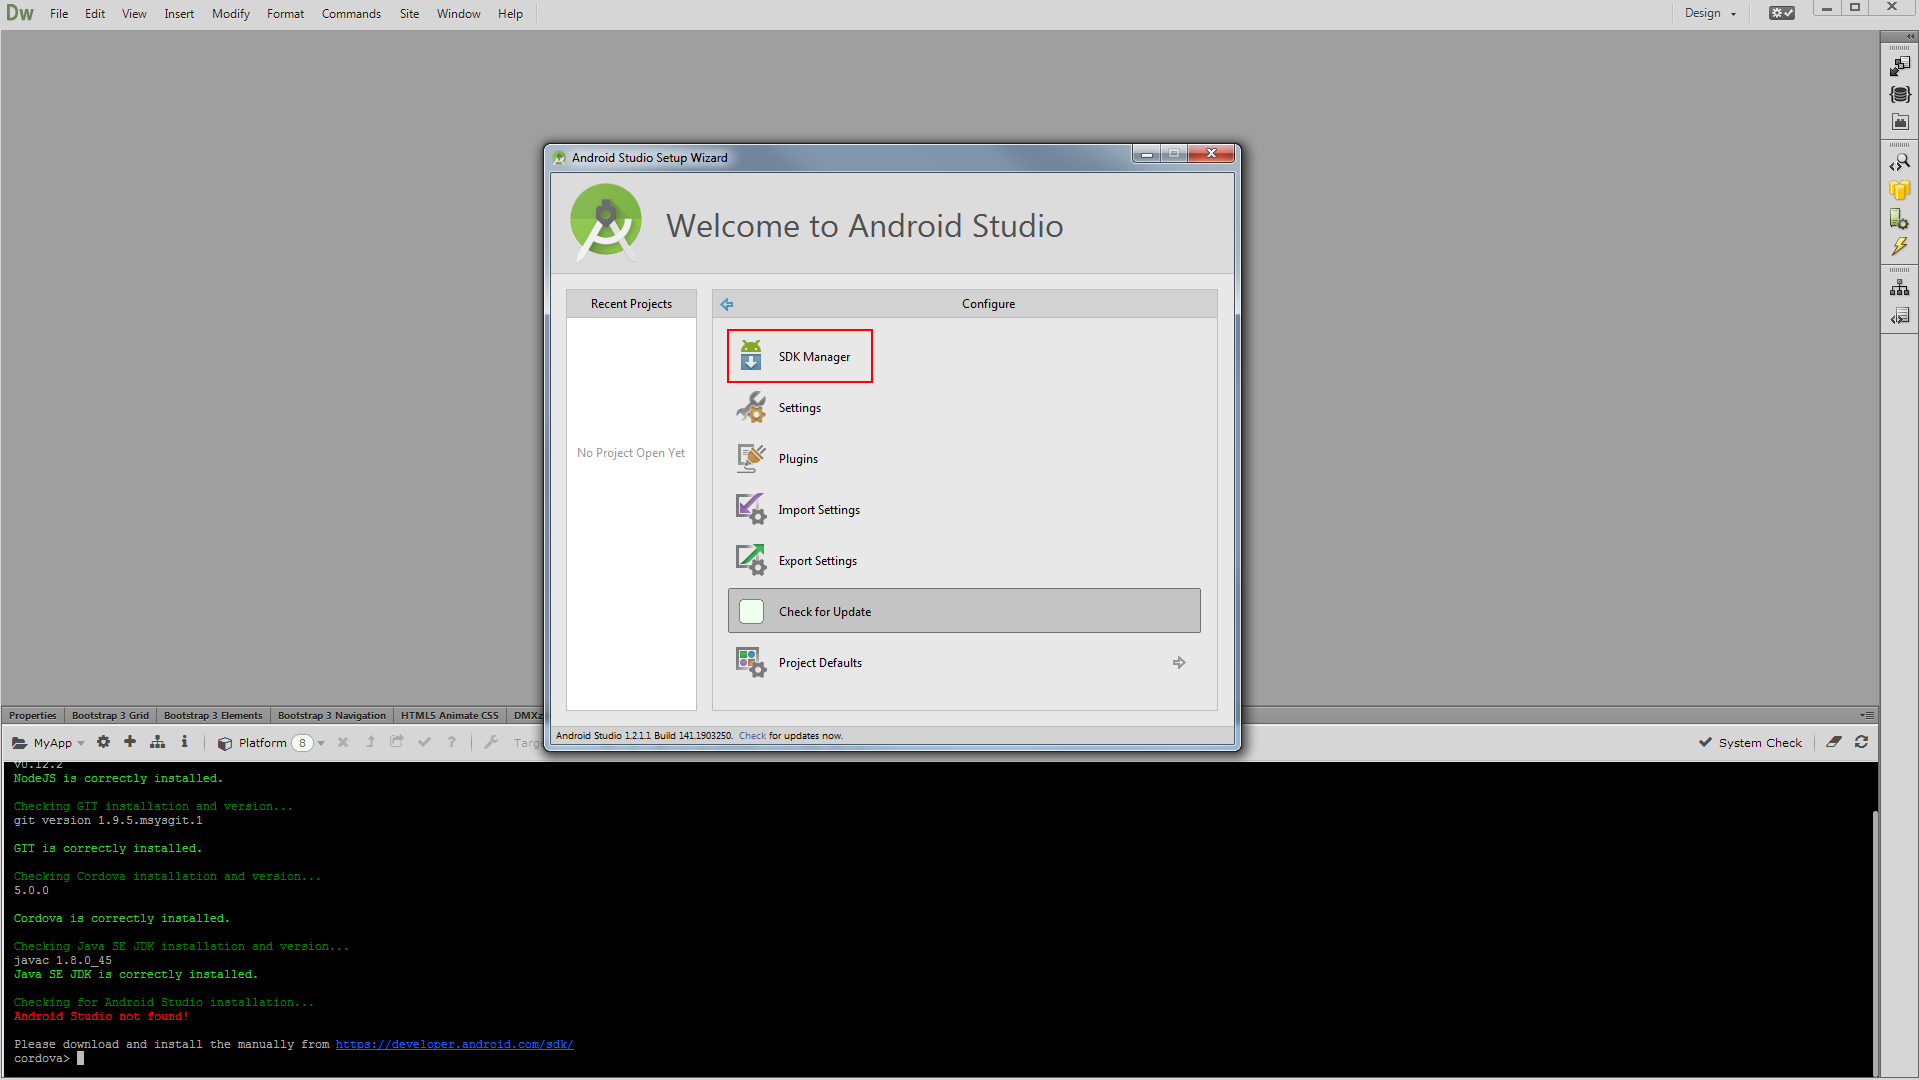
5. Then choose SDK manager.
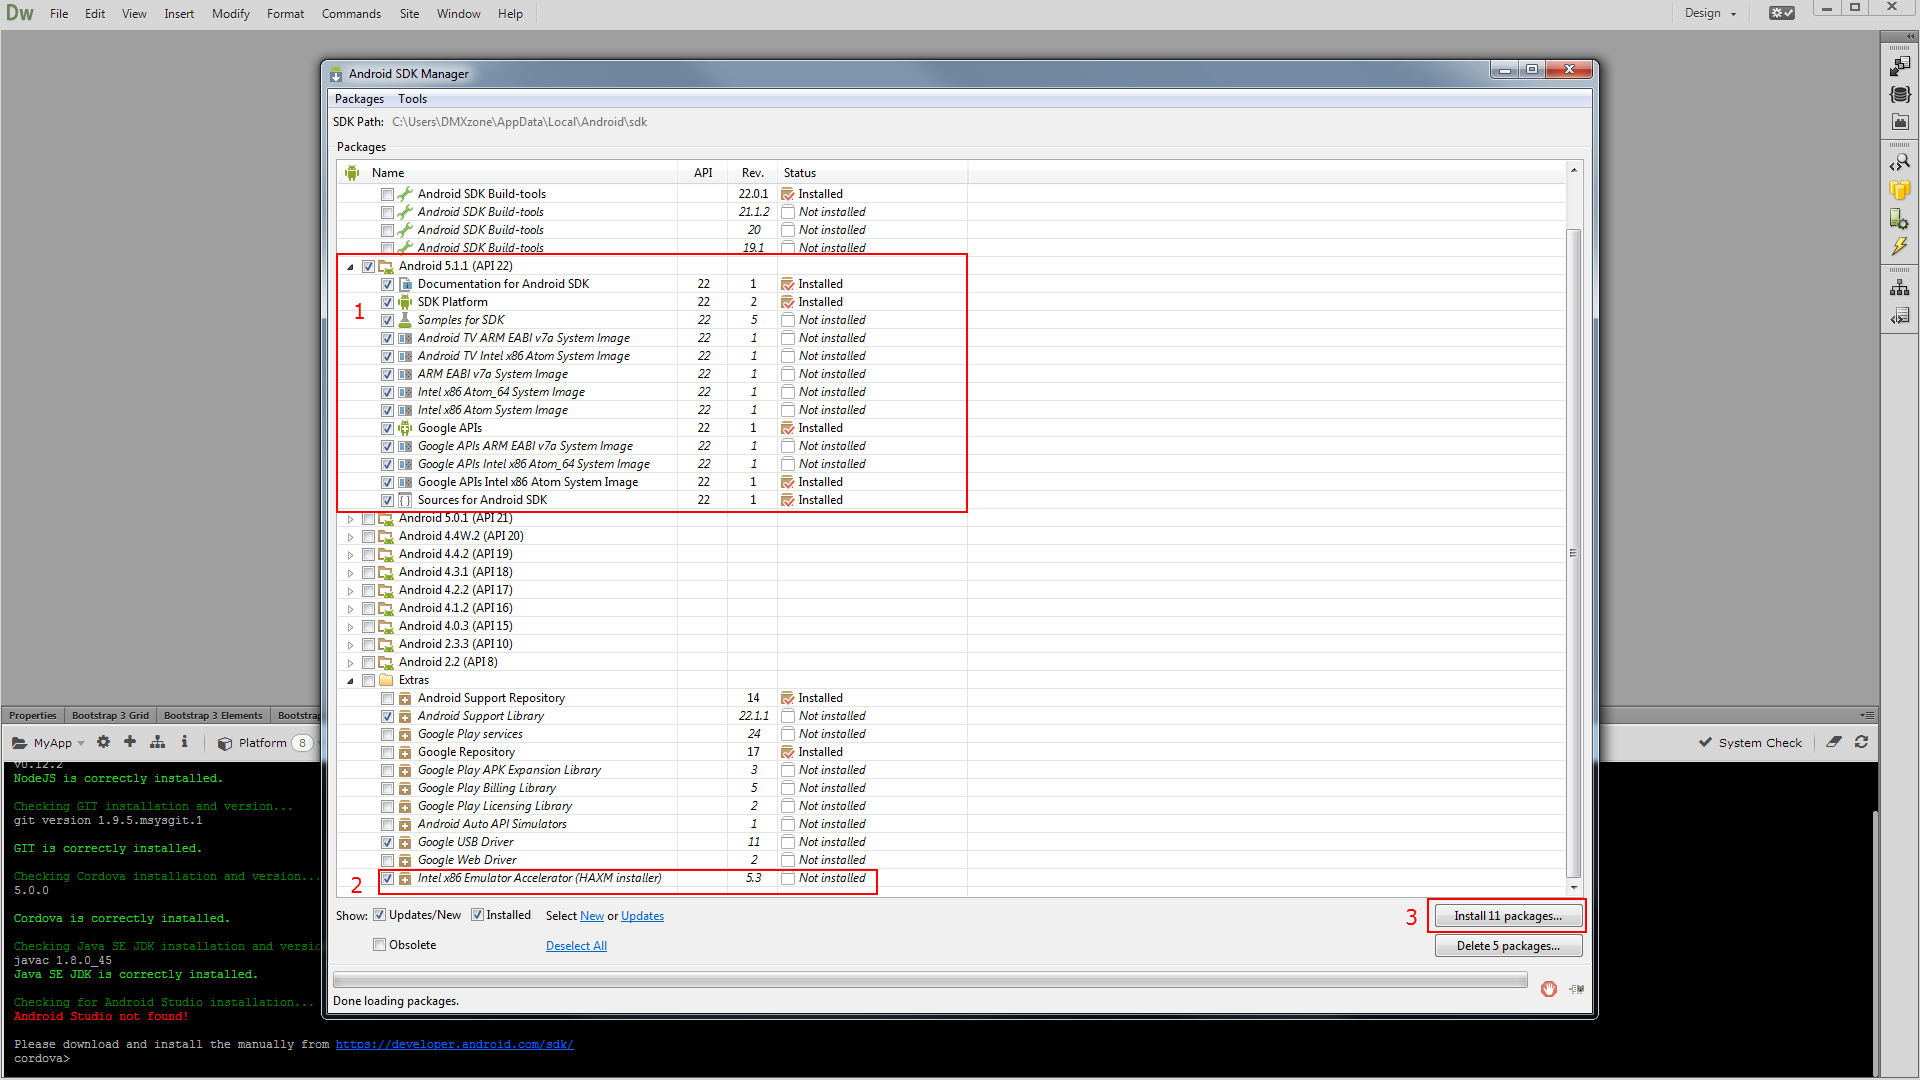
6. Now, we are going to download and install some packages that we need. We select all of the Android API 22 packages (1). Currently this API is the latest version. Also, we select the Intel Emulator Accelerator, which is only for Intel processors (2). When you're done, click install (3). Once installed, close the Android SDK Manager and restart Dreamweaver.
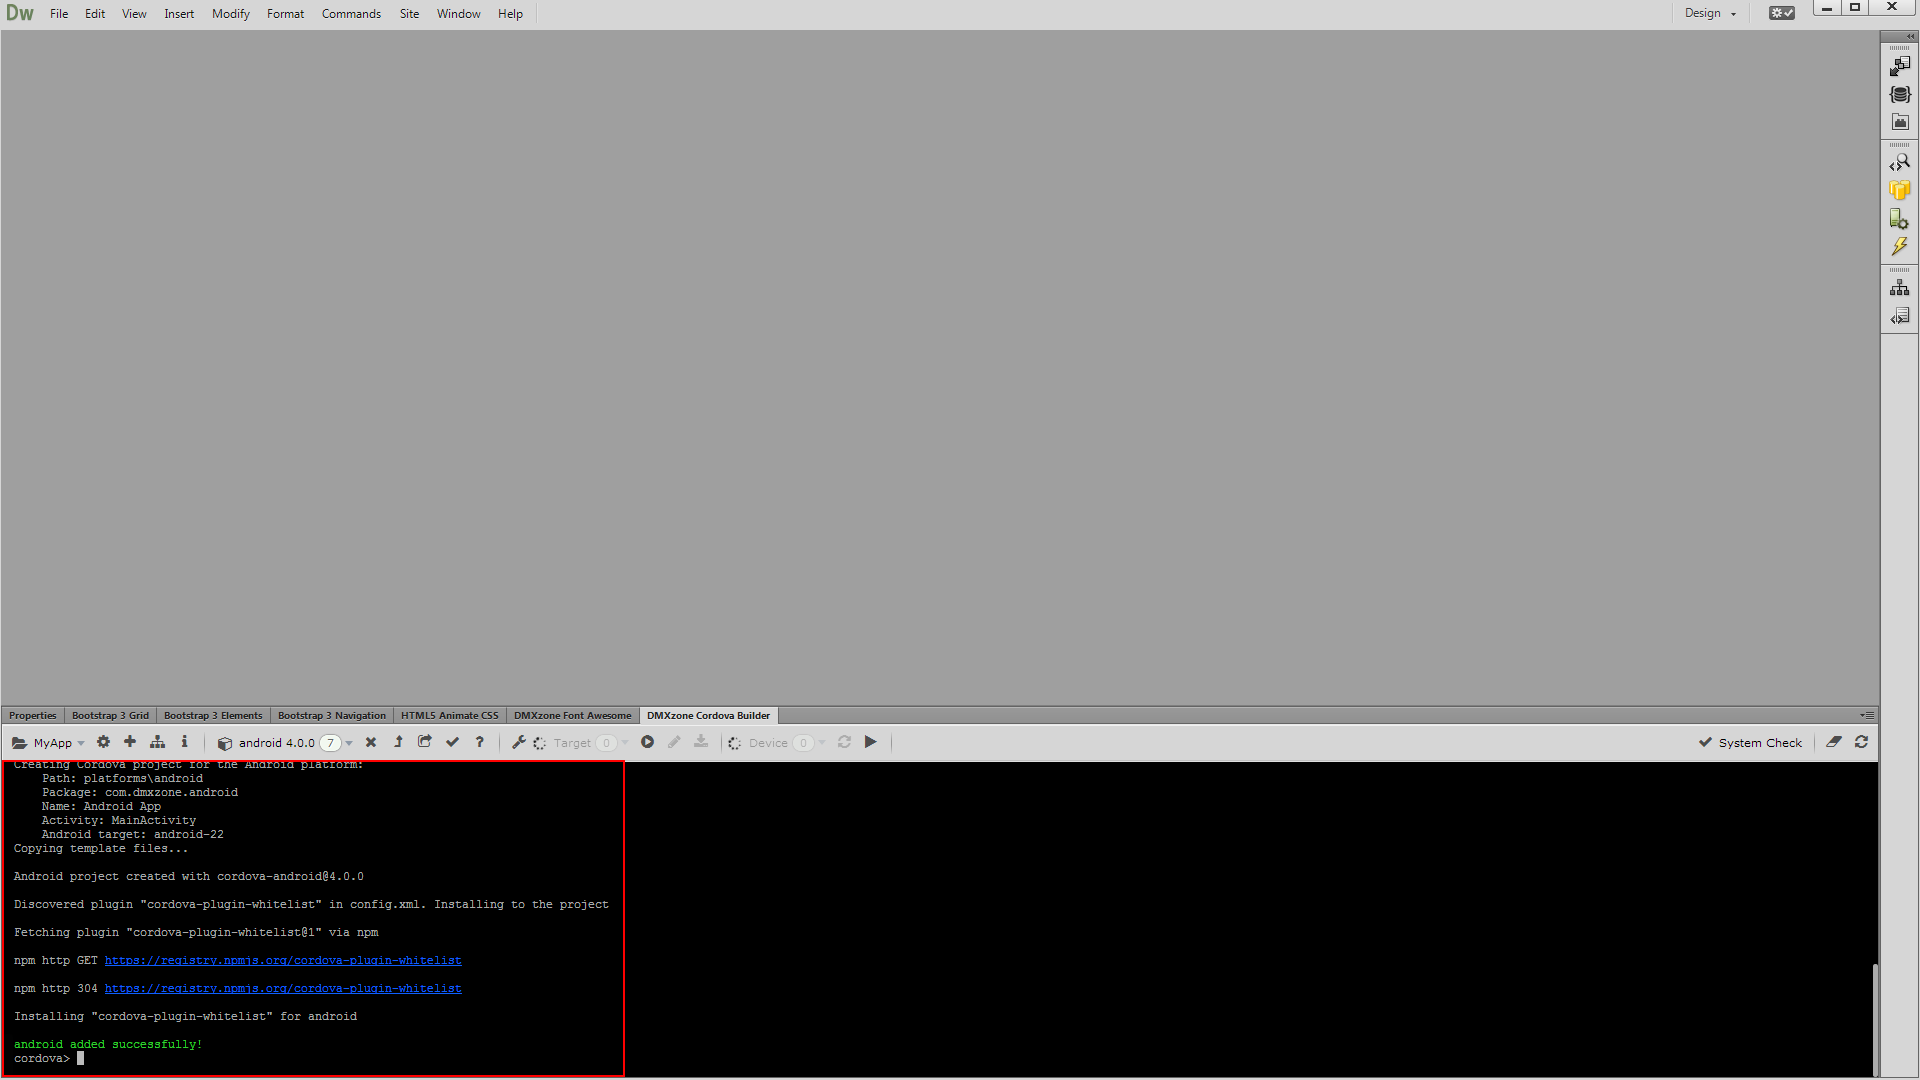
7. When you restart Dreamweaver, select Android in the platform dropdown (1). Select yes (2) in both dialogs that appear.

8. You can see that the Android platform was successfully installed for your project!
Comments
Be the first to write a comment
You must me logged in to write a comment.