Before you begin
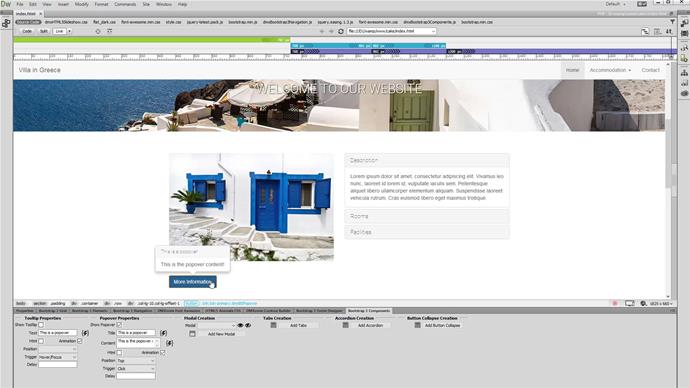
We created a bootstrap 3 page in Dreamweaver. Keep in mind that in order to use DMXzone Bootstrap 3 Components you need to have DMXzone Bootstrap 3 installed in your Dreamweaver.
Add a popover
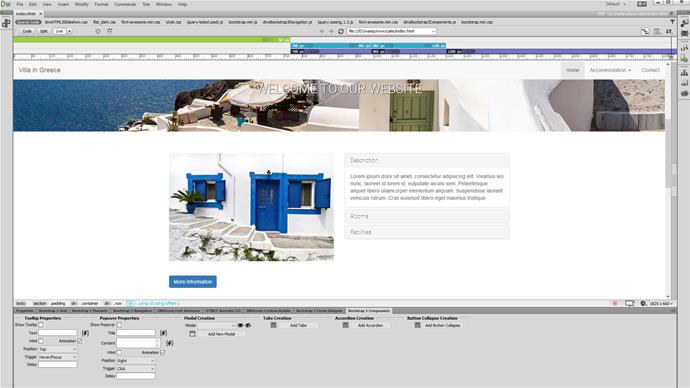
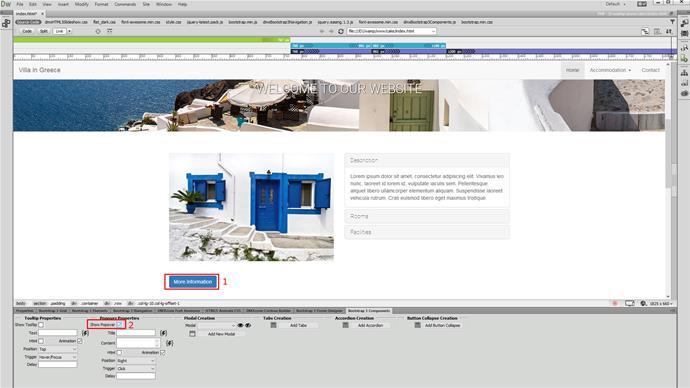
Select the element on your page, that you want to add a popover to. In our tutorial this is the button (1) and check the show popover checkbox (2) in the Bootstrap 3 Components panel.
Add title and content
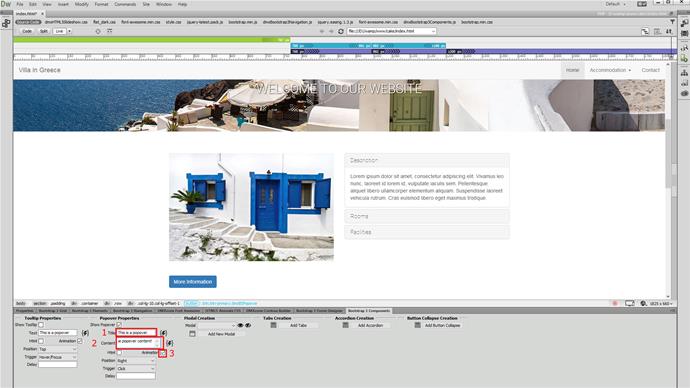
Add a title (1) for the popover and enter its content (2). You can use HTML tags in the title and content. If you are using any HTML tags there, you must enable the HTML checkbox. Select whether to use a fade in and out animation (3) for the popover or not.
Customize the appearance
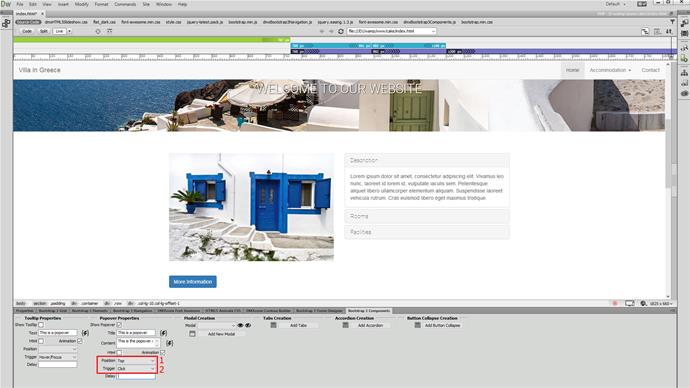
Select a position for the popover. Four options are available: top, right, bottom, and left aligned. We choose top (1). Now, choose how to trigger the popover. We select on click (2). You can add a delay when showing and hiding the popover. This must be a numeric value in milliseconds.
Save and preview
Clicking the button brings up the popover, which is positioned on top. That's how easy it is to add popovers on your page, using DMXzone Bootstrap 3 Components.
